
When it comes to paying for web hosting, customers today have more choices than ever before. From traditional methods like credit cards, PayPal, and bank transfers, to modern crypto payments such as Bitcoin, Ethereum, and stablecoins, each option comes with unique benefits. At Hosteons, we support both — giving our customers the flexibility to choose what works best for them.
Traditional Payments: Familiar & Widely Accepted
Traditional methods remain the go-to choice for many hosting customers:
- 💳 Credit/Debit Cards – Convenient, quick, and accepted globally.
- 🏦 Bank Transfers – Trusted by businesses and customers who prefer established financial channels.
- 🌍 Local Payment Gateways – Options like UPI (India), UnionPay (China), Dragonpay (Philippines), and iDEAL (Netherlands) make payments easier for regional customers.
✅ Pros: Familiar, easy refunds, supported everywhere
⚠️ Cons: Higher transaction fees, delays for international transfers, limited privacy
Cryptocurrency Payments: Fast, Private & Borderless
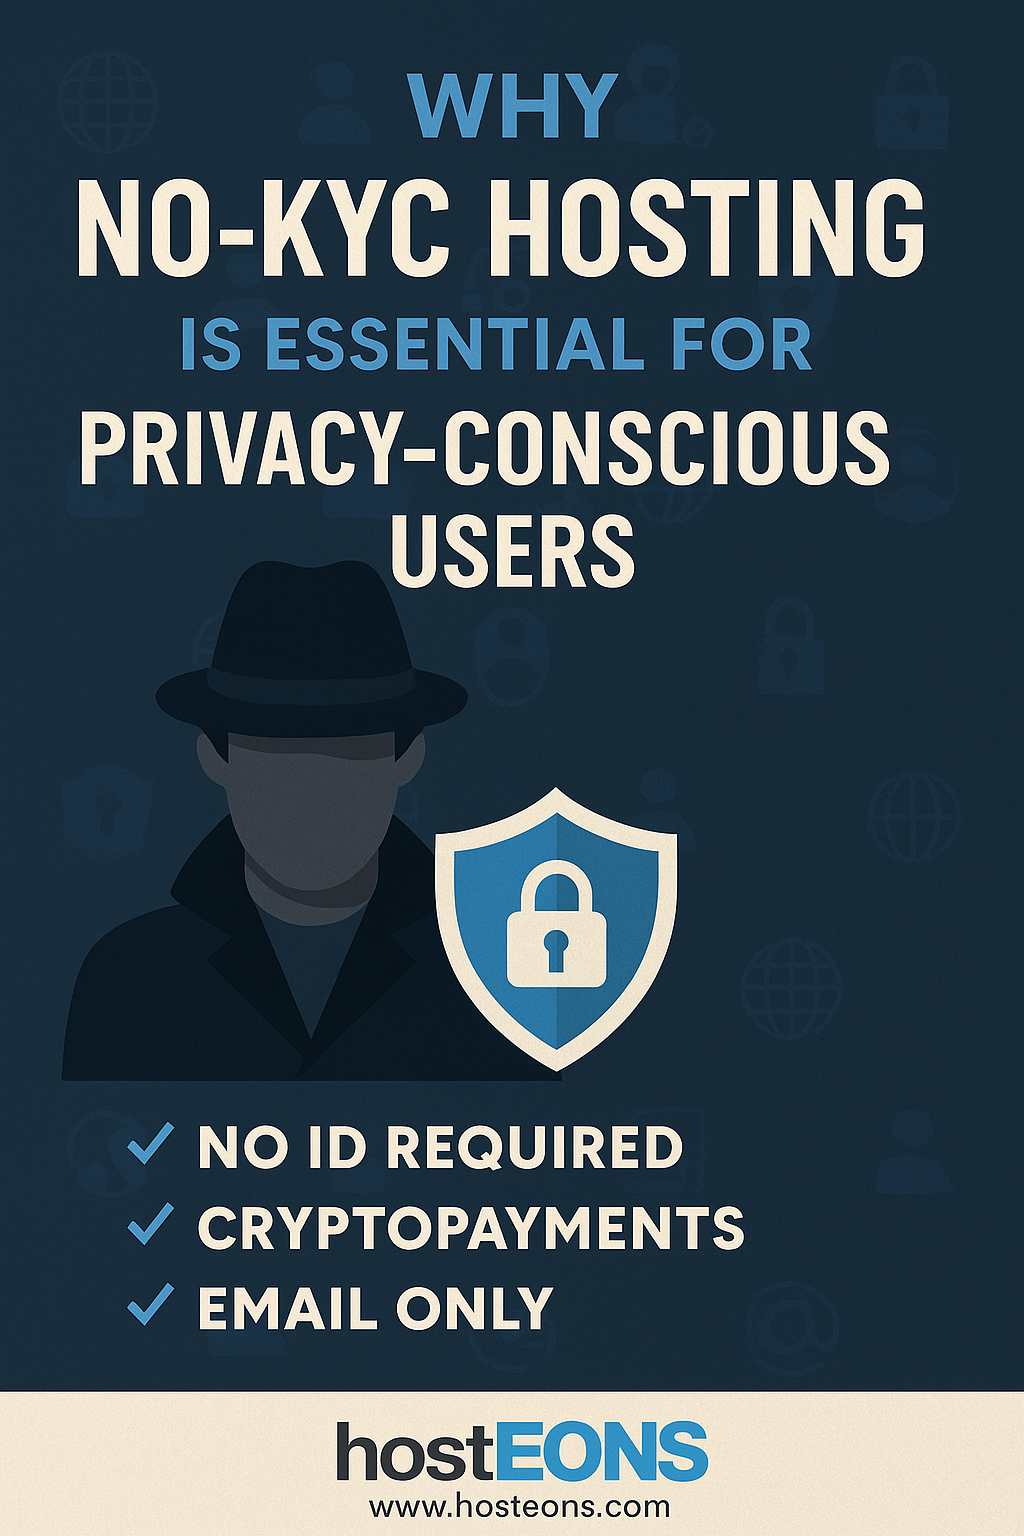
Crypto is quickly becoming a preferred method for privacy-conscious and globally distributed customers:
- 💱 Bitcoin & Ethereum – Popular choices for global transactions
- 🔒 Stablecoins (USDT, USDC, DAI) – Reduce volatility while keeping speed
- 🌐 Other Altcoins (LTC, DOGE, etc.) – Provide lower fees and faster confirmations
✅ Pros: Borderless, lower fees, privacy-friendly, faster settlements
⚠️ Cons: Price volatility (except stablecoins), not accepted by all providers
Which Works Best for Hosting Customers?
The real answer: It depends on your priorities.
- If you value convenience, buyer protection, and familiarity, traditional payments are the safe choice.
- If you prioritize privacy, speed, and global accessibility, crypto is the future.
At Hosteons, we support both traditional and crypto payments — because we believe customers deserve choice and flexibility. Whether you’re paying with Visa, Alipay, UPI, or Bitcoin, you can enjoy fast, secure, and reliable hosting without compromise.
👉 Explore our VPS and VDS plans today: