This is a pilot project — we’re testing demand. If users love it, we’ll expand the offerings. If not, we may discontinue these packages. But all existing clients will continue to receive service for life as long as they keep renewing.
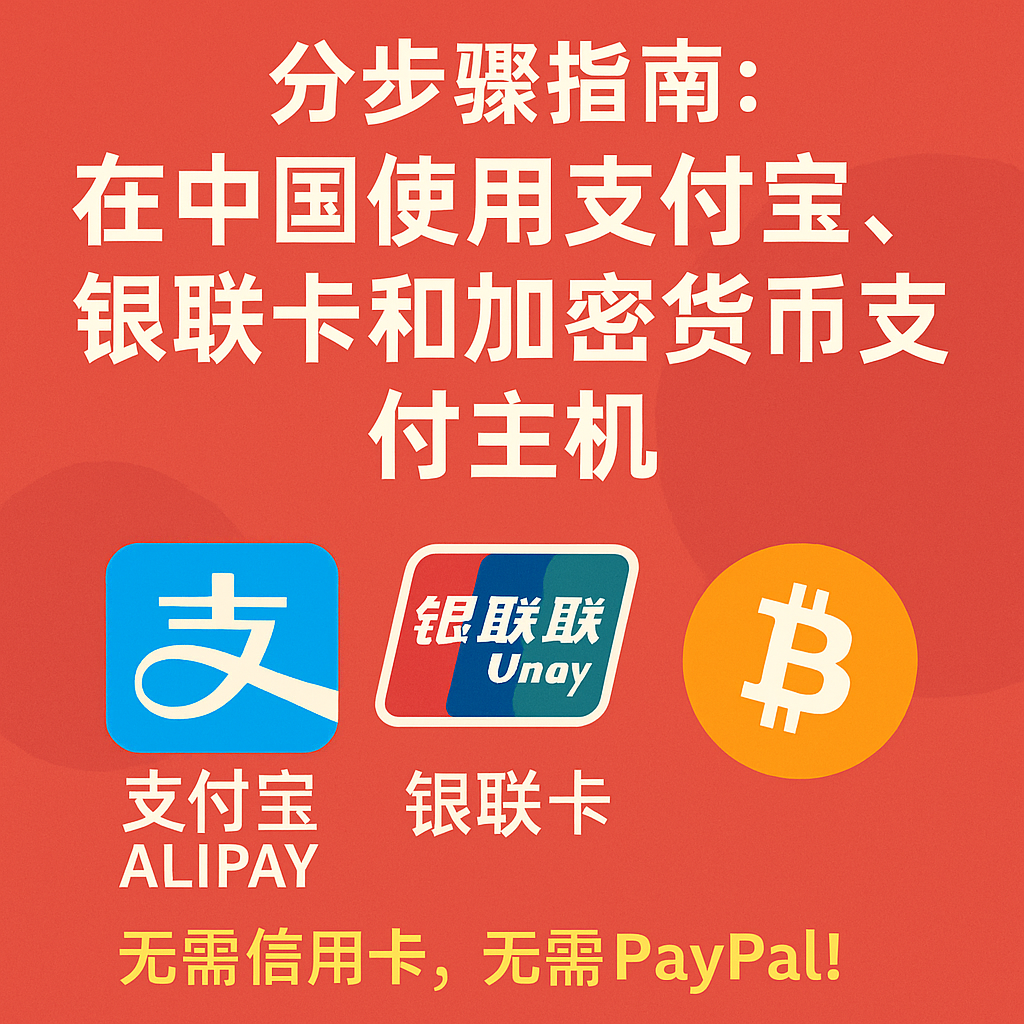
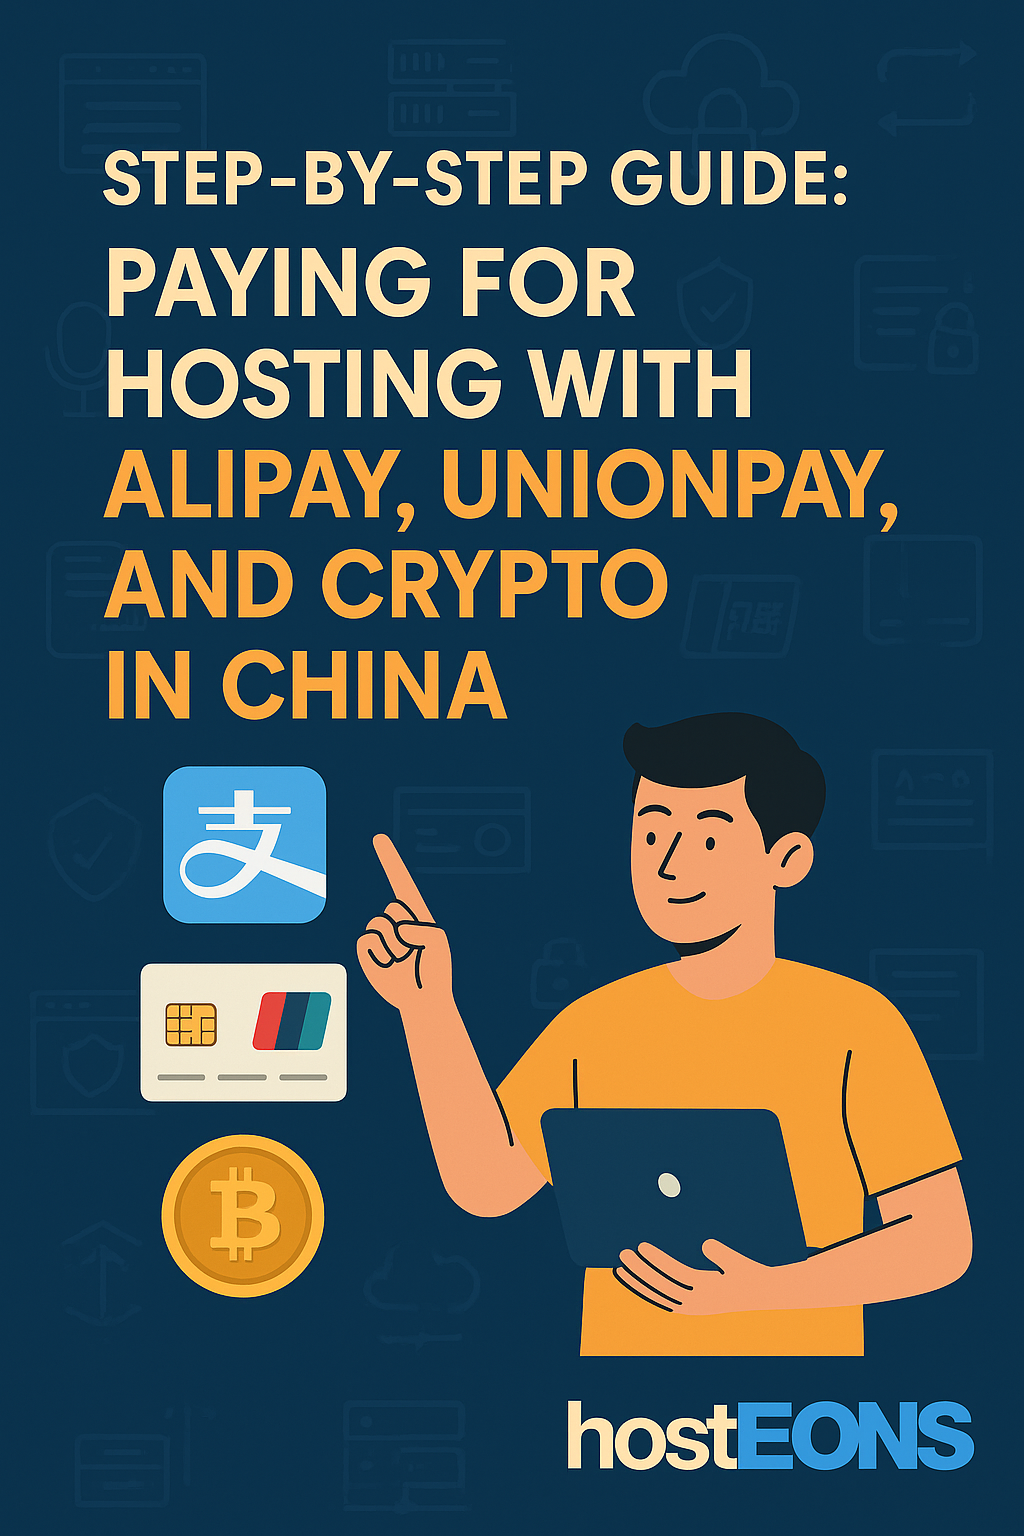
At Hosteons, we believe hosting should be fast, private, and accessible—no matter where you are. That’s why we support multiple localized payment methods tailored for customers in mainland China.
Whether you prefer Alipay, UnionPay, or even cryptocurrency like USDT or BTC, paying for your hosting is now easier than ever—no VPN, no PayPal, no foreign card needed.
Here’s your step-by-step guide to making payments smoothly from China.
💳 1. Paying with UnionPay (银联卡)
UnionPay is the most widely used bank card in China. We accept UnionPay directly via our international payment processor.
The system will generate a payment address & amount
Pay from your wallet (on-chain or via exchange)
Once confirmed on blockchain, your order is automatically activated
🔒 No KYC, no identity verification. Your privacy is respected.
🌐 Why We Support Local Payments in China
At Hosteons, we know Chinese users face unique challenges:
⚠️ International cards often get rejected
🧱 VPNs are required for PayPal and Google Pay
💳 Foreign currency cards may not be available
🧧 Local platforms (Alipay, UnionPay) are trusted and preferred
That’s why we offer multiple payment gateways optimized for Chinese users, with Chinese-language checkout pages, fast confirmation, and no hidden fees.
🚀 Start Hosting the Easy Way
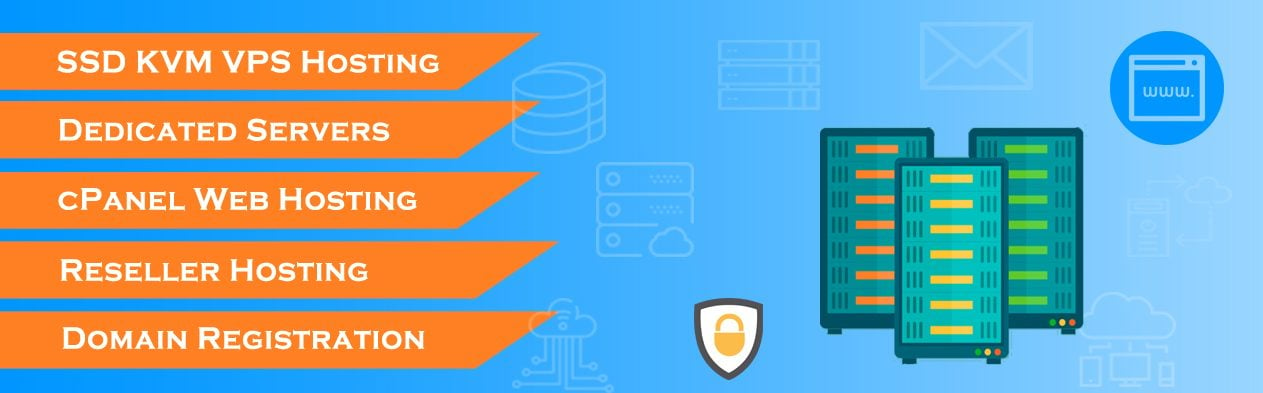
You can now purchase:
✅ KVM VPS (US & EU)
✅ Premium Ryzen VPS
✅ Ryzen 7950X VDS
✅ Shared Hosting (DirectAdmin)
…all without needing an international payment method.
Whether you prefer the convenience of Alipay, the trust of UnionPay, or the privacy of cryptocurrency, Hosteons gives you the flexibility to pay your way.
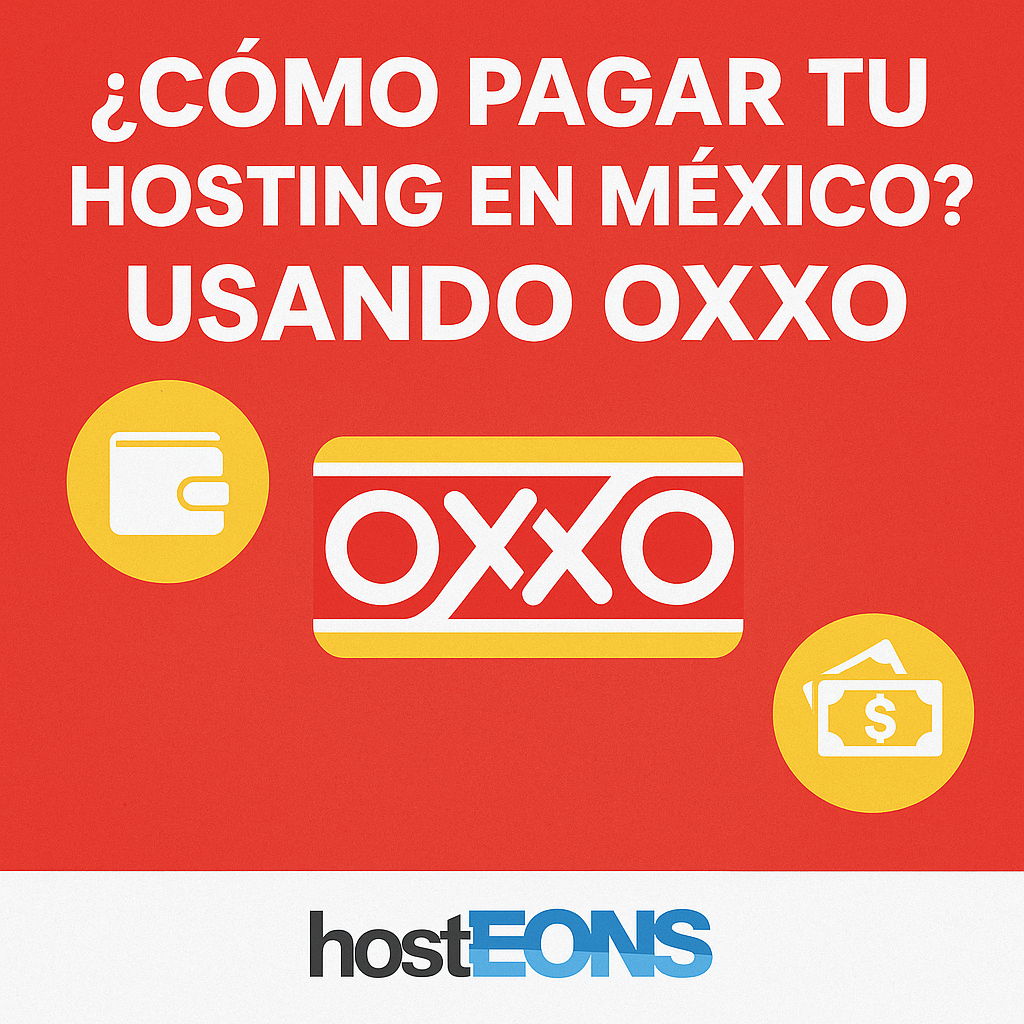
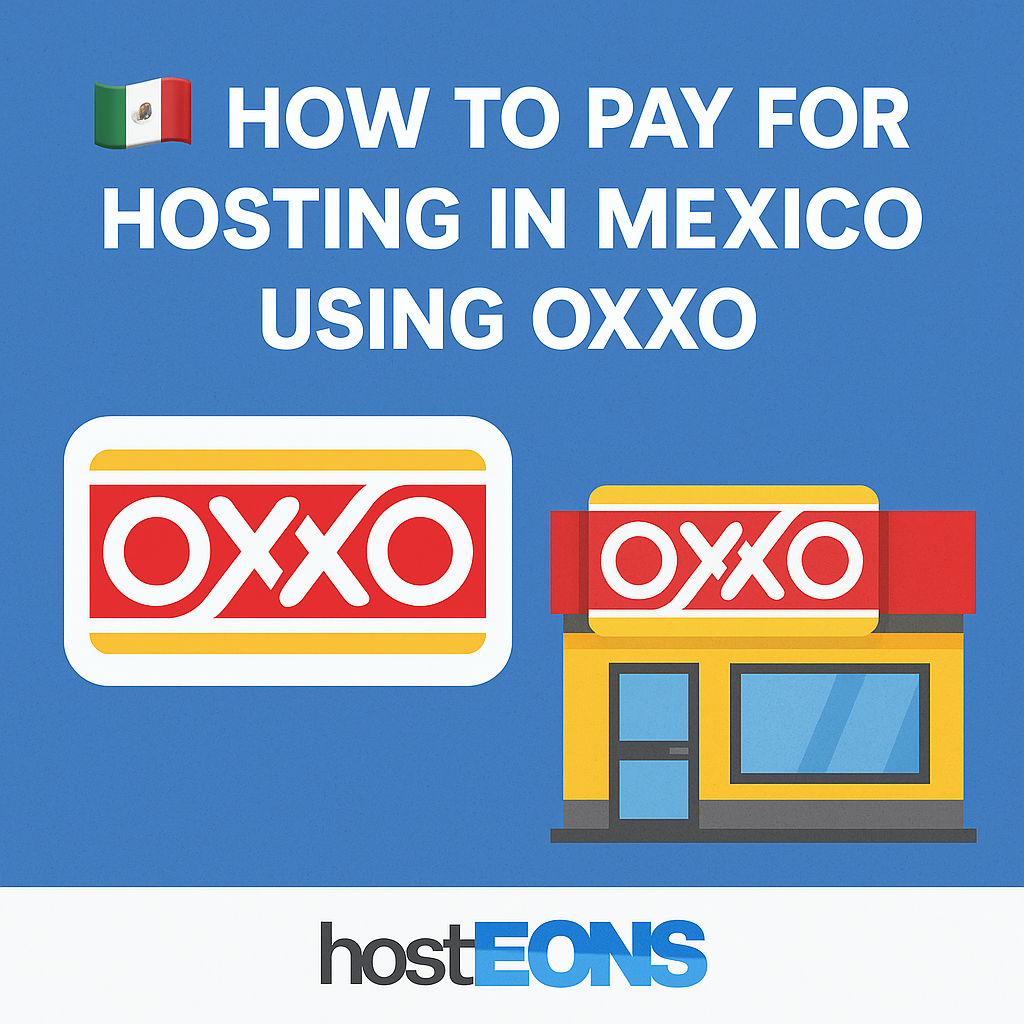
¿Quieres comprar un plan de hosting en México pero no tienes tarjeta de crédito o PayPal?
No te preocupes.
En Hosteons, te facilitamos pagar por tu VPS, VDS o hosting compartido usando OXXO, uno de los métodos de pago en efectivo más confiables y populares en todo México.
Ya seas estudiante, freelancer, emprendedor o simplemente prefieras pagar en efectivo, OXXO te permite acceder a servicios de hosting globales sin necesidad de cuenta bancaria.
🏪 ¿Qué es OXXO?
OXXO es una de las cadenas de tiendas de conveniencia más grandes de México, con más de 20,000 sucursales en todo el país.
Además de productos básicos, OXXO también permite:
Pagar servicios
Recargar saldo móvil
Enviar y recibir dinero
Pagar compras en línea en efectivo
En Hosteons, integramos OXXO mediante nuestra pasarela internacional de pagos, ofreciendo un método fácil, seguro y accesible.
✅ ¿Por Qué Pagar con OXXO?
Muchos usuarios en México no tienen acceso a tarjetas internacionales o prefieren no usarlas.
Looking to buy hosting in Mexico but don’t have a credit card or PayPal?
No problem.
At Hosteons, we make it easy for you to pay for VPS, VDS, or shared hosting using OXXO, one of Mexico’s most trusted cash payment systems.
Whether you’re a student, freelancer, small business owner, or just someone who prefers to pay in cash, OXXO gives you the freedom to access global hosting services without a bank account.
Here’s how it works and why it’s the go-to solution for thousands of our customers in Mexico.
🏪 What Is OXXO?
OXXO is one of the largest convenience store chains in Mexico, with over 20,000+ locations nationwide.
Beyond snacks and soft drinks, OXXO has become a key part of everyday financial life. It allows you to:
Pay utility bills
Top up mobile phones
Send and receive money
Pay online purchases in cash
At Hosteons, we integrate OXXO via our international payment gateway—making it quick, safe, and easy to pay for hosting services.
💡 Why Pay with OXXO?
Not everyone in Mexico has access to international credit cards or online wallets. With OXXO, you can:
✅ Pay in cash at your nearest store
✅ Avoid fraud or failed international payments
✅ Use your local currency (MXN)
✅ Pay on your own time—24/7
✅ Skip credit checks or bank requirements
It’s perfect for:
🔒 Privacy-conscious users
💼 Small businesses
🎓 Students
💻 Freelancers
🛒 How to Pay for Hosteons Hosting Using OXXO
Paying with OXXO is easy. Here’s a step-by-step guide:
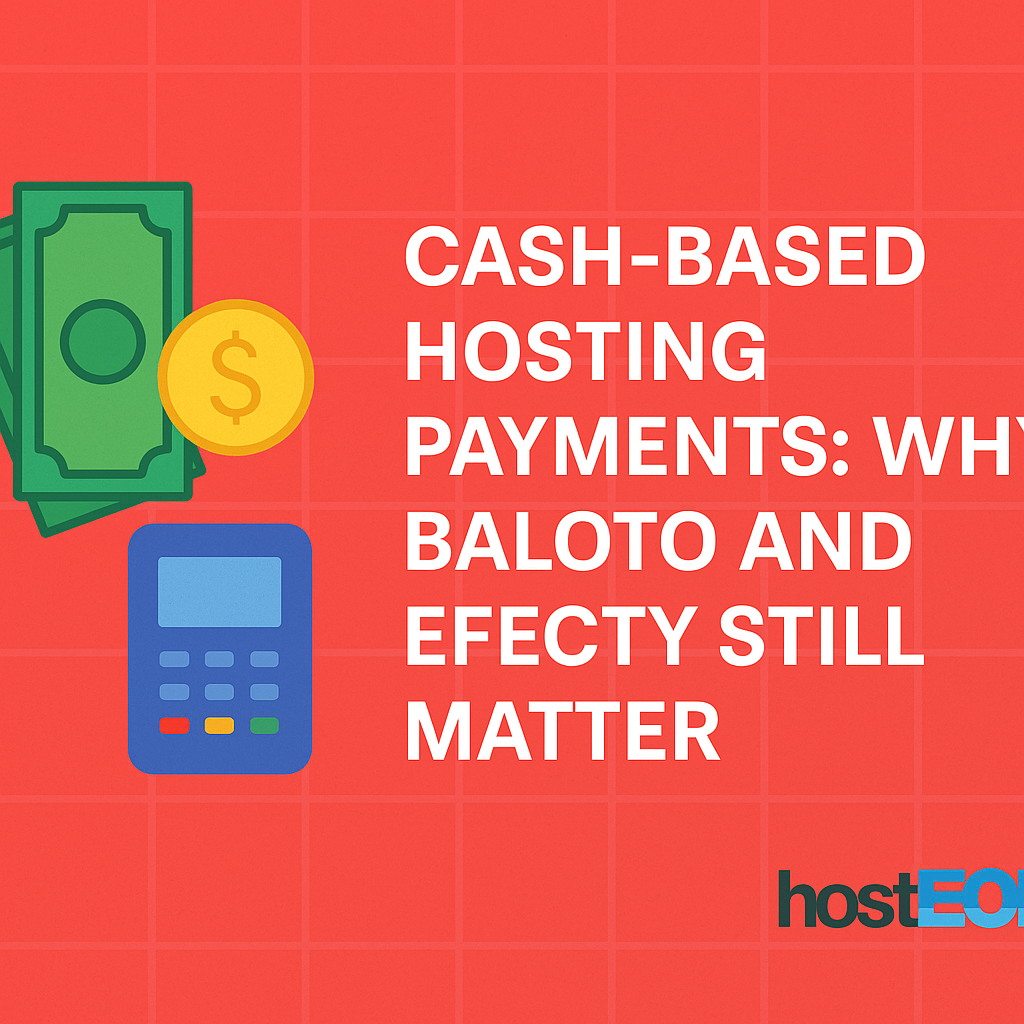
In today’s digital-first world, it’s easy to assume everyone pays online with cards, wallets, or crypto. But in many regions—especially across Latin America—cash is still king.
At Hosteons, we believe in meeting customers where they are, not where the industry thinks they should be. That’s why we proudly support Baloto and Efecty, two of Colombia’s most trusted cash payment methods.
Let’s explore why these offline options remain critical in the web hosting ecosystem.
🇨🇴 What Are Baloto and Efecty?
Both Baloto and Efecty are widely used cash-based payment networks in Colombia, allowing people to pay for services offline at physical locations.
🟡 Baloto
Operates through lottery terminals in retail stores
Offers payment, top-up, and ticketing services
Accepted by millions of Colombians with no bank account
🟠 Efecty
Provides money transfers and bill payments
Has over 9,000 locations across Colombia
Known for reliability and cash-first accessibility
Together, these networks empower people to pay for online services—without needing a card, PayPal, or digital wallet.
🧑💼 Who Still Uses Cash for Hosting?
You’d be surprised.
In Colombia and other emerging markets:
Many freelancers, students, and micro-businesses operate without bank access
Internet penetration is high—but financial inclusion is low
Customers prefer to pay with cash, even for digital services like hosting
At Hosteons, we’ve seen real-world users pay for VPS and shared hosting plans in cash at Baloto and Efecty counters.
🔐 Trust & Familiarity Matter
For many users, paying with cash isn’t about technology—it’s about trust.
Here’s why cash-based methods like Baloto and Efecty still matter:
✅ No need to enter card details online
✅ No risk of fraud or chargebacks
✅ Payment feels more tangible and familiar
✅ Local language and customer support
By offering these methods, Hosteons builds confidence and trust with customers who may not be comfortable using global gateways.
🛒 Frictionless Checkout = More Conversions
You might have the fastest VPS or best price—but if your customer can’t pay easily, they’ll go elsewhere.
Supporting Baloto and Efecty ensures:
✅ Better conversion rates in Colombia
✅ Lower payment failure rate
✅ Higher satisfaction among local users
It’s not about forcing users into a digital mold—it’s about giving them options.
🌐 Hosteons: Hosting on Your Terms
At Hosteons, we offer:
💳 Cards & wallets
🪙 Crypto & stablecoins
📱 Mobile payments
💵 Cash-based options like Baloto and Efecty
Because we believe hosting should be accessible to everyone—not just the digitally privileged.
🖥️ Need Hosting? Pay How You Want.
Ready to launch your VPS, VDS, or shared hosting?
Choose your payment method—yes, even cash at your nearest store in Colombia:
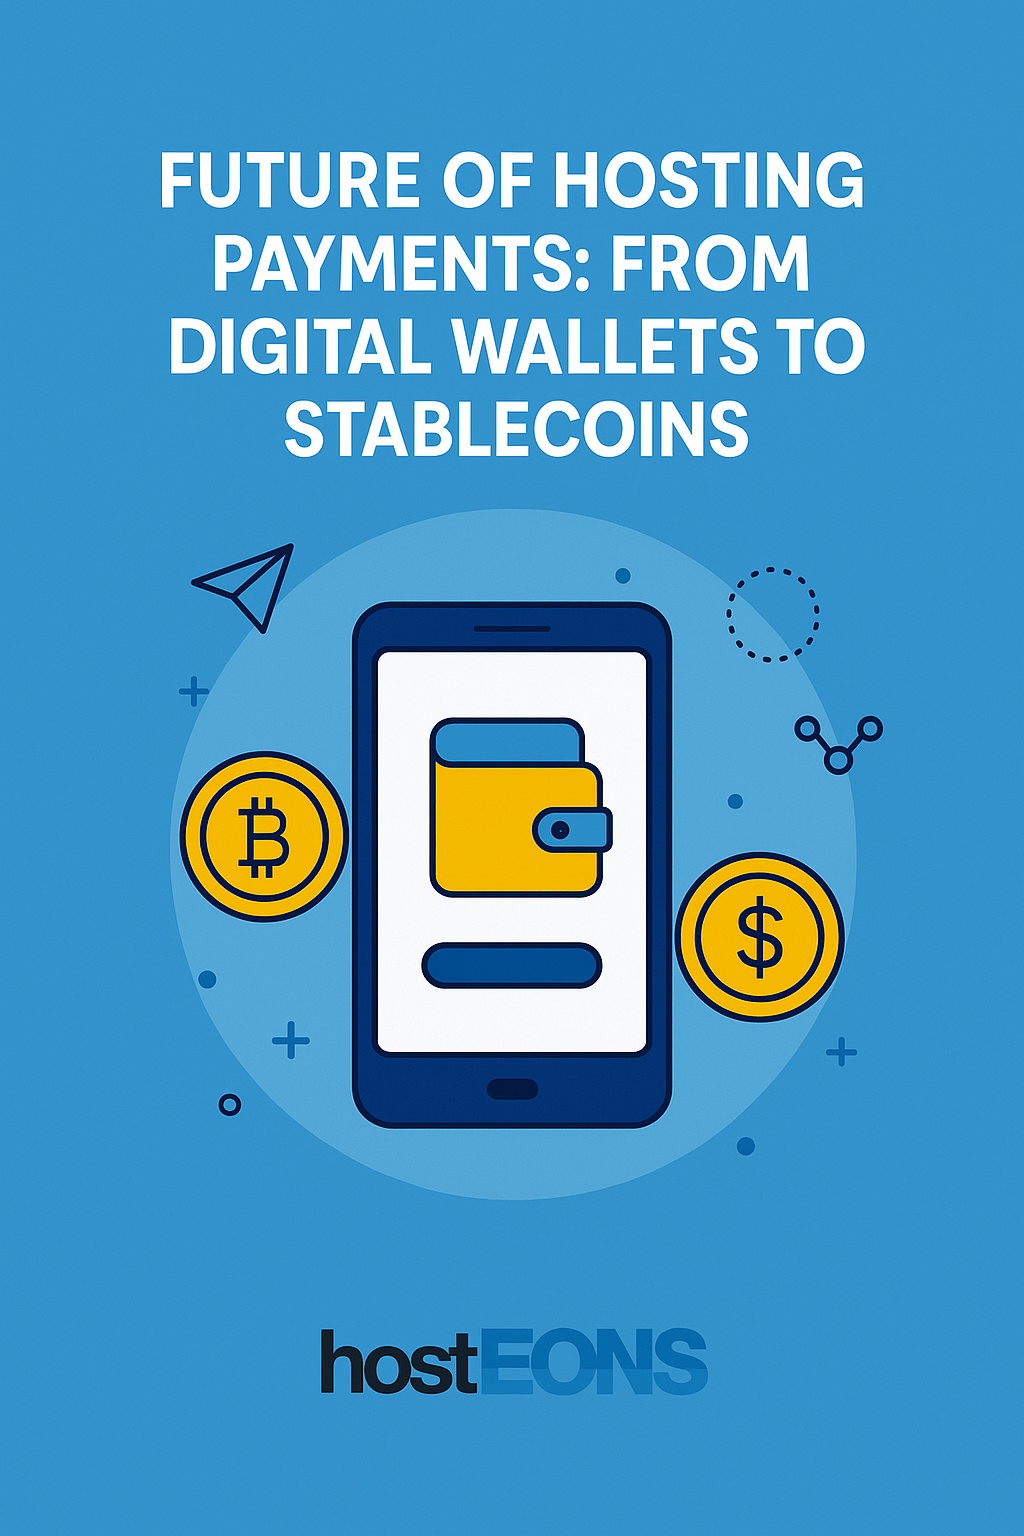
The web hosting industry is evolving fast—but it’s not just about faster servers or better uptime. One of the most significant shifts we’re seeing is in how customers pay.
At Hosteons, we’ve embraced this shift from the start—offering local payment options, digital wallets, and even cryptocurrency support with no KYC required. But what’s next?
Let’s take a look at the future of hosting payments, from today’s mobile-first wallets to tomorrow’s blockchain-powered transactions.
💳 The Traditional Model Is Fading
For years, hosting payments were dominated by:
Credit/Debit Cards (Visa, MasterCard)
PayPal
While still popular, these methods are becoming less universal, especially across Asia, Latin America, and Africa.
Why?
🌍 Because they:
Often require international banking access
May trigger fraud flags or conversion fees
Are unavailable to the unbanked or privacy-focused users
📱 Rise of Digital Wallets
Today’s hosting customers—especially freelancers, startups, and mobile-first users—are turning to digital wallets.
Popular platforms include:
Alipay (China)
UPI (India)
GCash (Philippines)
QRIS (Indonesia)
Apple Pay / Google Pay (Global)
These wallets offer:
✅ Instant payments
✅ Mobile convenience
✅ Local currency support
✅ Higher trust in domestic markets
At Hosteons, we support many of these methods via our international checkout system, making hosting accessible in regions where credit cards simply don’t work.
🪙 The Crypto Shift: Privacy, Speed, and Global Reach
Cryptocurrencies are no longer niche—they’re quickly becoming a preferred choice for cross-border hosting payments, especially for those valuing privacy, decentralization, or inflation protection.
At Hosteons, we already accept:
Bitcoin (BTC)
Ethereum (ETH)
Tether (USDT)
Litecoin (LTC)
Dogecoin (DOGE)
And more…
Why crypto is gaining traction:
🌐 Global by design — pay from anywhere
🕵️♂️ Privacy-first — no KYC or ID required
💸 Lower fees than traditional gateways
🚀 Fast confirmations with lightning wallets or Layer 2 networks
🔒 The Stablecoin Advantage
One of the biggest concerns for crypto payments? Volatility.
Enter Stablecoins like:
USDT (Tether)
USDC (USD Coin)
DAIThese tokens are pegged to the U.S. dollar, offering the benefits of crypto without the price swings.
Stablecoins are becoming the future of crypto payments because they:
✅ Provide price stability
✅ Are accepted by major hosting providers like Hosteons
✅ Offer better settlement speed than banks
✅ Can work as digital cash in high-inflation regions
🤝 Web3, Decentralized Identity & Smart Payments?
Looking ahead, we see even more innovation on the horizon:
Decentralized Identity (DID) linked to crypto wallets
From stablecoins to smartphones—we make payments simple, private, and powerful.
Final Thoughts
The future of hosting payments is about more than technology—it’s about accessibility, privacy, and trust. Whether you’re using a mobile wallet in Jakarta or paying in USDT from Argentina, you deserve fast, secure, and borderless hosting.
When most people think about hosting performance, they immediately think of server speed, uptime, or latency. While those are critical, there’s another factor that’s often overlooked—but just as vital for global users:
👉 Payment Accessibility.
At Hosteons, we’ve seen it firsthand: customers can fall in love with your specs and pricing, but if they can’t pay conveniently, the deal falls apart.
Let’s explore why payment accessibility is a performance factor—not just a billing issue.
🚀 Server Speed Gets You Attention…
Server speed is undoubtedly the backbone of hosting.
✅ Fast page load times
✅ Low latency for apps
✅ Better SEO
✅ Happier users
But here’s the catch—none of that matters if the customer can’t even complete the checkout process.
💳 …But Payment Accessibility Closes the Deal
Think of payment accessibility as the final bridge between interest and conversion.
If a user from Indonesia, India, Colombia, or China can’t use their preferred method to pay, the result is simple:
❌ Lost sales
❌ Frustration
❌ Cart abandonment
At Hosteons, we go beyond Visa and PayPal. We support over 30+ global payment options to meet our customers where they are.
🌍 Why Global Payment Support Matters
Here’s why payment accessibility can be a make-or-break factor:
✅ 1. Local Users Want Local Payment Options
Not everyone has an international credit card or PayPal account.
That’s why we support:
Alipay, UnionPay – for China
UPI, NetBanking – for India
Baloto, Efecty – for Colombia
Dragonpay – for the Philippines
PIX, Boleto – for Brazil
QRIS – for Indonesia
And many more…
This localized approach removes barriers and builds trust.
✅ 2. Speed at Checkout Matters Too
Slow websites lose users. But so do slow or failed payment gateways.
With Hosteons:
No redirects to unknown processors
Instant confirmation
Checkout that matches user expectations
It’s all part of our mission to offer a frictionless user experience from homepage to hosting dashboard.
✅ 3. Trust = Payment Familiarity
Users are more likely to pay when they see logos they recognize.
That trust factor is as valuable as low ping times.
A buyer from Colombia seeing Efecty or Baloto at checkout is more likely to convert than one who sees only PayPal and Visa.
✅ 4. Accessibility Supports Growth
Making it easy for users across Asia, LATAM, and Europe to pay means:
More signups
Less support for failed payments
Better brand reputation
Global reach without added complexity
💡 Hosteons = Fast Servers + Fast Payments
We don’t believe in trade-offs.
At Hosteons, you get:
✅ 10Gbps Network Speeds
✅ NVMe SSD KVM VPS
✅ Global Datacenter Coverage
✅ AND Payment Accessibility in 50+ Countries
Because performance isn’t just how fast your website loads—
At Hosteons, we understand that local payment methods aren’t just convenient—they’re essential. For our Chinese customers, two names stand out above all: UnionPay and Alipay.
These platforms aren’t just popular—they are deeply embedded in the daily lives and business operations of millions. That’s why we’ve ensured full support for both, making it easier than ever for customers in China to pay for their hosting services without international card hassles or currency conversion issues.
🏦 What Is UnionPay?
UnionPay (银联) is China’s most widely used bank card network, comparable to Visa or Mastercard but tailored specifically for Chinese customers. It’s accepted by virtually every Chinese bank and used across all demographics—from students to large enterprises.
When a hosting provider accepts UnionPay:
There’s no need for foreign cards.
Payments can be made via familiar interfaces.
Transaction success rates are significantly higher within China.
📱 What Is Alipay?
Alipay (支付宝) is China’s leading digital wallet and mobile payment platform with over 1 billion users globally. It offers:
Instant payments through QR codes or mobile wallets.
Integration with bank accounts, cards, and even credit options.
Unmatched convenience for mobile-first users.
At Hosteons, Alipay acceptance means:
You can pay with your existing Alipay wallet instantly.
No need to use VPNs or international payment gateways.
Ideal for freelancers, startups, and businesses that operate online.
🇨🇳 Why These Payment Options Matter
✅ 1. Ease of Access
Chinese users often face restrictions when using Visa, MasterCard, or PayPal due to:
Currency limitations
Government controls
Payment failures on international platforms
Alipay and UnionPay eliminate these barriers.
✅ 2. Higher Trust
Chinese customers trust local brands more when making payments. Offering UnionPay and Alipay increases confidencein the provider and reduces cart abandonment.
✅ 3. Faster Payments & Settlements
With no need for cross-border clearance, these methods ensure real-time transactions, allowing instant activation of services like:
VPS hosting
VDS servers
Shared hosting plans
✅ 4. Lower Payment Fees
For Chinese users, using international cards can mean foreign exchange surcharges. Alipay and UnionPay help avoid these hidden costs.
🌐 Hosteons: Built for Global Customers, Local Experience
At Hosteons, we are proud to be a Singapore-registered hosting provider offering services globally while understanding regional needs deeply.
We don’t just accept Visa and PayPal. We go further—with support for:
Alipay (CN)
UnionPay (银联卡)
WeChat Pay (coming soon!)
Dozens of other local payment options across Asia, LATAM, and Europe
Our payment partner supports seamless checkout experiences for Chinese customers, making the hosting journey frictionless and localized.
🖥️ Ready to Host with Alipay or UnionPay?
Explore our high-speed KVM VPS, Ryzen VDS, and shared hosting plans — all available to purchase with Alipay and UnionPay.
For Chinese users, having access to trusted and familiar payment options is not a luxury—it’s a necessity. By offering Alipay and UnionPay, Hosteons removes the biggest friction point in cross-border hosting: payment.
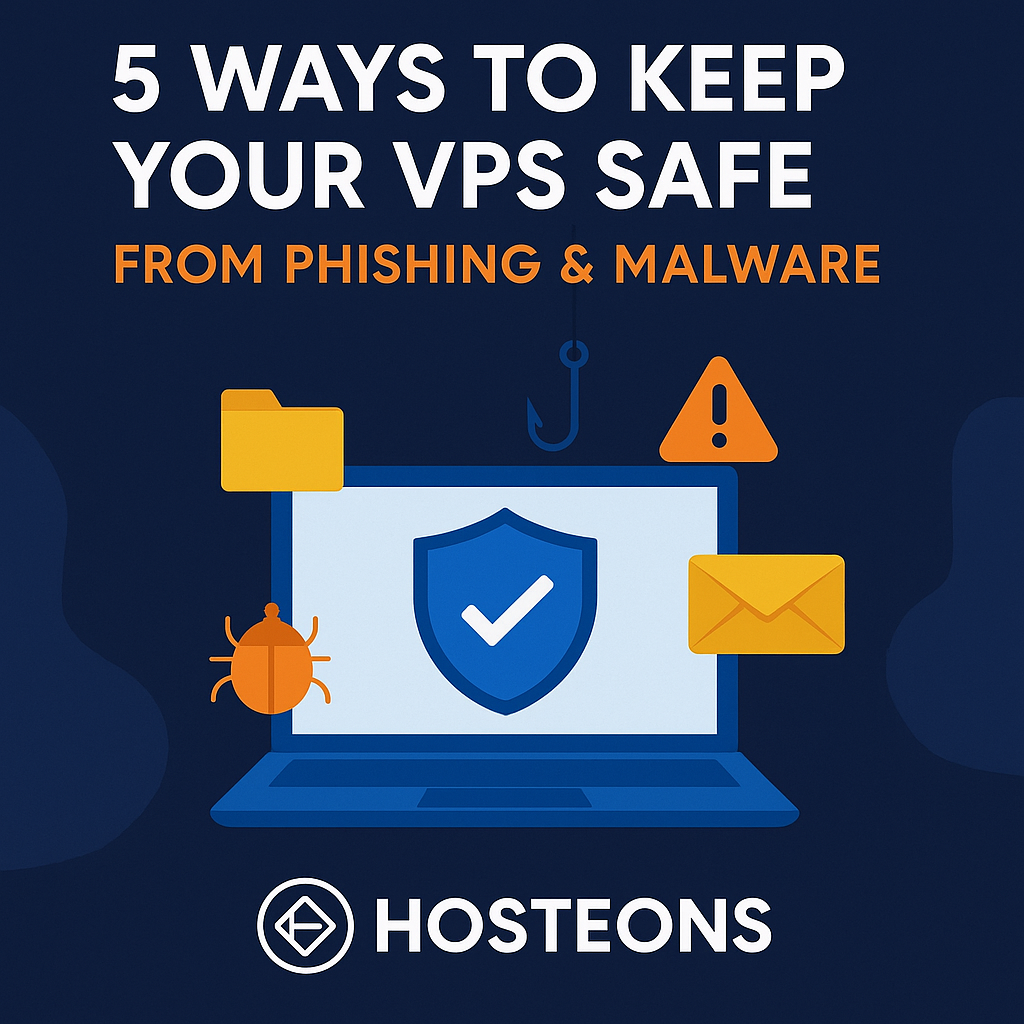
Running a VPS gives you full control and flexibility, but it also means you’re responsible for keeping it secure. One of the biggest threats in 2025 continues to be phishing and malware attacks. These threats can compromise your VPS, steal data, or even turn your server into a botnet.
At Hosteons, we provide the tools and freedom to secure your VPS, but it’s up to you to take the right precautions. Here are 5 proven ways to protect your VPS from phishing and malware attacks.
1. 🔑 Use Strong Authentication
Phishing often targets weak credentials.
Disable password logins for SSH and use SSH key authentication.
Set up 2FA (Two-Factor Authentication) for control panels and CMS logins.
Regularly update and rotate your passwords if they’re in use.
2. 🛡 Install Firewalls & Intrusion Prevention
A firewall blocks suspicious traffic before it reaches your VPS.
Use UFW (Ubuntu) or CSF (CentOS/AlmaLinux) to control access.
Install Fail2Ban to detect and block repeated login attempts.
Consider a Web Application Firewall (WAF) for website protection.
3. ⚡ Keep Software & Applications Updated
Outdated software is one of the most common malware entry points.
Regularly update your OS, web server, CMS, and plugins.
Remove unused or outdated packages.
Automate updates where possible for security patches.
4. 🧹 Scan & Monitor Your VPS Regularly
Detect malware before it causes damage.
Use tools like ClamAV or Maldet to scan files.
Monitor logs with Logwatch or real-time monitoring solutions.
Set up alerts for unusual activity such as high CPU usage or unexpected traffic spikes.
5. 📂 Backup & Recovery Plan
Even with strong defenses, no system is 100% safe.
Schedule automated backups of your VPS.
Store backups on remote servers or cloud storage.
Test your restore process so you can recover quickly if attacked.
🚀 How Hosteons Helps You Stay Secure
When you choose Hosteons VPS or VDS hosting, you get:
Full root access to implement custom security measures
High-speed 10Gbps ports for secure, fast transfers
Easy-to-use control panel with Virtualizor for backup management
Privacy-first hosting with No-KYC signups
Flexible payment options, including crypto and local gateways
✅ Conclusion
Phishing and malware attacks are not going away, but with the right precautions, you can keep your VPS safe. By combining strong authentication, firewalls, updates, monitoring, and backups, you’ll minimize risks and ensure your VPS stays reliable and secure.
At Hosteons, we give you the infrastructure and freedom to protect your VPS your way.