
When most people hear 10Gbps hosting, they think of video streaming, gaming, or other bandwidth-heavy applications. While it’s true that these industries benefit greatly from high-speed network ports, the advantages of 10Gbps hostingextend far beyond streaming.
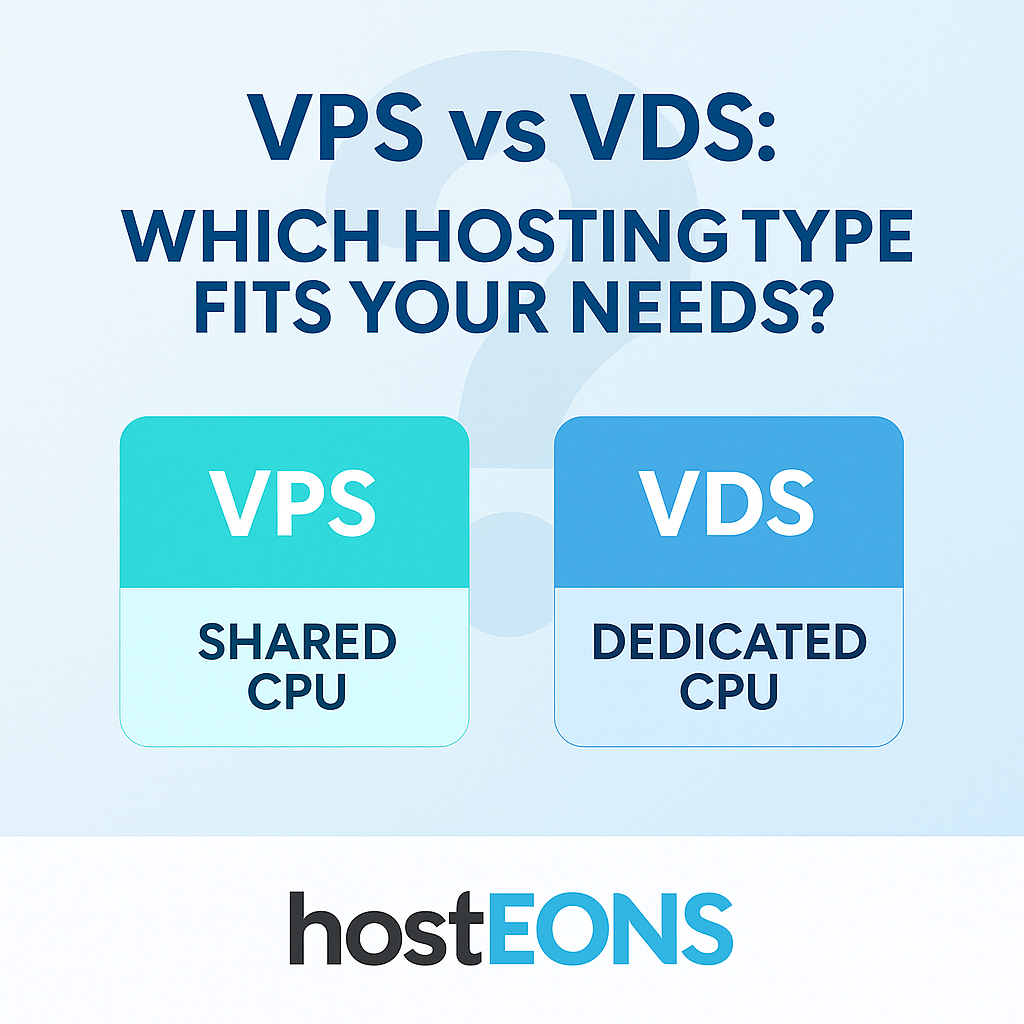
At Hosteons, all our VPS and VDS plans come with 10Gbps network ports, giving businesses a competitive edge no matter their industry.
⚡ What Is 10Gbps Hosting?
10Gbps hosting means your server is connected to a 10-gigabit-per-second port, enabling ultra-fast data transfer speeds. This ensures low latency, high reliability, and the ability to handle heavy workloads seamlessly.
🌍 Benefits of 10Gbps Hosting for Businesses
1. Faster Website Performance
Page speed is crucial for SEO, user experience, and conversions. A 10Gbps port ensures faster content delivery to visitors worldwide, reducing bounce rates and improving customer satisfaction.
2. Smooth SaaS & Cloud Applications
For SaaS providers and cloud platforms, performance depends on reliable connectivity. 10Gbps hosting guarantees that applications remain responsive, even during peak demand.
3. Better for E-Commerce
High-traffic online stores benefit from faster checkout processes, reduced cart abandonment, and the ability to handle seasonal surges without downtime.
4. Enhanced Remote Work & Collaboration
With more teams working globally, 10Gbps hosting supports smooth file transfers, video conferencing, and real-time collaboration tools.
5. Big Data & Analytics
Businesses handling large datasets or running analytics benefit from faster data transfer, making it easier to process and act on insights quickly.
6. Cybersecurity & Backups
Security updates, backups, and disaster recovery processes are faster and more efficient on 10Gbps connections, minimizing downtime and risks.
7. Hosting Multiple Websites or Clients
Agencies and developers hosting multiple projects on one VPS can serve all their clients without performance bottlenecks.
🚀 Why Hosteons 10Gbps Hosting Stands Out
At Hosteons, 10Gbps ports are standard across our VPS and VDS plans — not an expensive add-on. We combine this with:
Global Locations – US (Los Angeles, Dallas, Miami, New York, Portland, Salt Lake City) & EU (Paris, Frankfurt)Scalable Plans – From Budget KVM VPS to Ryzen 7950X VDSPrivacy-Friendly Hosting – No-KYC signupsFlexible Payments – Crypto, local gateways (UPI, Alipay, Pix, OXXO, Dragonpay, etc.), cards, wallets, and PayPalFull Root Access – Customize your VPS your way
✅ Conclusion
10Gbps hosting is no longer just for streaming giants. From SaaS companies to e-commerce stores, agencies, and remote teams, businesses of all sizes can benefit from ultra-fast connectivity.
With Hosteons VPS and VDS hosting, you get 10Gbps ports included — giving your business the speed and reliability it needs to stay ahead in 2025 and beyond.
👉 Explore our hosting plans today: https://hosteons.com