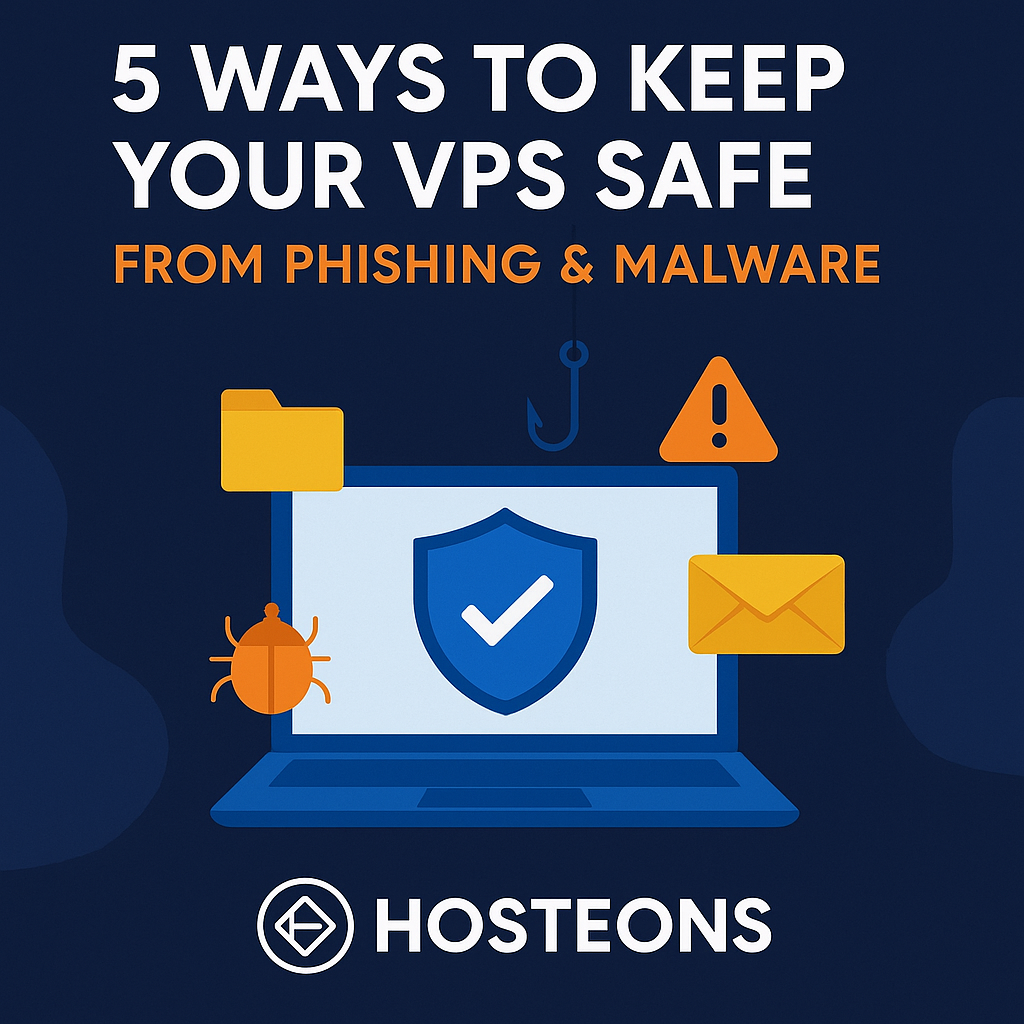
Running a VPS gives you full control and flexibility, but it also means you’re responsible for keeping it secure. One of the biggest threats in 2025 continues to be phishing and malware attacks. These threats can compromise your VPS, steal data, or even turn your server into a botnet.
At Hosteons, we provide the tools and freedom to secure your VPS, but it’s up to you to take the right precautions. Here are 5 proven ways to protect your VPS from phishing and malware attacks.
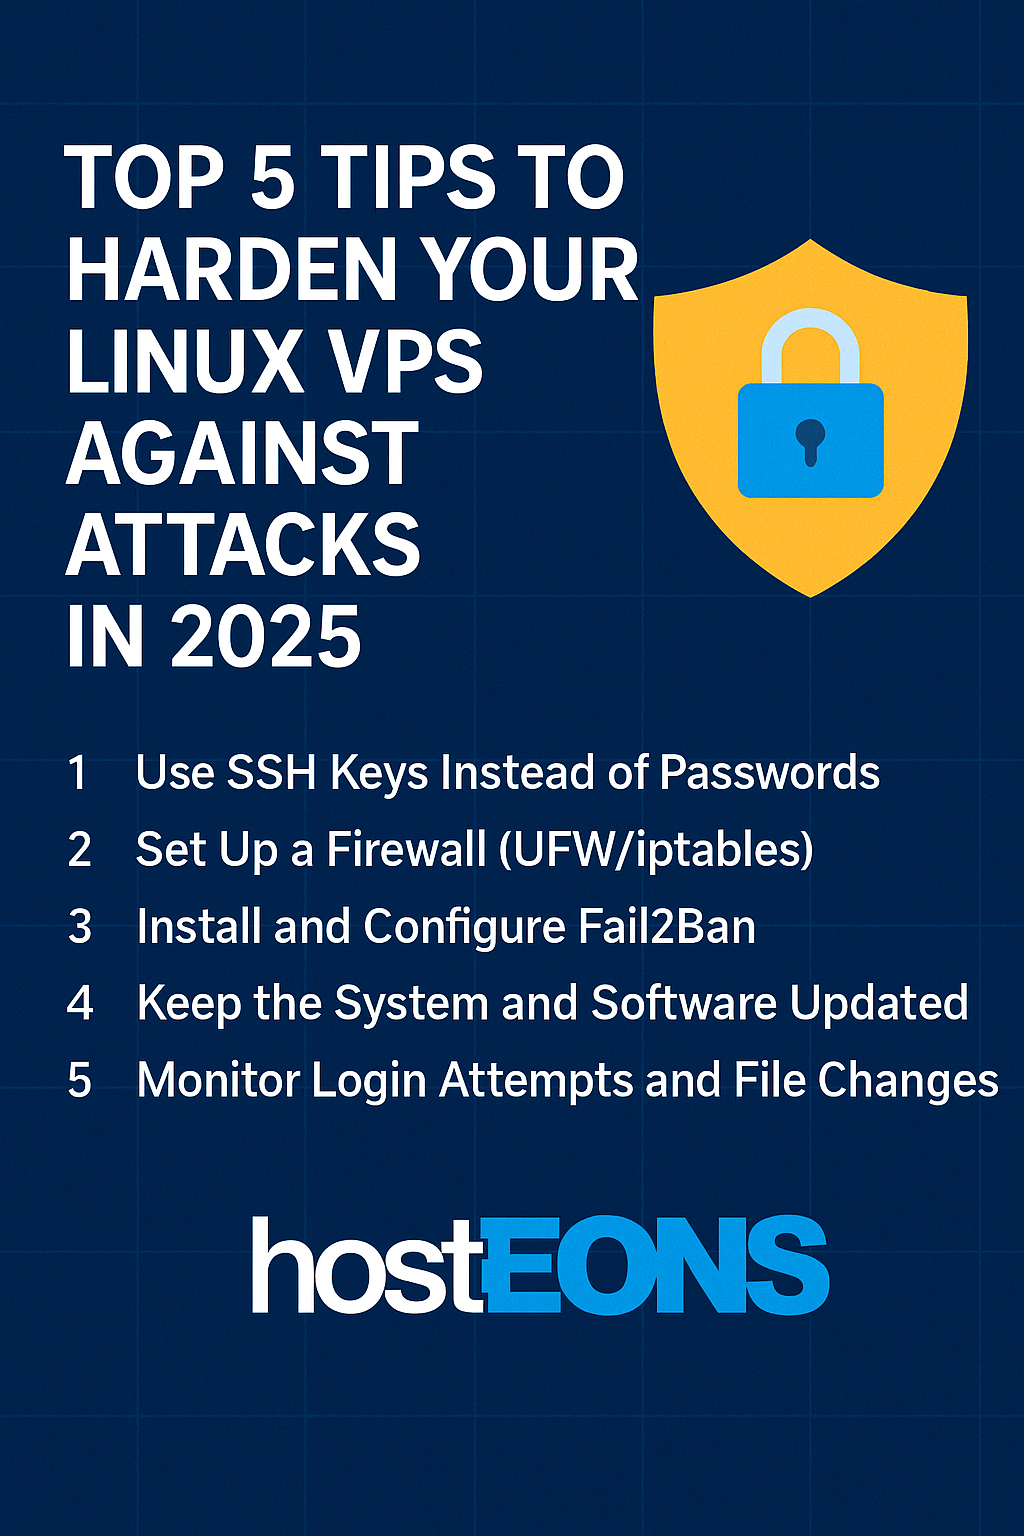
1. 🔑 Use Strong Authentication
Phishing often targets weak credentials.
- Disable password logins for SSH and use SSH key authentication.
- Set up 2FA (Two-Factor Authentication) for control panels and CMS logins.
- Regularly update and rotate your passwords if they’re in use.
2. 🛡 Install Firewalls & Intrusion Prevention
A firewall blocks suspicious traffic before it reaches your VPS.
- Use UFW (Ubuntu) or CSF (CentOS/AlmaLinux) to control access.
- Install Fail2Ban to detect and block repeated login attempts.
- Consider a Web Application Firewall (WAF) for website protection.
3. ⚡ Keep Software & Applications Updated
Outdated software is one of the most common malware entry points.
- Regularly update your OS, web server, CMS, and plugins.
- Remove unused or outdated packages.
- Automate updates where possible for security patches.
4. 🧹 Scan & Monitor Your VPS Regularly
Detect malware before it causes damage.
- Use tools like ClamAV or Maldet to scan files.
- Monitor logs with Logwatch or real-time monitoring solutions.
- Set up alerts for unusual activity such as high CPU usage or unexpected traffic spikes.
5. 📂 Backup & Recovery Plan
Even with strong defenses, no system is 100% safe.
- Schedule automated backups of your VPS.
- Store backups on remote servers or cloud storage.
- Test your restore process so you can recover quickly if attacked.
🚀 How Hosteons Helps You Stay Secure
When you choose Hosteons VPS or VDS hosting, you get:
- Full root access to implement custom security measures
- High-speed 10Gbps ports for secure, fast transfers
- Easy-to-use control panel with Virtualizor for backup management
- Privacy-first hosting with No-KYC signups
- Flexible payment options, including crypto and local gateways
✅ Conclusion
Phishing and malware attacks are not going away, but with the right precautions, you can keep your VPS safe. By combining strong authentication, firewalls, updates, monitoring, and backups, you’ll minimize risks and ensure your VPS stays reliable and secure.
At Hosteons, we give you the infrastructure and freedom to protect your VPS your way.
👉 Explore our VPS & VDS hosting plans: https://hosteons.com