The way we pay for hosting services is changing. Traditional methods like credit cards and bank transfers are still common, but cryptocurrency has emerged as a fast, secure, and privacy-focused alternative. In 2025, many businesses and individuals are asking the big question:
Is crypto the future of hosting payments?
At Hosteons, we believe the answer is yes—and here’s why.
✅
1. Privacy at Its Core
Privacy is a growing concern in today’s digital world. Traditional payments often require sharing sensitive information, including personal details and banking credentials. Crypto transactions, on the other hand, allow you to pay without exposing your identity.
For individuals and businesses that value confidentiality, crypto is the ideal solution.
✅
2. Global Accessibility Without Barriers
Bank restrictions, currency conversions, and regional payment limitations often make international hosting payments complicated. Crypto eliminates these obstacles.
Benefits:
- Send payments from anywhere in the world
- Avoid delays and banking restrictions
- Ideal for startups and freelancers working internationally
✅
3. Fast, Borderless Transactions
Wire transfers can take days to clear, but crypto transactions typically settle in minutes. This means faster VPS or hosting activation and less downtime for your business.
✅
4. Reduced Fees and No Chargebacks
Cryptocurrency transactions generally have lower processing fees compared to credit cards. Plus, there are no chargebacks, which protects both the customer and the provider from unnecessary disputes.
✅
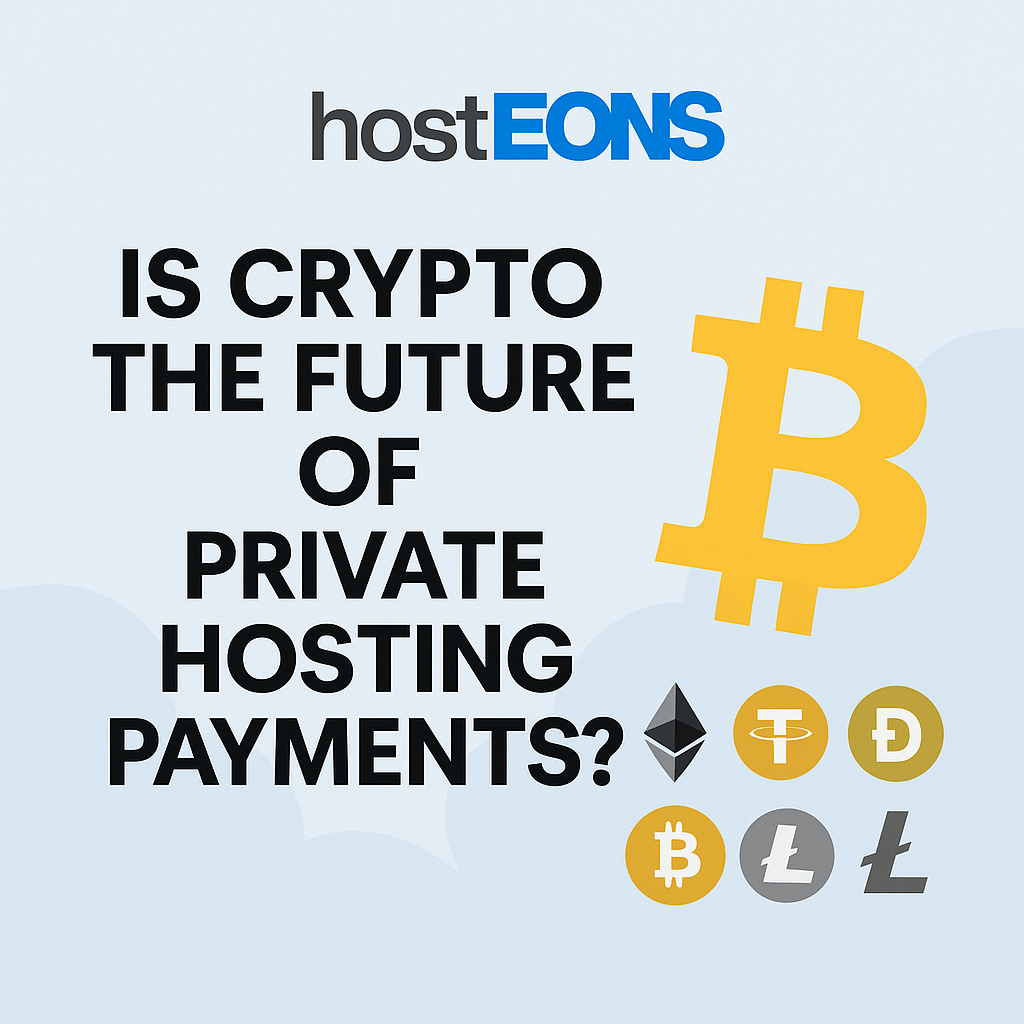
5. Adoption by Hosting Providers
Top hosting companies, including Hosteons, already accept cryptocurrency payments. Whether you need a Budget VPS, a Premium Ryzen VPS, or a Ryzen 7950X VDS, you can pay with Bitcoin, Ethereum, USDT, Dogecoin, and more.
👉 Our Plans:
✅
6. Future-Proof Your Business
As blockchain technology evolves and digital currencies become more mainstream, businesses that embrace crypto now will be ahead of the curve.
Final Thoughts
Is crypto the future of private hosting payments? All signs point to yes.
With speed, privacy, and global accessibility, cryptocurrency is shaping the future of hosting transactions—and Hosteons is ready to help you embrace it.
🖥️ Order your VPS today and pay with crypto: