In an age where online privacy is becoming a scarce commodity, more users are looking for ways to keep their personal and financial information secure. When it comes to hosting services, one of the best ways to protect your privacy is by paying with cryptocurrency.
At Hosteons, we understand that privacy is not just a preference — it’s a necessity for many of our customers. That’s why we fully support crypto payments for all our VPS, VDS, and dedicated server plans.
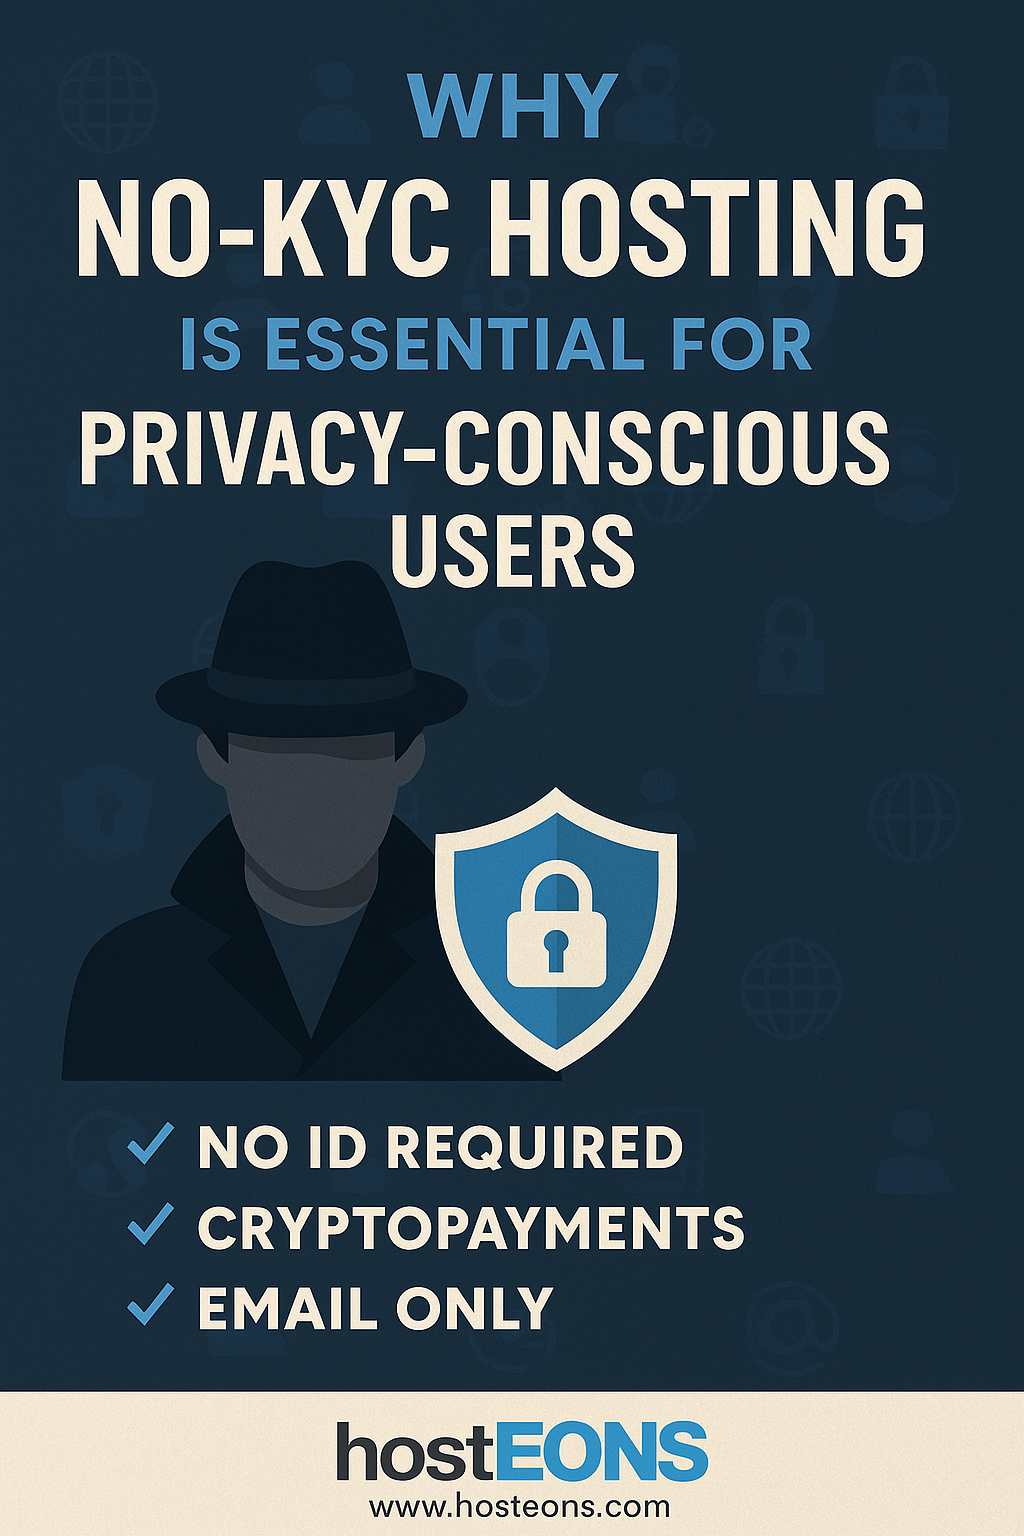
🔐 Why Privacy Matters in Hosting
Every time you pay with traditional methods like credit cards or bank transfers, you leave a trail of personal and financial data. This information can be stored, tracked, or even sold by third parties. For customers in sensitive industries, regions with restrictive regulations, or those who value anonymity, this is a serious concern.
💱 How Cryptocurrency Protects Your Privacy
- No Bank IntermediariesCrypto transactions happen directly between you and the hosting provider. No bank or payment processor needs to verify or record your details.
- Minimal Personal DataAt Hosteons, we allow No-KYC signups, meaning you can purchase hosting with just your email address when paying with cryptocurrency.
- Global AccessibilityWhether you’re in a payment-restricted country or just want to avoid currency conversion fees, crypto works across borders instantly.
- Reduced Risk of Identity TheftSince you’re not sharing sensitive payment details like card numbers, the risk of data breaches exposing your information is greatly reduced.
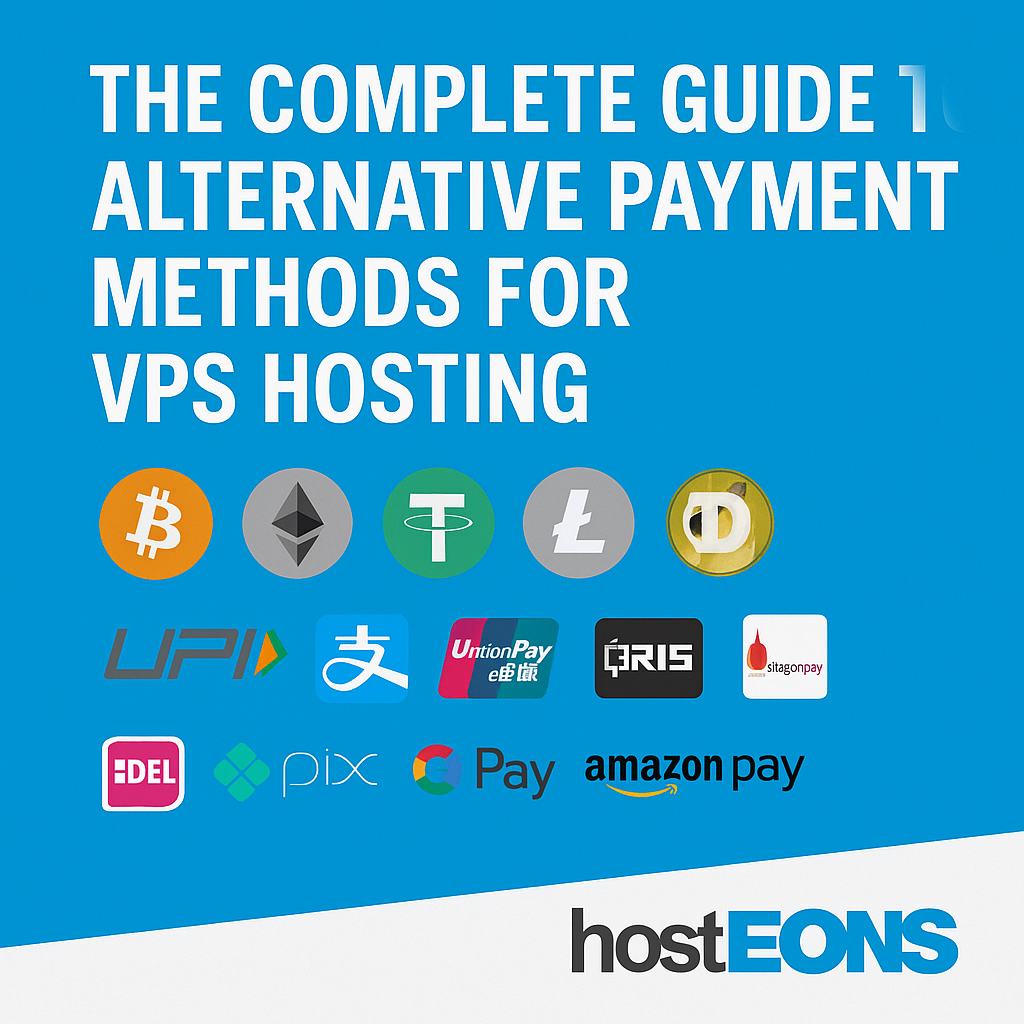
🌍 Supported Cryptocurrencies at Hosteons
We accept a wide range of cryptocurrencies, including:
- Bitcoin (BTC)
- Ethereum (ETH)
- Tether (USDT)
- Litecoin (LTC)
- Dogecoin (DOGE)…and more.
🚀 Why Choose Hosteons for Crypto Payments
- No-KYC hosting for privacy-conscious customers
- Multiple global server locations for low latency and flexibility
- Instant provisioning after payment confirmation
- Mix-and-match payments — split your invoice between crypto and other methods if needed
📖 Conclusion
If privacy, security, and freedom matter to you, paying for hosting with cryptocurrency is a smart choice. At Hosteons, we make it simple, fast, and completely secure.
🔗 Get started today: