When it comes to buying hosting, the biggest challenge often isn’t picking the right plan—it’s being able to pay for it.
At Hosteons, we understand that every customer is different. Some prefer crypto, others want to pay in cash. Some use Alipay or UnionPay, while others rely on QRIS, UPI, or OXXO.
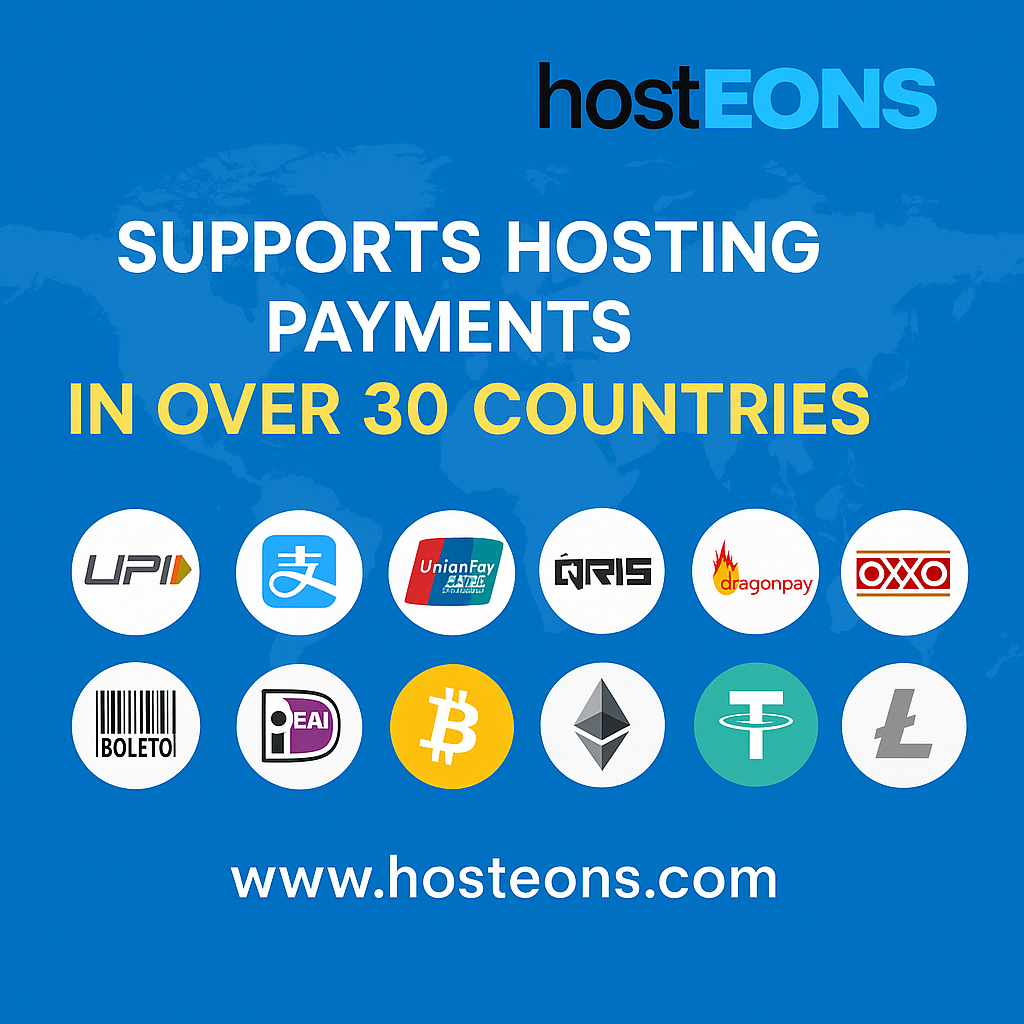
That’s why we’ve partnered with a global payment processor to support 100+ local payment methods across Asia, Latin America, Africa, and beyond—making hosting accessible to everyone, regardless of where they live or how they choose to pay.
💳 The Problem with Traditional Payment Gateways
Most hosting companies only accept:
- Credit/Debit Cards (Visa, MasterCard)
- PayPal
- Sometimes bank transfer
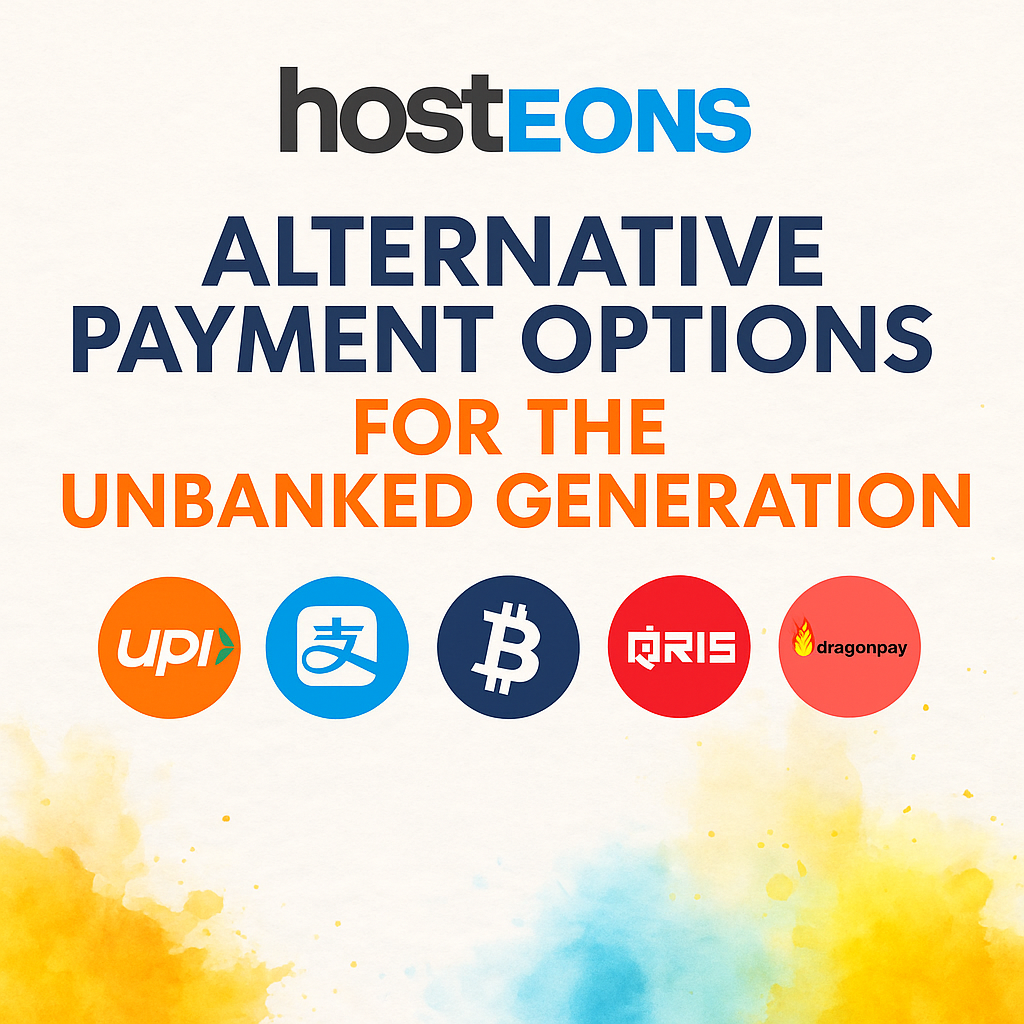
But these options exclude millions of users who:
- Don’t own an international card
- Are unbanked
- Can’t access PayPal due to geo-restrictions
- Prefer privacy or local payment networks
This results in lost sales, frustrated customers, and a barrier to entry for users around the world.
✅ Hosteons’ Solution: 100+ Local Payment Methods
We’ve integrated a powerful payment infrastructure that supports a wide range of region-specific options, including:
🌏 Asia-Pacific
- 🇨🇳 Alipay, UnionPay
- 🇮🇳 UPI, NetBanking
- 🇮🇩 QRIS
- 🇵🇭 Dragonpay, GCash, Paymaya
- 🇹🇭 Thai QR PromptPay
- 🇲🇾 BoostPay, FPX
🌎 Latin America
- 🇲🇽 OXXO (cash)
- 🇧🇷 Pix (real-time transfer)
- 🇨🇴 Baloto, Efecty, PSE
- 🇦🇷 Pago Fácil, Rapipago
- 🇨🇱 Servipag
🌍 Africa & MENA
- 🇳🇬 Bank Transfers (Nigeria)
- 🇪🇬 Fawry
- 🇿🇦 Ozow, Instant EFT
- 🇲🇦 CashPlus
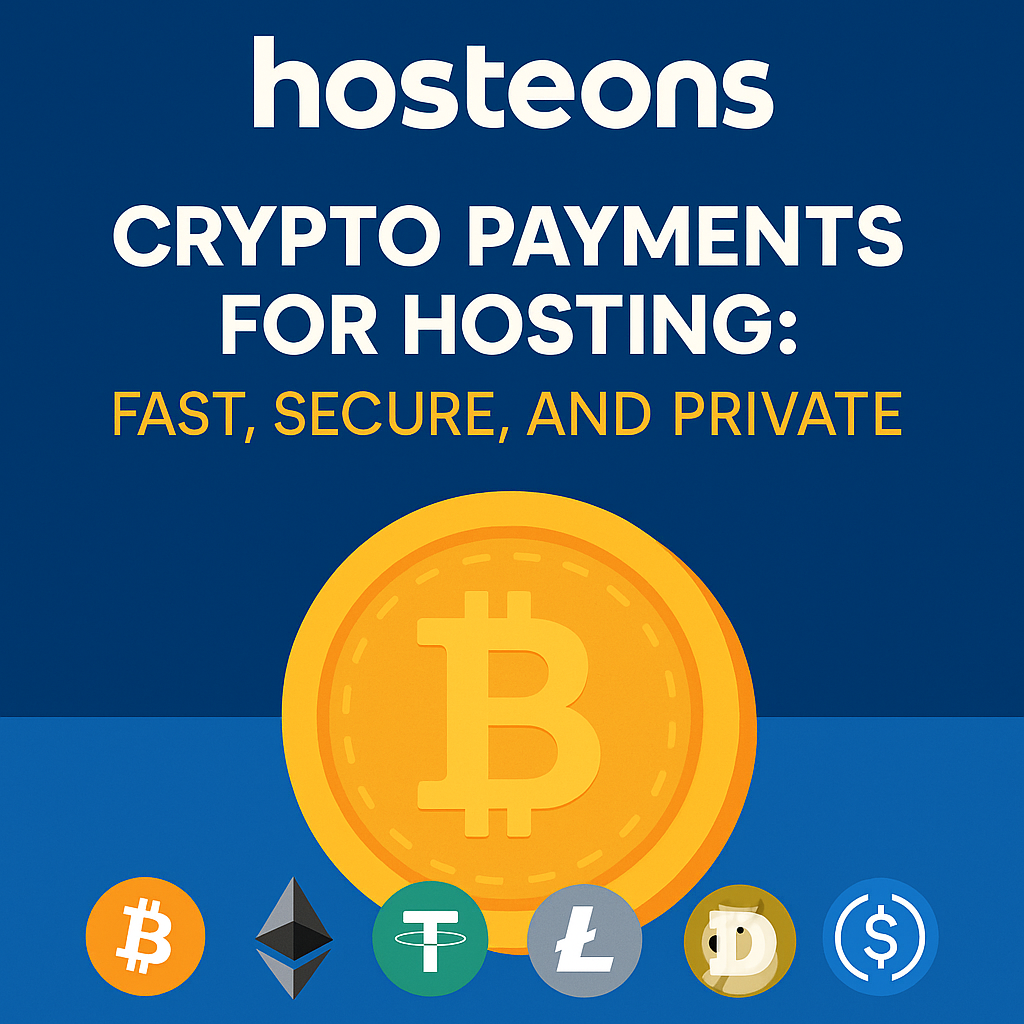
🌐 Global & Crypto
- 🪙 Bitcoin, Ethereum, Litecoin, USDT, DOGE
- 💳 All major cards
- 📱 Google Pay, Apple Pay
- 🏦 International bank transfers
🛒 Why It Matters
🔓 Inclusion
We eliminate the payment barrier that prevents people in emerging markets from accessing world-class hosting.
🔐 Privacy
Many users choose crypto or local options that don’t require personal data or international identity verification.
📈 Higher Conversion Rates
When users see a familiar local payment logo, they’re more likely to complete the order.
🧘 Frictionless Checkout
Our system automatically shows available payment methods based on country and currency—no guesswork needed.
🌐 Real-World Use Cases
- A student in Indonesia pays for VPS with QRIS
- A business in Colombia uses Efecty to pay in cash
- A freelancer in India pays with UPI from their mobile app
- A privacy-conscious developer in Argentina pays in USDT
- A reseller in Brazil uses Pix to top up their account in seconds
🧾 Invoicing & Support
All payments—whether via crypto or cash-based local networks—come with:
- ✅ Automated invoice generation
- ✅ Email + client area confirmations
- ✅ Instant activation (for most methods)
- ✅ Full support in English, Spanish, and more
🚀 Get Started with Hosting—Your Way
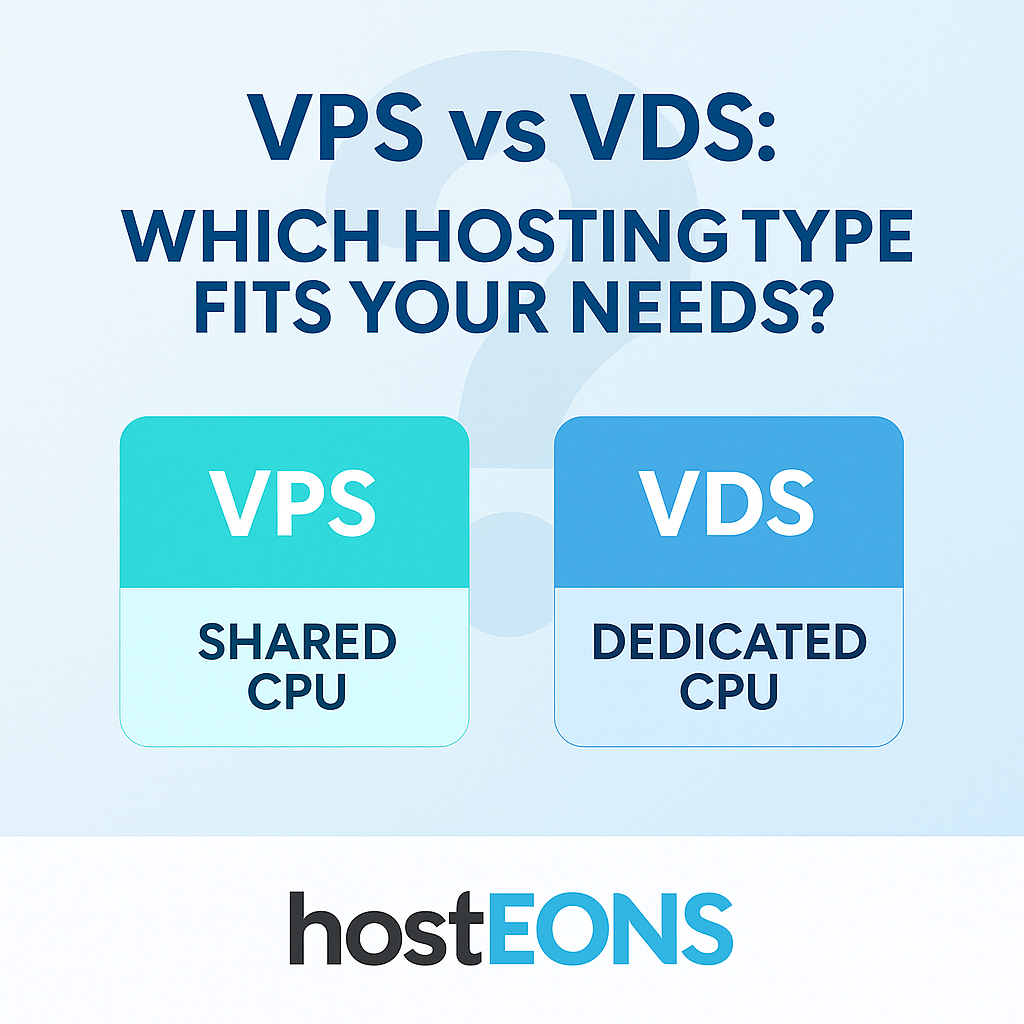
Whether you’re buying a VPS, a high-speed Ryzen VDS, or shared hosting, Hosteons lets you pay on your terms.
👉 Browse plans: https://hosteons.com
👉 Order now: https://my.hosteons.com
Final Thoughts
Hosting should be for everyone—not just for those with a Visa card.
At Hosteons, we make hosting truly global by supporting over 100 local payment methods, giving you the power to build online—no matter how or where you pay.
Because in today’s world, accessibility starts at checkout.