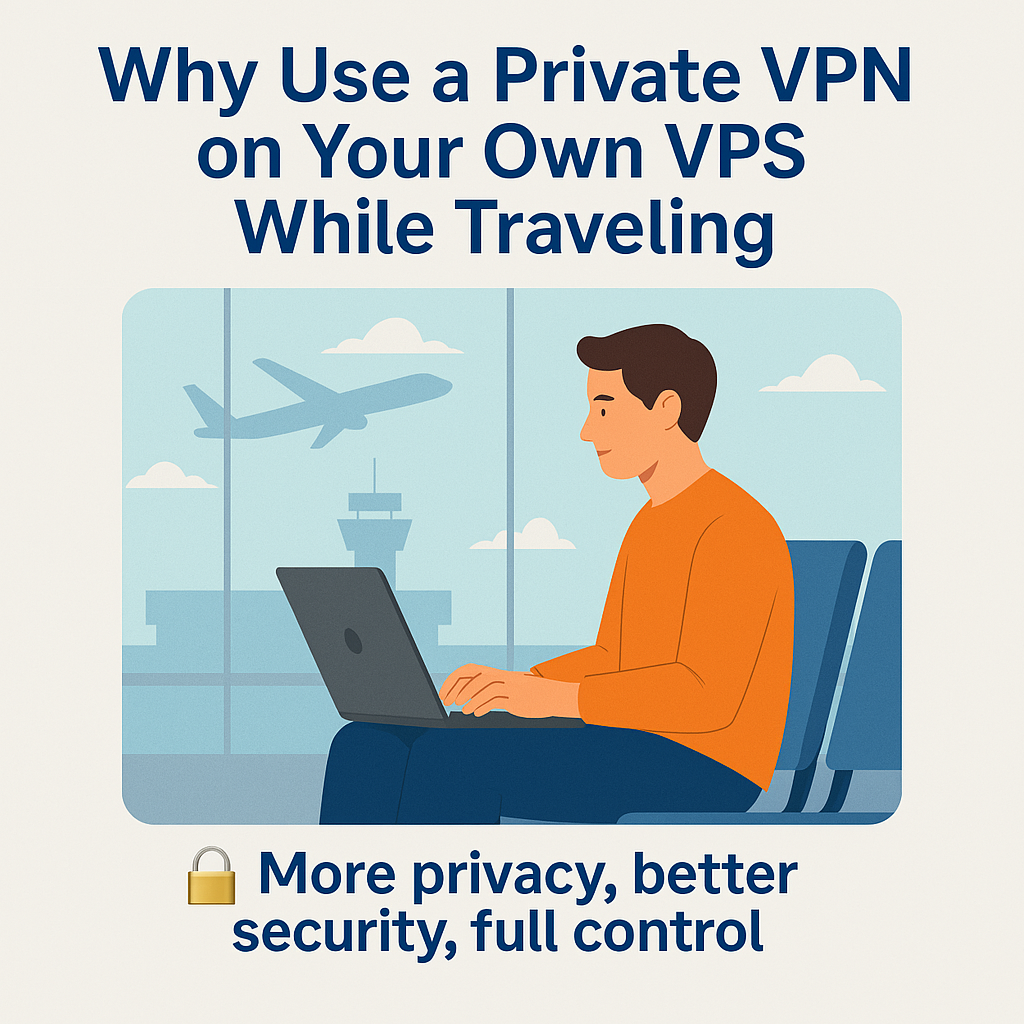
Why You Should Use a Private VPN on Your Own VPS While Traveling

When you’re traveling β€” whether for work, study, or leisure β€” using public Wi-Fi networks is often unavoidable. Airports, hotels, cafes, and coworking spaces all offer connectivity, but often at the cost of privacy and security.

While many people turn to commercial VPNs to protect their connection, the best and most secure option is to run your own private VPN on a VPS.

In this post, we’ll explain why that matters and how you can get started using a VPS from Hosteons.


πŸ” Why Privacy Matters More When You Travel

When you use public networks, your data is at risk from:

  • πŸ•΅οΈβ€β™‚οΈ Network sniffing and man-in-the-middle attacks
  • ❗ Fake Wi-Fi hotspots
  • πŸ‘οΈ ISP or network logging and censorship
  • 🚫 Location-based content restrictions

VPNs solve this by encrypting your traffic and routing it through a trusted server β€” but who controls that server matters a lot.


πŸ€” The Problem with Public/Commercial VPNs

While commercial VPNs are better than nothing, they come with some caveats:

  • ❌ Shared IPs β€” may be flagged, banned, or blacklisted
  • ❌ Limited trust β€” you’re trusting a third-party company with your traffic
  • ❌ Logs and data retention β€” not all β€œno-log” policies are actually enforced
  • ❌ Performance throttling β€” many commercial VPNs limit speeds or locations
  • ❌ Overcrowded servers β€” inconsistent speeds and high latency

In short, you’re still handing over your traffic to someone else.


βœ… Why a Private VPN on Your VPS is Better

Setting up a VPN on your own VPS solves most of these issues β€” and gives you full control.

✨ Benefits of Running a VPN on Your Own VPS:

  1. Full Control
    • You own and configure the server β€” no third-party snooping.
  2. Dedicated IP Address
    • No one else shares your IP, reducing chances of blacklisting or captchas.
  3. Custom Configuration
    • Choose your encryption, protocol (WireGuard, OpenVPN, etc.), DNS, and firewall rules.
  4. Faster Speeds
    • Avoid the bandwidth bottlenecks common with commercial VPNs.
  5. Consistent Access While Abroad
    • Appear to be at β€œhome” and access region-specific services like banking or Netflix.
  6. Bypass Local Censorship or Firewalls
    • Secure access even in restrictive countries.
  7. Affordable
    • VPS plans from Hosteons start at just $1.75/month β€” often cheaper than VPN subscriptions.

🌐 Recommended VPN Protocols

You can install and run any of the following on your Hosteons VPS:

  • WireGuard β€“ Lightweight, fast, and secure. Great for mobile.
  • OpenVPN β€“ Highly configurable and widely supported.
  • Shadowsocks / V2Ray β€“ Ideal for bypassing censorship in restricted regions.
  • IPSec / L2TP β€“ Good compatibility with built-in OS VPN support.

Need help? Check out our tutorials for in our knowledge based articles for various types of VPN and Proxy on Hosteons.


🧭 VPS Locations for Best Travel VPN Experience

Choose your VPS location based on:

  • Your home country (to access region-locked services)
  • neutral/nearby country for lower latency
  • High-bandwidth regionsΒ (like Germany, or Los Angeles)

Hosteons offers VPS in multiple locations globally, with inbound unmetered bandwidth and IPv6 support.


πŸ” Bonus Tip: Add Your Own DNS & Firewall Rules

Once you’ve set up your private VPN:

  • Use custom DNS servers like NextDNS or AdGuard
  • Set firewall rules to block tracking domains or limit open ports
  • Enable kill switches on mobile and desktop to avoid leaks

🧰 What You’ll Need to Get Started

  • Hosteons VPS (1 CPU, 512MB+ RAM is enough for VPN)
  • A domain (optional, for easier connection)
  • Basic Linux knowledge or follow one of our setup scripts
  • Your laptop or mobile devices

πŸš€ Ready to Travel Securely?

Don’t rely on sketchy free VPNs or overcrowded commercial services. Take control of your online privacy and performance with a self-hosted VPN on your own VPS.

πŸ”— Explore Hosteons VPS plans starting at just $1.75/month:

πŸ‘‰ https://hosteons.com

Need help setting it up? We’re always here β†’ https://my.hosteons.com

How to Set Up a VPN Server on Windows Server 2022 KVM VPS

windows 2022 vpn server tutorial
Windows 2022 VPN Server Tutorial

Here’s a step-by-step tutorial for setting up a VPN server on a Windows Server 2022-based KVM VPS:


Setting up a VPN (Virtual Private Network) on your Windows Server 2022 KVM VPS can be a great way to securely access resources, mask your IP address, or bypass network restrictions. Here’s how to set up a basic VPN server quickly.

Prerequisites:

  • A KVM VPS running Windows Server 2022.
  • Administrator access to your VPS.
  • Basic networking knowledge.

Step-by-Step Guide:

1. Connect to Your VPS

  • Use Remote Desktop Protocol (RDP) to connect to your Windows Server 2022 VPS.
  • Log in using your administrator credentials.

2. Install the Remote Access Role

  1. Open Server Manager.
  2. Click on Manage > Add Roles and Features.
  3. In the wizard, select Role-based or feature-based installation and click Next.
  4. Select your server from the server pool and click Next.
  5. On the Select server roles page, check the box for Remote Access and click Next.
  6. Click Next until you reach the Role Services section.
  7. Check DirectAccess and VPN (RAS) and click Next.
  8. Complete the installation by clicking Install. This process might take a few minutes.

3. Configure the VPN Server

  1. Open Server Manager again, go to Tools > Routing and Remote Access.
  2. In the Routing and Remote Access window, right-click your server name and select Configure and Enable Routing and Remote Access.
  3. In the wizard:
  • Select Custom configuration.
  • Check VPN access and click Next.
  • Click Finish.
  1. Right-click the server again and select Start service.

4. Configure VPN Ports

  • Make sure your VPS firewall allows incoming traffic on port 1723 (used for PPTP VPN) and port 47 (GRE protocol).

5. Configure IP Address Assignment

  1. In the Routing and Remote Access window, right-click on your server, and select Properties.
  2. Go to the IPv4 tab.
  3. Select Static address pool, then click Add.
  4. Enter a range of IP addresses that your VPN clients will use (e.g., 192.168.100.1 to 192.168.100.20).
  5. Click OK.

6. Add a User for VPN Access

  1. Open Computer Management (from Server Manager > Tools).
  2. Click on Local Users and Groups > Users.
  3. Right-click on Users and select New User.
  4. Create a new user with a username and password. Make sure to uncheck User must change password at next logon.
  5. Click Create.
  6. Go to the Properties of the user you just created, click on the Dial-in tab, and select Allow access for Network Access Permission.

7. Connect to Your VPN

  • On a client device, add a new VPN connection using the public IP address of your KVM VPS.
  • Use the credentials created in the previous step.

Troubleshooting Tips:

  • Ensure the ports needed for VPN are not blocked by your VPS provider’s firewall or your internal firewall.
  • Double-check your user credentials.
  • Make sure your VPS’s network interface is properly configured.

Conclusion

Setting up a VPN server on your Windows Server 2022 KVM VPS offers a robust solution for secure connections. Following this guide, you should have your VPN service up and running quickly.

Quick setup of L2TP or IPsec VPN on CentOS, Ubuntu or Debian

One line setup:

First get a fresh install of Ubuntu LTS, Debian or CentOS on your hosteons VPS or Dedicated Server (VPS should be KVM based not OpenVZ, if you are using hosteons.com VPS then need not worry as it’s KVM based VPS)

Use following command to set up an IPsec VPN server on Ubuntu or Debian:

wget https://git.io/vpnsetup -O vpnsetup.sh && sudo sh vpnsetup.sh

If you are on CentOS then use following command:

wget https://git.io/vpnsetup-centos -O vpnsetup.sh && sh vpnsetup.sh

Your VPN login details will be randomly generated, and displayed on screen when finished.

Also it’s best to run these commands in a screen session to avoid any interruptions due to any reasons.

Custom Setup of VPN:

Ubuntu and Debian:

Make sure your VPS/Dedicated server is upto date, you can do it with following commands:

apt-get update && apt-get dist-upgrade

and reboot.

Now Edit the script and provide your own VPN credentials:

wget https://git.io/vpnsetup -O vpnsetup.sh
nano -w vpnsetup.sh
[Replace with your own values: YOUR_IPSEC_PSK, YOUR_USERNAME and YOUR_PASSWORD]

sudo sh vpnsetup.sh

CentOS:

Make sure your VPS/Dedicated server is upto date, you can do it with following commands:

yum -y update

(if you are using hosteons.com vps then need not worry, our templates update everything when the VPS is setup)

Now Edit the script and provide your own VPN credentials:

wget https://git.io/vpnsetup-centos -O vpnsetup.sh
nano -w vpnsetup.sh
[Replace with your own values: YOUR_IPSEC_PSK, YOUR_USERNAME and YOUR_PASSWORD]

sh vpnsetup.sh


Your VPN server is now ready, just connect using the Shared Key, username and password you provided during setup or displayed on script, depending upon how you setup your VPN.