When it comes to securing your website or VPS, two terms often come up: Firewall and WAF (Web Application Firewall). While they sound similar, they serve different purposes. Choosing the right one—or knowing when to use both—is crucial for protecting your applications and data from cyber threats.
In this article, we’ll break down the differences, benefits, and best use cases for Firewalls and WAFs.
✅ What is a Firewall?
A firewall is a network security system that filters incoming and outgoing traffic based on predefined rules. It operates at the network and transport layers (Layer 3 and Layer 4 of the OSI model).
What it does:
- Blocks unauthorized access to your VPS or network
- Controls which IP addresses, ports, and protocols can communicate
- Prevents brute-force attacks and scans
Types of Firewalls:
- Host-based (e.g., UFW, Firewalld)
- Network-based (hardware or cloud)
Example: Blocking all ports except 80 (HTTP), 443 (HTTPS), and SSH.
✅ What is a WAF (Web Application Firewall)?
A Web Application Firewall protects web applications by filtering HTTP/S traffic. It operates at the application layer(Layer 7 of the OSI model) and is designed to prevent attacks like:
- SQL Injection
- Cross-Site Scripting (XSS)
- File Inclusion Attacks
- OWASP Top 10 vulnerabilities
How it works:
- Analyzes HTTP requests before they reach your application
- Blocks malicious patterns in URL, headers, or payload
- Can be deployed as a reverse proxy (e.g., Cloudflare, AWS WAF)
✅ Firewall vs WAF: Key Differences
| Feature | Firewall | WAF |
|---|---|---|
| Layer | Network (Layer 3/4) | Application (Layer 7) |
| Protection Focus | IPs, Ports, Protocols | HTTP/S requests and app vulnerabilities |
| Blocks | Unauthorized access, brute force | SQL Injection, XSS, Web Exploits |
| Deployment | Server or Network Level | Application or CDN Level |
✅ Do You Need Both?
Yes, in most cases.
- Firewall ensures your VPS isn’t exposed to unnecessary ports or traffic.
- WAF adds another layer by inspecting HTTP/S traffic for malicious patterns.
Think of it like this:
- Firewall = Lock on your front door
- WAF = Security guard checking IDs at the entrance
✅ Best Practices for VPS Security
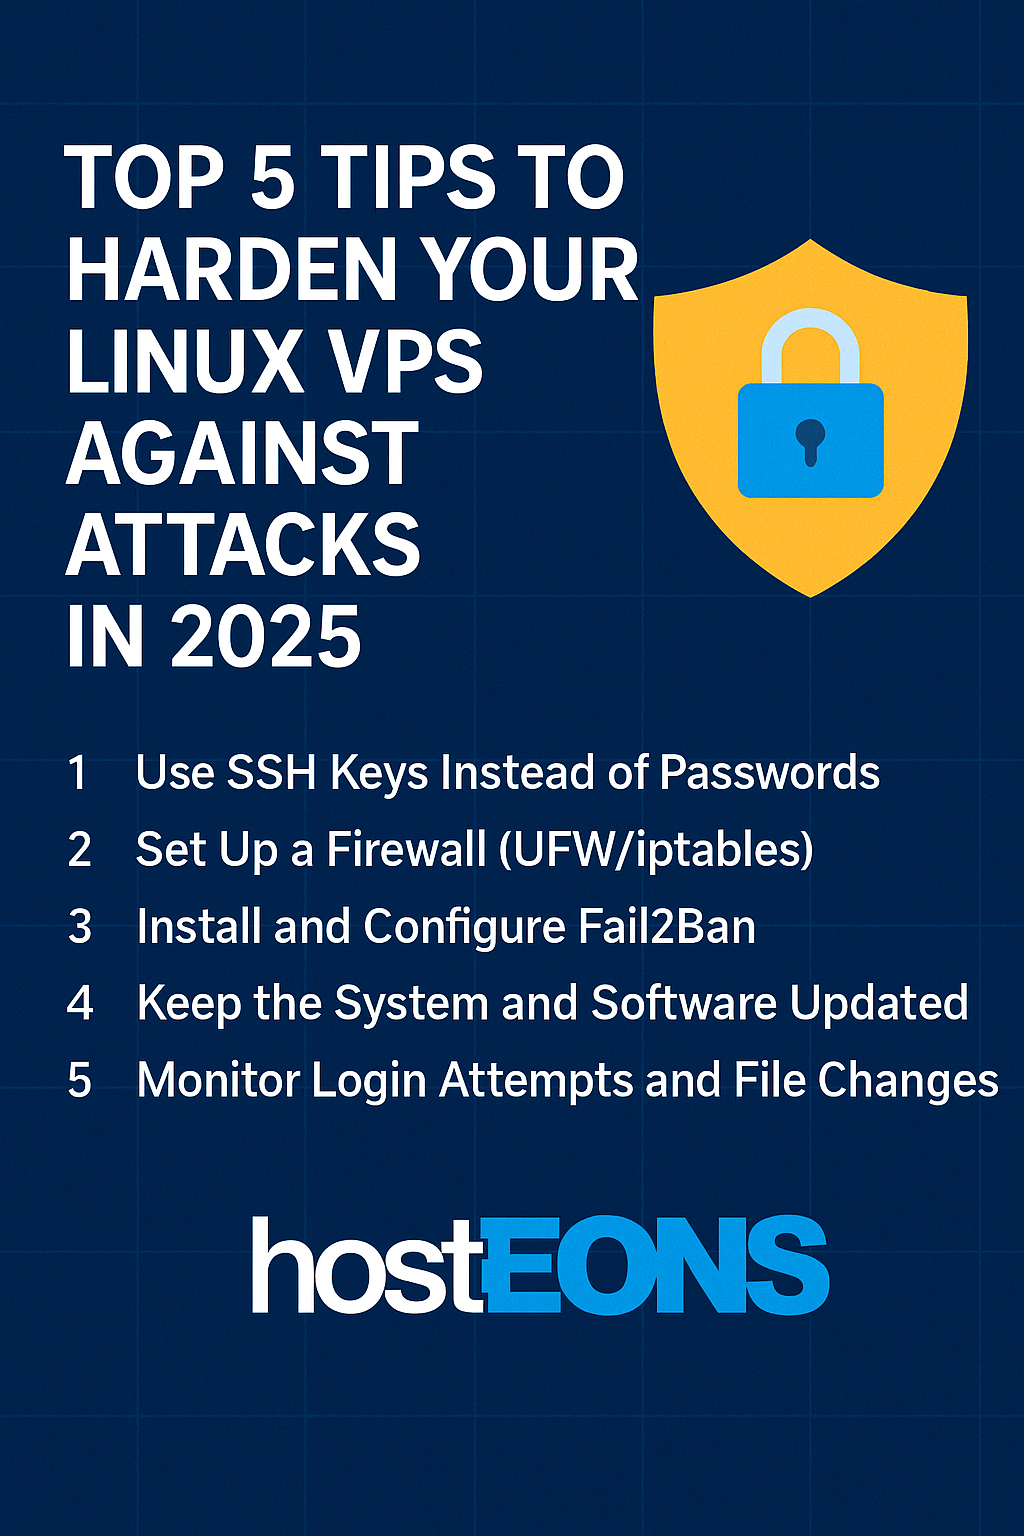
- Enable a firewall on your VPS using UFW or Firewalld.
- Install Fail2Ban to protect against brute-force attempts.
- Use a WAF service like Cloudflare for application-layer protection.
- Keep your apps and OS updated to avoid zero-day vulnerabilities.
- Take regular backups for quick recovery.
✅ Hosteons VPS Security Advantage
At Hosteons, all VPS plans are designed for security:
- Full root access to configure UFW, CSF, or any firewall
- 10Gbps network ports for fast, secure connectivity
- Compatible with Cloudflare WAF and other security tools
👉 Explore plans:
Final Thoughts
A firewall and a WAF are not competitors—they complement each other. Use both to achieve comprehensive protectionfor your VPS and websites.
