šŸ” Automatically Install Fail2Ban with Smart Jail Detection on Your VPS (Script by Hosteons)

Here’s a complete WordPress blog post draft to promote your Fail2Ban Auto-Installer script from GitHub:
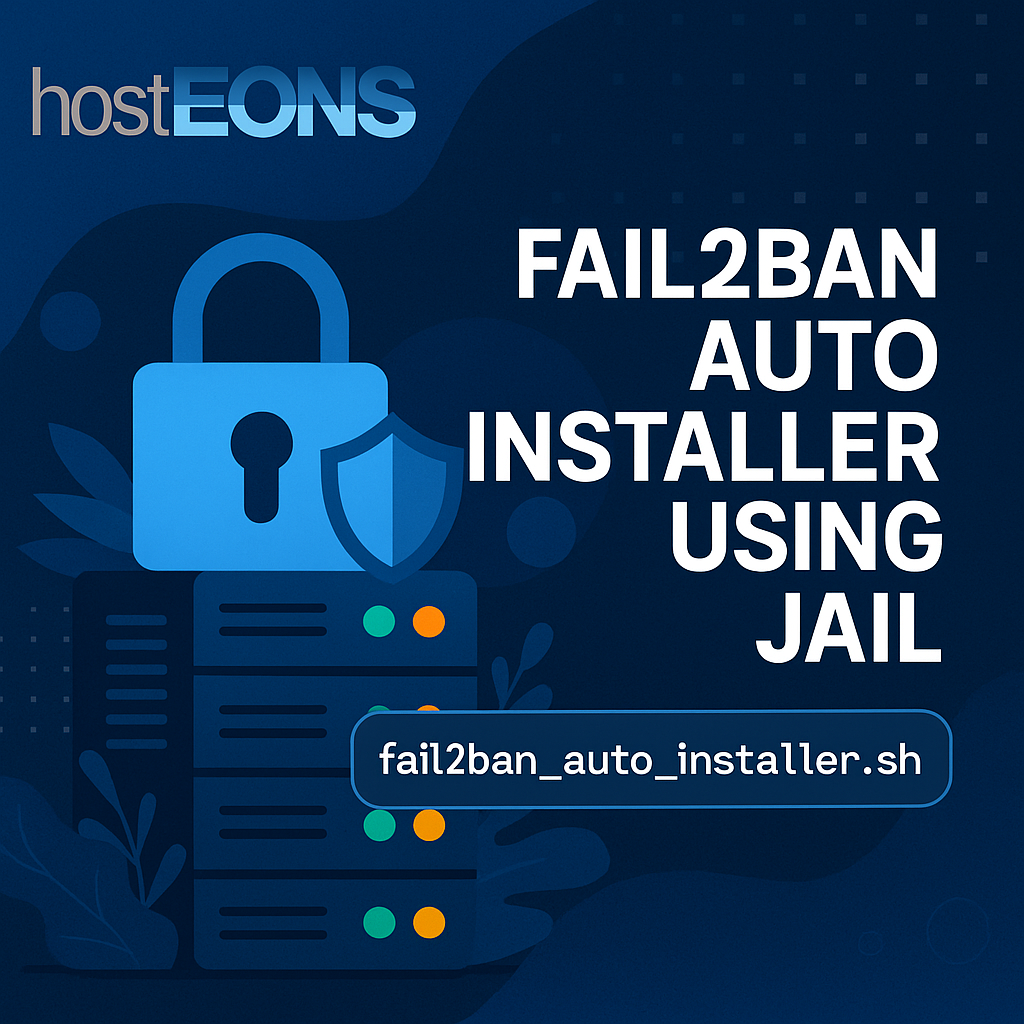

šŸ” Automatically Install Fail2Ban with Smart Jail Detection on Your VPS (Script by Hosteons)

At Hosteons, we’re committed to making server security easier for everyone. Whether you’re running a small VPS or managing a fleet of Linux servers, protecting against brute-force attacks is critical.

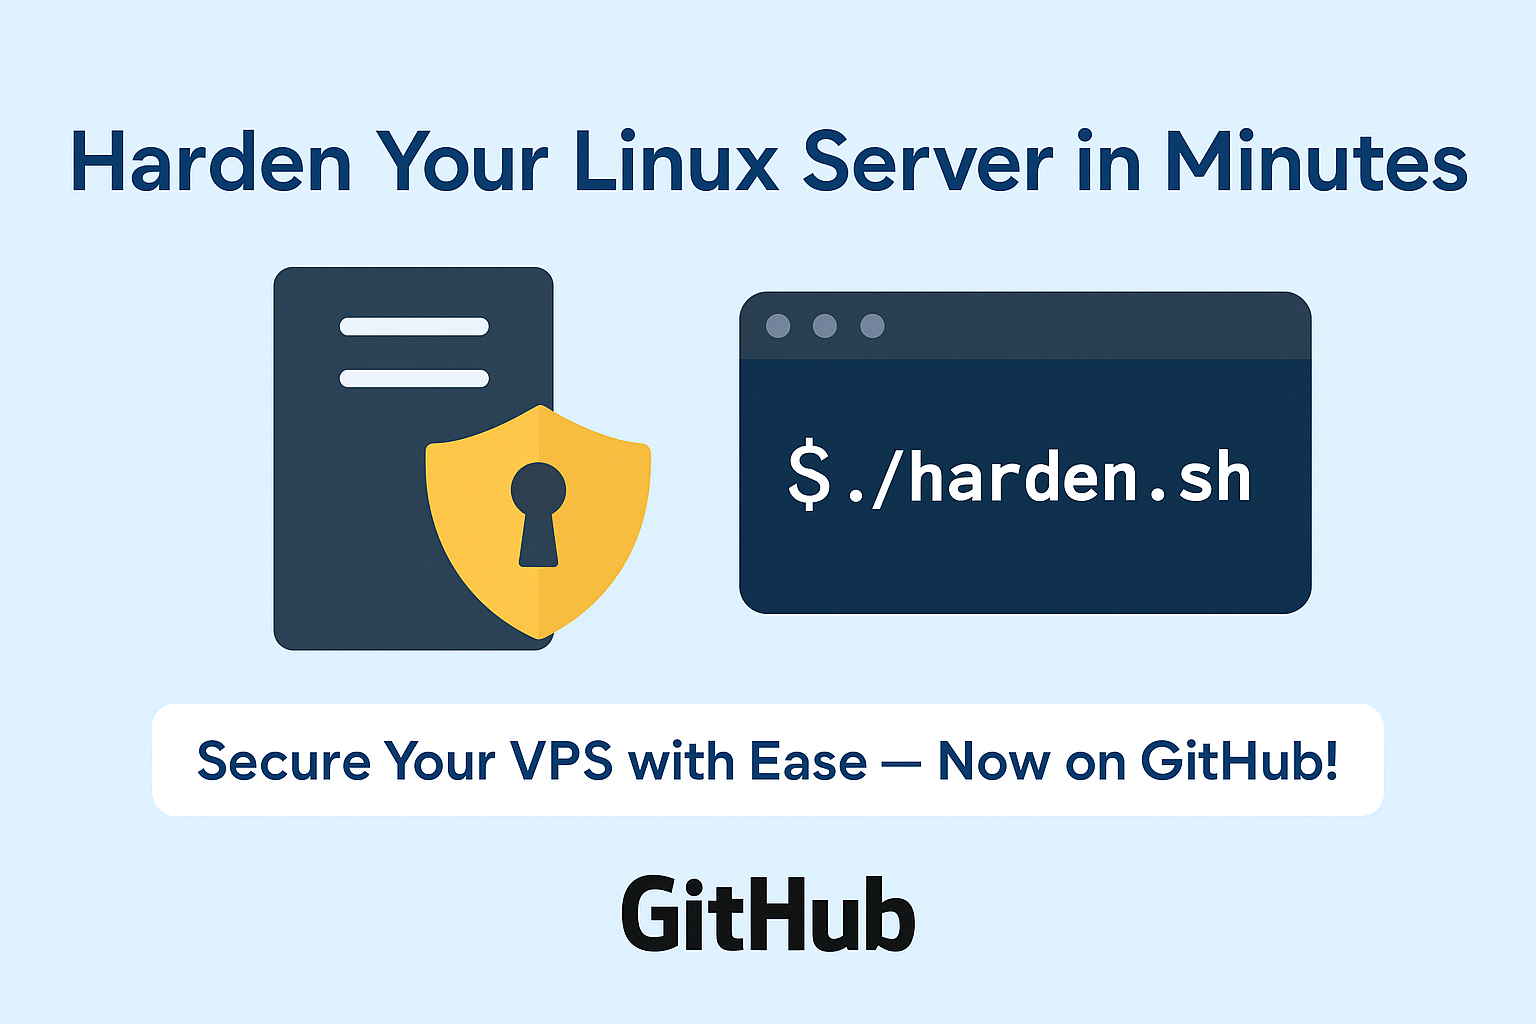
That’s why we’ve created a Fail2Ban Auto-Installer Script that not only installs Fail2Ban but also auto-detects and enables jails for common services like SSHApache, and Nginx ā€” all in one click.

šŸ‘‰ GitHub Repository:

https://github.com/hosteons/Fail2Ban-Auto-Installer-With-Jail


āœ… Key Features

  • Installs Fail2Ban onĀ Ubuntu,Ā Debian,Ā AlmaLinux, andĀ CentOS
  • Detects installed services (e.g.,Ā sshd,Ā nginx,Ā apache) and enables jails accordingly
  • Skips jails for services not found on the system
  • Handles log file paths intelligently based on distro
  • Verifies and restarts Fail2Ban only if configuration is valid
  • Smart checks if Fail2Ban is already installed
  • Minimal and safe — logs errors clearly

🧠 How It Works

When you run the script:

  1. It detects your Linux OS flavor.
  2. Installs Fail2Ban (if not already installed).
  3. Checks ifĀ apache,Ā nginx, orĀ sshdĀ is active.
  4. Adds only the appropriate jails with correct log paths.
  5. Restarts Fail2Ban and confirms its status.
  6. Provides clear output so you know it’s working.

This ensures Fail2Ban doesn’t fail due to missing log files or services — a common issue in manual configurations.


šŸ“„ How to Use

  1. Download the script:
wget https://raw.githubusercontent.com/hosteons/Fail2Ban-Auto-Installer-With-Jail/main/fail2ban_auto_installer.sh
chmod +x fail2ban_auto_installer.sh
./fail2ban_auto_installer.sh
  1. That’s it. The script handles the rest!

šŸš€ Need a Secure VPS?

This script runs perfectly on our KVM VPS and Ryzen VPS plans. Visit hosteons.com to explore secure hosting powered by NVMe SSD and DDoS protection — with native support for IPv6, WireGuard VPN, and more.


šŸ”— Related Resources

How to Change Your SSH Port Safely on Any Linux Server (Ubuntu, Debian, CentOS, AlmaLinux)

Changing your SSH port is a simple yet powerful way to reduce brute-force login attempts and improve server security. To make this process easier, Hosteons offers a free Bash script that automatically handles the switch across all major Linux distributions — including firewalls and SELinux!


āœ… Supported Operating Systems

  • Ubuntu 20.04 / 22.04
  • Debian 11 and above
  • CentOS 7 / 8
  • AlmaLinux 8 / 9

āš ļø Important Disclaimer

Changing your SSH port can lock you out if anything goes wrong.

Make sure you have console access such as VNC, IPMI, or KVM before using this script.


šŸ”§ What the Script Does

  • Prompts until a valid SSH port is provided
  • EditsĀ /etc/ssh/sshd_configĀ to set the new port
  • Adds firewall rules for:
    • UFW (Ubuntu/Debian)
    • firewalld or iptables (CentOS/AlmaLinux)
  • Handles SELinux withĀ semanageĀ if needed
  • Restarts SSH service safely without reboot

🧰 How to Use the Script

  1. SSH into your VPS or server as root
  2. Run the following commands:
wget https://raw.githubusercontent.com/hosteons/SSH-Port-Changer-Script/main/ssh_port_changer.sh
chmod +x ssh_port_changer.sh
./ssh_port_changer.sh
  1. Enter your desired new SSH port when prompted

šŸ“¦ Download from GitHub

Access the script and full documentation here:

šŸ‘‰ https://github.com/hosteons/SSH-Port-Changer-Script

Basic Tutorial to Secure an Ubuntu VPS

Secure Ubuntu VPS
Secure Ubuntu VPS

Securing your Ubuntu VPS is essential for protecting data, ensuring stability, and preventing unauthorized access. Here’s a straightforward guide on some basic yet effective steps to secure an Ubuntu VPS.


1. Update Your System

Start by updating your system to ensure all software is up-to-date with the latest security patches.

sudo apt update && sudo apt upgrade -y

2. Create a New User and Disable Root Login

For security, avoid using the root account directly and create a new user with sudo privileges.

  1. Create a new user: sudo adduser yourusername
  2. Add the user to the sudo group: sudo usermod -aG sudo yourusername
  3. Switch to the new user: su - yourusername
  4. Disable root login by editing the SSH configuration file: sudo nano /etc/ssh/sshd_config Find the line:
   PermitRootLogin yes

Change it to:

   PermitRootLogin no
  1. Restart SSH to apply changes:
    sudo systemctl restart ssh

3. Enable Firewall (UFW)

Ubuntu’s Uncomplicated Firewall (UFW) provides a straightforward way to manage firewall settings.

  1. Allow SSH access: sudo ufw allow OpenSSH
  2. Enable the firewall: sudo ufw enable
  3. Check the status:
    sudo ufw status

Optionally, if you’re hosting a web server, allow HTTP and HTTPS traffic:

sudo ufw allow http
sudo ufw allow https

4. Change the Default SSH Port

Changing the SSH port can add an additional layer of security against automated attacks.

  1. Open the SSH configuration file: sudo nano /etc/ssh/sshd_config
  2. Find the line: #Port 22 Uncomment and change 22 to your desired port, e.g., 2222: Port 2222
  3. Restart SSH to apply changes: sudo systemctl restart ssh
  4. Don’t forget to allow the new SSH port through the firewall:
    bash sudo ufw allow 2222/tcp

5. Disable Password Authentication and Enable SSH Key Authentication

Using SSH keys instead of passwords enhances security.

  1. Generate an SSH key pair on your local machine: ssh-keygen -t rsa -b 4096
  2. Copy your public key to your VPS: ssh-copy-id -p 2222 yourusername@your_server_ip
  3. Disable password authentication for SSH: sudo nano /etc/ssh/sshd_config Find the line: PasswordAuthentication yes Change it to: PasswordAuthentication no
  4. Restart SSH:
    sudo systemctl restart ssh

6. Install Fail2ban

Fail2ban monitors login attempts and blocks IPs with repeated failures, protecting against brute-force attacks.

  1. Install Fail2ban: sudo apt install fail2ban -y
  2. Start and enable Fail2ban: sudo systemctl start fail2ban sudo systemctl enable fail2ban
  3. Configure Fail2ban by creating a local jail file: sudo cp /etc/fail2ban/jail.conf /etc/fail2ban/jail.local
  4. Modify settings as needed: sudo nano /etc/fail2ban/jail.local You can adjust the ban time, retry limits, and monitored services.
  5. Restart Fail2ban:
    sudo systemctl restart fail2ban

7. Install and Configure Automatic Updates

Automatic updates reduce the risk of security vulnerabilities by ensuring software remains current.

  1. Install the unattended-upgrades package: sudo apt install unattended-upgrades -y
  2. Enable automatic updates:
    sudo dpkg-reconfigure --priority=low unattended-upgrades

8. Regular Backups

Always keep regular backups to quickly recover in case of an attack or data loss. Many hosting providers, like Hosteons, offer backup solutions, making it easy to automate and restore from snapshots or backups.


Summary

By following these steps, you enhance the security of your Ubuntu VPS against common threats. Regular updates, secure login configurations, a robust firewall, and monitoring tools like Fail2ban all contribute to a safer and more reliable server environment. With these basics covered, your VPS will be better protected against potential attacks.