Top 5 Tips to Harden Your Linux VPS Against Attacks in 2025

In 2025, cyberattacks are more sophisticated than ever. Whether you’re hosting a personal project or critical business application, securing your Linux VPS is no longer optional—it’s essential. Thankfully, with just a few steps, you can drastically reduce your risk and keep your VPS locked down against the most common threats.

At Hosteons, we provide high-performance KVM VPS with root access, but security is a shared responsibility. Here’s how you can harden your VPS in minutes:


1. Use SSH Keys Instead of Passwords

Disable password login and use SSH key authentication for more secure, automated, and brute-force-resistant logins.

Steps:

  • Generate a key pair using ssh-keygen
  • Upload your public key to your VPS: ~/.ssh/authorized_keys
  • Disable password auth in /etc/ssh/sshd_config

👉 Read: Why You Should Use SSH Keys Instead of Passwords


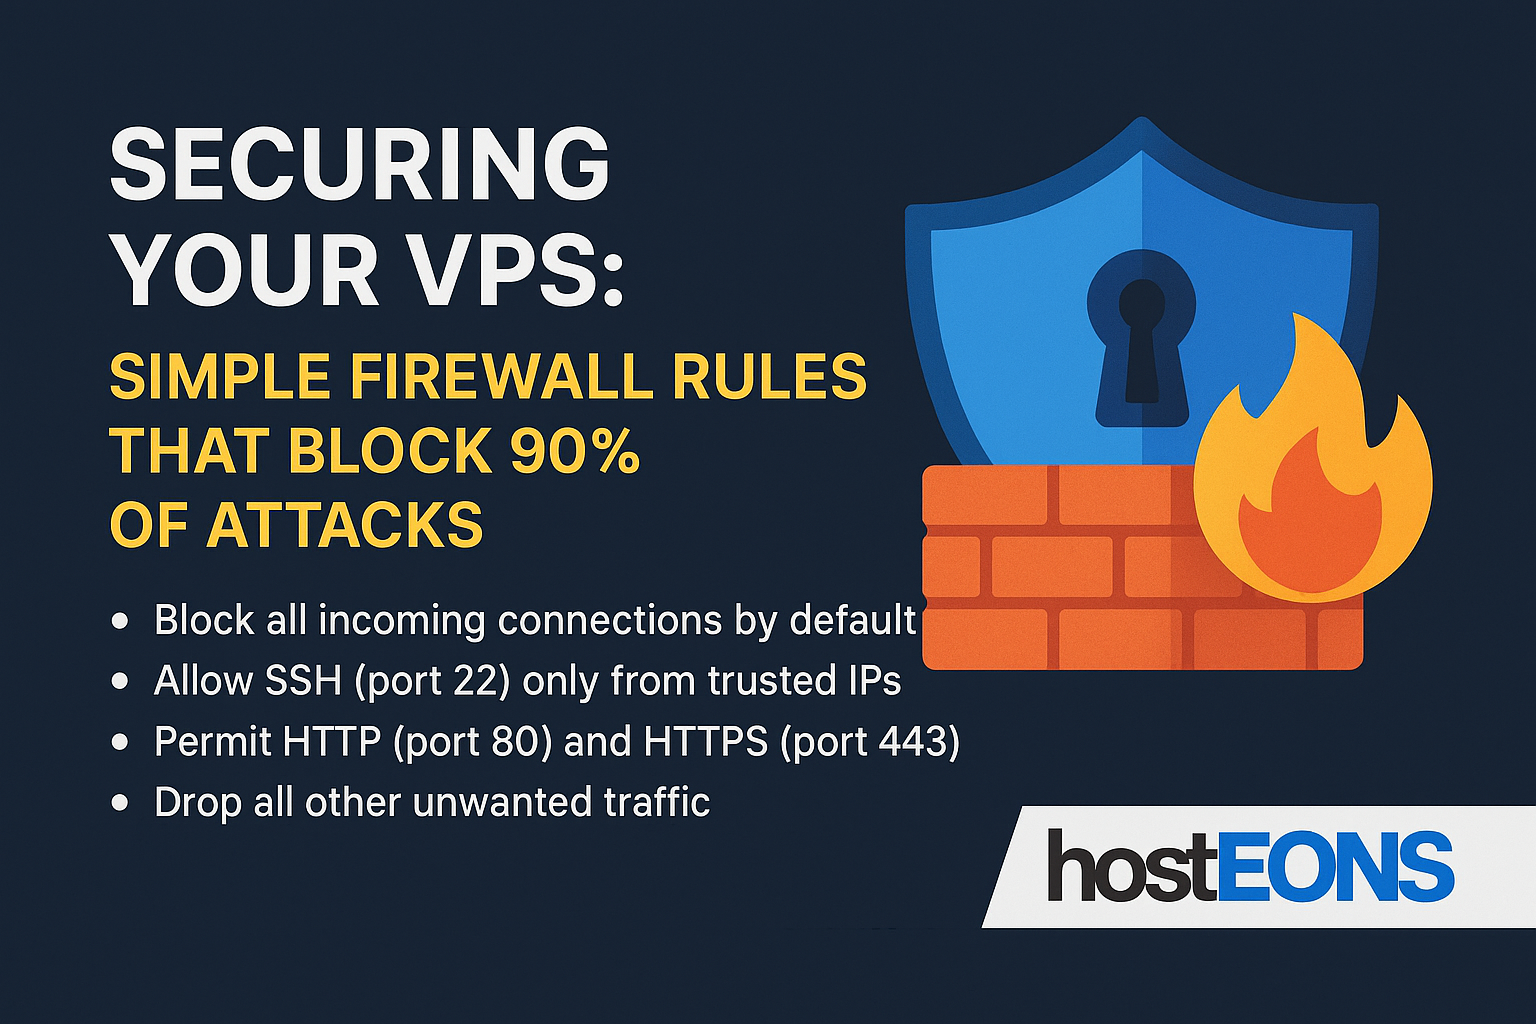
2. Set Up a Firewall (UFW/iptables)

Block unnecessary ports to reduce your attack surface. Only open what’s required (e.g., 22 for SSH, 80/443 for web).

Example with UFW:

sudo ufw default deny incoming
sudo ufw allow 22
sudo ufw allow 80
sudo ufw allow 443
sudo ufw enable

3. Install and Configure Fail2Ban

Prevent brute-force attacks by banning IPs with too many failed login attempts.

Install Fail2Ban:

sudo apt install fail2ban

Create a jail for SSH and monitor logs like /var/log/auth.log or /var/log/secure.

👉 Full Fail2Ban Guide


4. Keep the System and Software Updated

Always run the latest security patches. Use tools like unattended-upgrades for automated updates.

Commands:

sudo apt update && sudo apt upgrade
sudo yum update

Outdated software is one of the most exploited vulnerabilities.


5. Monitor Login Attempts and File Changes

Install tools to track unauthorized access and suspicious activity.

  • Use auditd to track system events
  • Use logwatch or logcheck to scan logs for anomalies
  • Monitor /var/log/auth.log for failed logins

👉 Read: How to Monitor Login Attempts and File Changes on Your VPS


Bonus: Disable Root Login

Prevent direct root access by using a non-root sudo user instead.

In /etc/ssh/sshd_config:

PermitRootLogin no

Final Thoughts

Hardened servers are happy servers! With these 5 simple steps, you’ll block the majority of attacks targeting Linux VPS.

At Hosteons, we give you the control, performance, and reliability — now it’s your turn to secure it.

🔐 Ready to deploy a secure VPS?

👉 Explore Our KVM VPS

👉 Premium Ryzen VPS

🔐 Easily Change Your Windows RDP Port with a One-Click Script

One-Click Windows RDP Port Changer Script 🖥️

Managing a Windows VPS often requires securing RDP (Remote Desktop Protocol) access. One of the most effective and simplest ways to harden your Windows Server is to change the default RDP port (3389). But doing it manually via the registry and firewall can be tedious and risky.

That’s why we at Hosteons created an open-source, one-click PowerShell script that simplifies the process.

👉 GitHub RepoWindows RDP Port Changer Script


✅ Features

  • Changes RDP Port via Windows Registry
  • Updates Windows Firewall to allow the new port
  • Enables RDP if it’s currently disabled
  • Fully open-source and free under the MIT License
  • Supports Windows Server 2012/2016/2019/2022

📦 How to Use

  1. Login to your Windows VPS as Administrator.
  2. Open PowerShell.
  3. Run the script directly:
iwr -useb https://raw.githubusercontent.com/hosteons/Windows-RDP-Port-Changer-Script/main/rdp_port_changer.ps1 | iex
  1. Enter your desired RDP port when prompted.

⚠️ Important: Make sure your port is not blocked by external firewalls (such as cloud provider rules). Also, ensure you have console/VNC access in case the new port is misconfigured.


🤖 Automation Friendly

This script can be integrated into automation flows for server provisioning or batch management. Perfect for sysadmins managing multiple Windows VPS instances.


🔐 Why Change Your RDP Port?

  • Reduces brute-force attacks from bots scanning port 3389
  • Hides your RDP service from default port scanners
  • Adds an extra layer of obscurity in your defense

👨‍💻 Contribute or Report Issues

This is an open-source script. Feel free to fork, improve, or report issues on GitHub:

👉 https://github.com/hosteons/Windows-RDP-Port-Changer-Script


📣 About Hosteons

Hosteons is a VPS and dedicated server provider offering services in multiple global locations. We’re committed to open-source and providing useful automation tools for system administrators and developers.

How to Change Your SSH Port Safely on Any Linux Server (Ubuntu, Debian, CentOS, AlmaLinux)

Changing your SSH port is a simple yet powerful way to reduce brute-force login attempts and improve server security. To make this process easier, Hosteons offers a free Bash script that automatically handles the switch across all major Linux distributions — including firewalls and SELinux!


✅ Supported Operating Systems

  • Ubuntu 20.04 / 22.04
  • Debian 11 and above
  • CentOS 7 / 8
  • AlmaLinux 8 / 9

⚠️ Important Disclaimer

Changing your SSH port can lock you out if anything goes wrong.

Make sure you have console access such as VNC, IPMI, or KVM before using this script.


🔧 What the Script Does

  • Prompts until a valid SSH port is provided
  • Edits /etc/ssh/sshd_config to set the new port
  • Adds firewall rules for:
    • UFW (Ubuntu/Debian)
    • firewalld or iptables (CentOS/AlmaLinux)
  • Handles SELinux with semanage if needed
  • Restarts SSH service safely without reboot

🧰 How to Use the Script

  1. SSH into your VPS or server as root
  2. Run the following commands:
wget https://raw.githubusercontent.com/hosteons/SSH-Port-Changer-Script/main/ssh_port_changer.sh
chmod +x ssh_port_changer.sh
./ssh_port_changer.sh
  1. Enter your desired new SSH port when prompted

📦 Download from GitHub

Access the script and full documentation here:

👉 https://github.com/hosteons/SSH-Port-Changer-Script

🔐 Secure Your VPS Like a Pro: 6 Simple Firewall Rules That Block 90% of Attacks

Running a VPS gives you full control — but it also comes with responsibility. Whether you’re hosting with a budget VPS or a high-performance Ryzen VDS from Hosteons, security should always be a top priority.

Automated bots and malicious actors are constantly scanning servers looking for open doors. The good news? With just a few simple firewall rules, you can block 90% or more of common attacks — no advanced security knowledge needed.


🚧 Step 1: Deny All by Default

Your firewall should start from a “zero trust” position. Block all incoming traffic unless explicitly allowed.

iptables -P INPUT DROP
iptables -P FORWARD DROP
iptables -P OUTPUT ACCEPT

This is the safest starting point for VPS security.


✅ Step 2: Open Only the Ports You Need

For most users, these are the essential services:

iptables -A INPUT -p tcp --dport 22 -j ACCEPT   # SSH
iptables -A INPUT -p tcp --dport 80 -j ACCEPT   # HTTP
iptables -A INPUT -p tcp --dport 443 -j ACCEPT  # HTTPS

If you’re using a custom SSH port, be sure to update that here.


🛡️ Step 3: Rate-Limit SSH to Stop Brute-Force Attacks

SSH is the most frequently targeted service. Add a rate-limiting rule to block repeated login attempts:

iptables -A INPUT -p tcp --dport 22 -m state --state NEW -m recent --set
iptables -A INPUT -p tcp --dport 22 -m state --state NEW -m recent --update --seconds 60 --hitcount 3 -j DROP

This prevents bots from guessing passwords through brute force.


🧼 Step 4: Drop Invalid or Malicious Packets

Invalid packets are often used in scanning or attack attempts. Drop them:

iptables -A INPUT -m state --state INVALID -j DROP

This helps prevent certain types of kernel-level exploits and misbehavior.


🔁 Step 5: Allow Loopback and Established Connections

Let your server communicate with itself and continue existing sessions:

iptables -A INPUT -i lo -j ACCEPT
iptables -A INPUT -m state --state ESTABLISHED,RELATED -j ACCEPT

Without these, things like internal services and return traffic might break.


👀 Step 6: (Optional) Block Ping (ICMP)

Ping isn’t harmful by itself, but attackers use it to detect live servers. You can hide yours:

iptables -A INPUT -p icmp --icmp-type echo-request -j DROP

Note: avoid this if you use ping-based monitoring tools.


💡 Bonus: Use CSF for Easier Firewall Management

Not comfortable with command-line tools? Hosteons VPS plans fully support CSF (ConfigServer Security & Firewall)— a beginner-friendly, feature-rich firewall system with:

  • Easy interface via DirectAdmin
  • Built-in brute-force detection
  • Country-level blocking
  • Port scan detection
  • Daily logs and alerts

Perfect for users who want simplicity without sacrificing power.


🔄 Don’t Forget to Save Your Rules

After setting your rules, make sure they persist after a reboot.

On Ubuntu/Debian:

iptables-save > /etc/iptables/rules.v4

On CentOS/RHEL:

Use iptables-save along with persistent packages, or configure firewalld.


🔐 VPS Security Starts with You

Whether you’re running a personal blog, game server, or production site on a VPS from Hosteons, implementing basic firewall rules should be your first line of defense.

These 6 rules are easy to set up and highly effective. For extra protection, consider:

  • Enabling fail2ban
  • Using SSH keys instead of passwords
  • Running regular security updates

At Hosteons, we offer high-performance, SSD-powered KVM VPS and Ryzen VDS backed by robust network security and full root access — so you’re always in control.

🔒 Ready to launch your secure VPS?

👉 Explore our VPS plans now