Can You Stay Anonymous Online? Hosting with Crypto Explained

Online privacy is becoming more important than ever. Whether you’re a developer, business owner, or individual user, maintaining control over your identity and personal data is critical — especially in a world where surveillance, tracking, and data breaches are commonplace. One of the best ways to boost your privacy is by using cryptocurrency to pay for services like VPS or VDS hosting.

At HostEONS, we make anonymous hosting a reality. Here’s how.


Why Privacy Matters in Hosting

Most hosting providers require extensive personal details and perform strict verification checks, especially when payments are made through traditional gateways like credit cards or PayPal. For privacy-conscious users, that’s a red flag.

Common concerns include:

  • Exposure of personal identity
  • Data sharing with third parties
  • Risk of account suspension based on regional or political factors

How Crypto Payments Help You Stay Anonymous

Cryptocurrency allows you to make payments without linking your name, address, or banking details. When combined with a privacy-focused host like HostEONS, crypto makes near-anonymous hosting possible.

✅ No KYC (Know Your Customer) Checks

We do not require KYC for orders paid via cryptocurrency. You don’t need to submit ID, documents, or undergo verification — just place your order and start using your VPS or VDS.

✅ Wide Range of Crypto Supported

We accept:

  • Bitcoin (BTC)
  • USDT (TRC20 & ERC20)
  • Litecoin (LTC)
  • Ethereum (ETH)
  • Dogecoin (DOGE)
  • and many others via our crypto gateways

✅ No Questions Asked

Paying with crypto? We won’t ask why or for whom. You stay in control of your privacy and purpose.


How to Host Anonymously with HostEONS

  1. Visit one of our product pages:
  2. Select your plan and choose “Cryptocurrency” at checkout.
  3. Pay using your preferred crypto wallet.
  4. Get your VPS/VDS provisioned instantly (in most cases) with no identity verification.

Combine Crypto with Secure Practices

Using crypto is only part of the solution. For truly anonymous hosting, follow these best practices:

  • Use a secure, privacy-friendly email address
  • Avoid using personal domains that link to your identity
  • Secure your VPS with firewall rules, SSH keys, and fail2ban
  • Use VPN or Tor when accessing your control panel

Ideal for Developers, Privacy Enthusiasts, and Freedom Seekers

Whether you’re:

  • Running a private blog or forum
  • Deploying a VPN or proxy server
  • Hosting blockchain nodes or crypto projects
  • Or just prefer not to share your data…

HostEONS makes it easy to stay anonymous and in control of your online presence.


Get Started Today

Ditch the paperwork. Protect your privacy. Host on your terms.

🔐 Pay with crypto. No KYC. No questions asked.

Start here → https://hosteons.com

Privacy-Powered Hosting: Pay with Crypto — No KYC, No Questions Asked

Looking for a hosting provider that respects your right to privacy? At Hosteons, we believe that you should be able to pay for web hosting without invasive checks, forced KYC, or identity verification — and that’s exactly what we offer.

Whether you’re a privacy enthusiast, a developer, or simply someone who values financial freedom, Hosteons makes it easy to pay with cryptocurrency — completely hassle-free.


🔐 No KYC. No Verification. Just Hosting.

When you choose to pay via crypto:

  • ✅ No identity verification
  • ✅ No document uploads
  • ✅ No manual fraud checks
  • ✅ 100% privacy and fast processing

Your hosting service is provisioned automatically after crypto payment confirmation — just like any other method.


💱 Pay in Crypto — Your Way

We accept dozens of cryptocurrencies via trusted payment processors:

  • Bitcoin (BTC)
  • Ethereum (ETH)
  • USDT (TRC20, ERC20)
  • Litecoin (LTC)
  • Dogecoin (DOGE)
  • Monero (XMR)
  • Bitcoin Cash (BCH), and more

Just select the “Crypto / Coin Payments” option at checkout to see all supported tokens.


🌍 Other Payment Methods We Support

We understand that one size doesn’t fit all — so Hosteons supports a wide range of global and local payment options, including:

  • Credit & Debit Cards
  • PayPal
  • Apple Pay / Google Pay / Amazon Pay
  • Razorpay (India) — UPI, NetBanking, Indian Debit/Credit Cards
  • Alipay (China)
  • UnionPay (China)
  • Dragonpay (Philippines)
  • OXXO, Boleto (LATAM)
  • QRIS (Indonesia)
  • PIX (Brazil)
  • iDEAL (Netherlands)
  • SEPA / Bank Transfer, and more!

Choose your preferred currency and method at checkout — no international payment failures or hidden fees.


🚀 Hosting Plans That Support Crypto

You can use cryptocurrency to pay for any of our services, including:

🔹 Budget KVM VPS – US & EU (10 Gbps NVMe)

✅ Affordable pricing, blazing-fast speeds

🔗 View Plans

🔗 Order EU VPS

🔹 Ryzen KVM VPS – Premium Performance

✅ AMD Ryzen CPUs + NVMe + DDR5

🔗 View Plans

🔹 Ryzen 7950X VDS – Hybrid Dedicated Servers

✅ 10 Gbps Port, Guaranteed Cores

🔗 Order Now


🌐 Need a Domain? Register with Crypto Too

Yes, even domain registration is supported when you pay via crypto! Whether you’re launching a new brand, project, or app, you can secure your domain name without giving up privacy.

Search and register your domain at:

👉 https://my.hosteons.com/cart.php?a=add&domain=register


Why Privacy-Conscious Users Choose Hosteons

✅ Instant Provisioning

✅ No KYC or personal data harvesting

✅ IPv6 /64 Included by Default

✅ Root Access & KVM Virtualization

✅ Worldwide Server Locations

✅ 24×7 Expert Support


Get Started Today — No Questions Asked

Whether you’re launching a blog, running a node, deploying apps, or spinning up game servers — you deserve fast, private, and reliable hosting.

👉 Explore our plans: https://hosteons.com

👉 Ready to order? Select “Crypto” at checkout — and you’re done.


Hosteons — Your trusted partner in private, powerful, and borderless hosting.

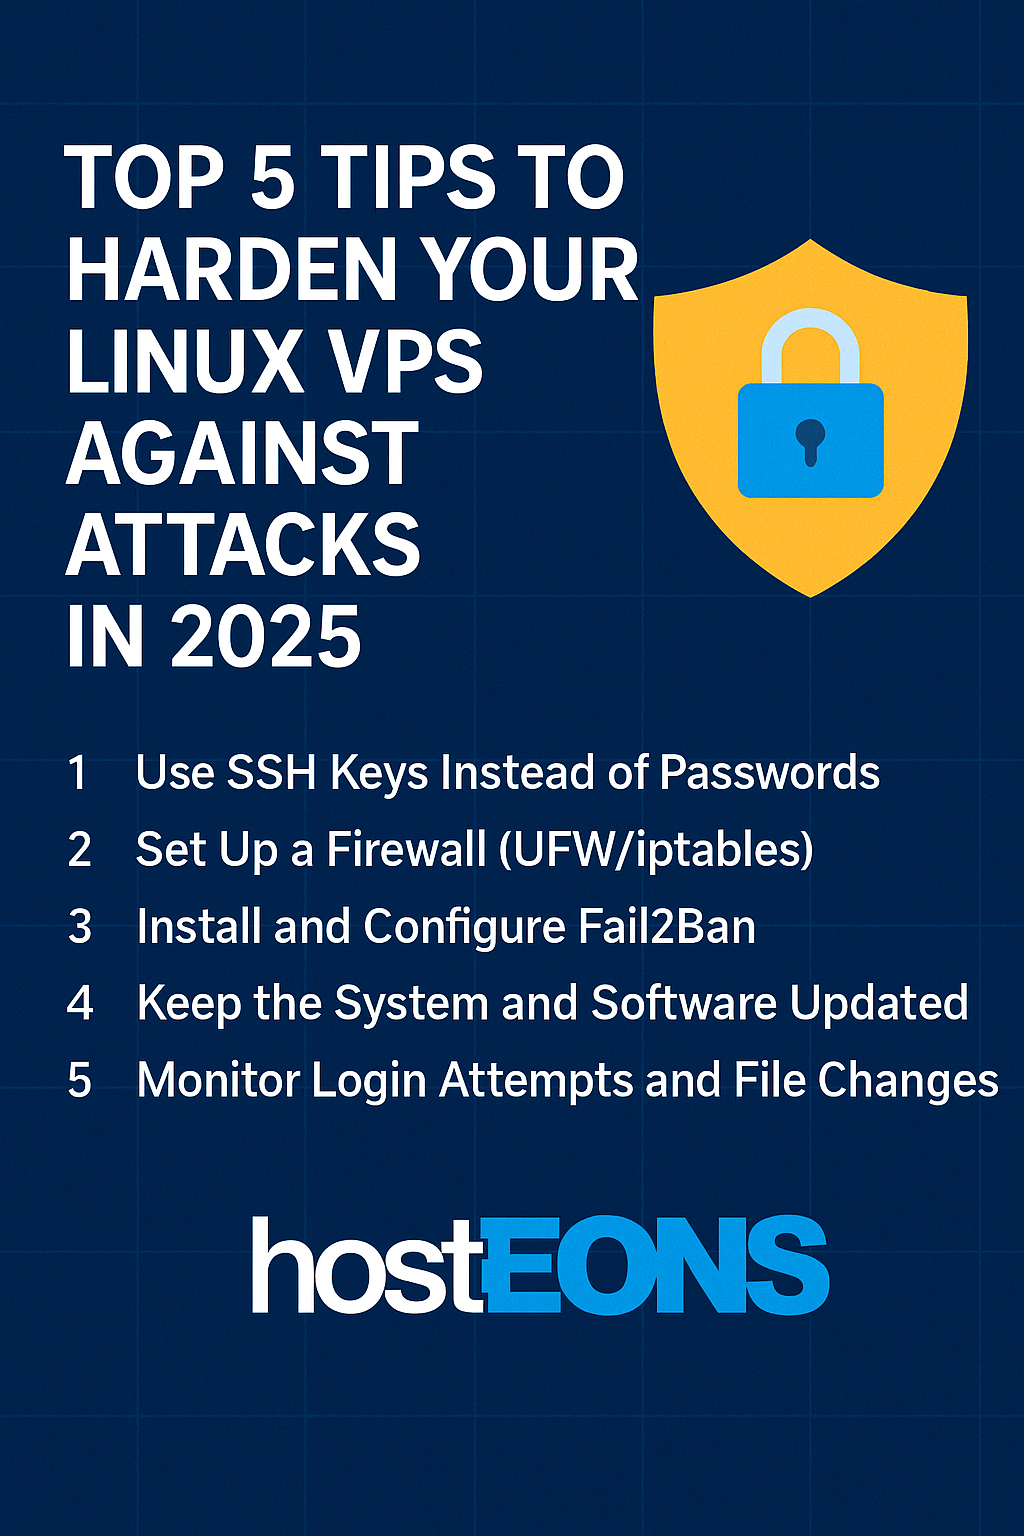
Top 5 Tips to Harden Your Linux VPS Against Attacks in 2025

In 2025, cyberattacks are more sophisticated than ever. Whether you’re hosting a personal project or critical business application, securing your Linux VPS is no longer optional—it’s essential. Thankfully, with just a few steps, you can drastically reduce your risk and keep your VPS locked down against the most common threats.

At Hosteons, we provide high-performance KVM VPS with root access, but security is a shared responsibility. Here’s how you can harden your VPS in minutes:


1. Use SSH Keys Instead of Passwords

Disable password login and use SSH key authentication for more secure, automated, and brute-force-resistant logins.

Steps:

  • Generate a key pair using ssh-keygen
  • Upload your public key to your VPS: ~/.ssh/authorized_keys
  • Disable password auth in /etc/ssh/sshd_config

👉 Read: Why You Should Use SSH Keys Instead of Passwords


2. Set Up a Firewall (UFW/iptables)

Block unnecessary ports to reduce your attack surface. Only open what’s required (e.g., 22 for SSH, 80/443 for web).

Example with UFW:

sudo ufw default deny incoming
sudo ufw allow 22
sudo ufw allow 80
sudo ufw allow 443
sudo ufw enable

3. Install and Configure Fail2Ban

Prevent brute-force attacks by banning IPs with too many failed login attempts.

Install Fail2Ban:

sudo apt install fail2ban

Create a jail for SSH and monitor logs like /var/log/auth.log or /var/log/secure.

👉 Full Fail2Ban Guide


4. Keep the System and Software Updated

Always run the latest security patches. Use tools like unattended-upgrades for automated updates.

Commands:

sudo apt update && sudo apt upgrade
sudo yum update

Outdated software is one of the most exploited vulnerabilities.


5. Monitor Login Attempts and File Changes

Install tools to track unauthorized access and suspicious activity.

  • Use auditd to track system events
  • Use logwatch or logcheck to scan logs for anomalies
  • Monitor /var/log/auth.log for failed logins

👉 Read: How to Monitor Login Attempts and File Changes on Your VPS


Bonus: Disable Root Login

Prevent direct root access by using a non-root sudo user instead.

In /etc/ssh/sshd_config:

PermitRootLogin no

Final Thoughts

Hardened servers are happy servers! With these 5 simple steps, you’ll block the majority of attacks targeting Linux VPS.

At Hosteons, we give you the control, performance, and reliability — now it’s your turn to secure it.

🔐 Ready to deploy a secure VPS?

👉 Explore Our KVM VPS

👉 Premium Ryzen VPS

🚀 What Is VPS Hosting and When Should You Use It?

Understanding VPS and Why It’s the Smart Middle Ground Between Shared Hosting and Dedicated Servers

If you’re launching a website or planning to move from basic shared hosting, you’ve probably come across the term VPS Hosting. But what exactly is it, and is it the right fit for your project?

At HostEONS, we provide reliable, high-performance VPS hosting trusted by developers, businesses, and entrepreneurs worldwide. This guide will help you understand what VPS hosting is, how it works, and when to use it.


🖥️ What Is VPS Hosting?

VPS stands for Virtual Private Server. It’s a type of hosting where a physical server is divided into multiple virtual machines, each with its own dedicated resources (RAM, CPU, storage) and full root access.

It’s like having your own mini server on a bigger physical server — giving you the freedom and power of a dedicated server without the high cost.

🔧 Key Features of VPS Hosting:

  • Full root or administrative access
  • Dedicated resources (not shared like in shared hosting)
  • Ability to install custom software
  • Choice of operating system (Linux, Windows, etc.)
  • Scalability and better performance

🏗️ How VPS Hosting Works

Using virtualization technology (like KVM, which HostEONS uses), the physical server is split into isolated virtual environments. Each VPS operates independently, which means:

  • One VPS crashing doesn’t affect others
  • You control your VPS fully — install software, change configurations, run scripts
  • You get better security and performance than shared hosting

✅ When Should You Use VPS Hosting?

1. You’ve Outgrown Shared Hosting

If your site is experiencing slow loading times, resource limits, or needs more control, VPS is the logical next step.

2. You Run High-Traffic or Resource-Intensive Websites

For blogs, ecommerce stores, or business sites that require higher uptime and faster performance, VPS hosting gives you the boost you need.

3. You Want to Host Custom Applications

Need to run Node.js, Docker, game servers, or any custom backend? You can’t do this on shared hosting — but it’s easy with VPS.

4. You’re a Developer or Agency Hosting Multiple Projects

VPS gives you the flexibility to manage staging, development, and production environments separately, all in one server.

5. You Care About Security and Isolation

Unlike shared hosting, where many users share the same environment, VPS gives you a private space, reducing the risk of cross-site contamination or data leaks.


🆚 VPS vs Shared Hosting vs Dedicated Server

FeatureShared HostingVPS HostingDedicated Server
Resource Isolation❌ Shared✅ Dedicated (virtual)✅ Dedicated (physical)
Root Access❌ No✅ Yes✅ Yes
Cost💲 Lowest💲💲 Moderate💲💲💲 Highest
Performance🚫 Limited⚡ Great🚀 Excellent
Custom Software❌ No✅ Yes✅ Yes

🌍 Why Choose HostEONS for VPS Hosting?

At HostEONS, we offer:

✅ KVM-based VPS with full root access

✅ Instant setup across global locations: USA (6 cities), Frankfurt, Paris

✅ Crypto & local payments (Alipay, Boleto, OXXO, SEPA, iDEAL, etc.)

✅ Affordable plans starting from just $3.50/month

✅ No overselling, no gimmicks — just performance

🔗 Explore VPS Plans

📩 Contact Us

Basic Tutorial to Secure an Ubuntu VPS

Secure Ubuntu VPS
Secure Ubuntu VPS

Securing your Ubuntu VPS is essential for protecting data, ensuring stability, and preventing unauthorized access. Here’s a straightforward guide on some basic yet effective steps to secure an Ubuntu VPS.


1. Update Your System

Start by updating your system to ensure all software is up-to-date with the latest security patches.

sudo apt update && sudo apt upgrade -y

2. Create a New User and Disable Root Login

For security, avoid using the root account directly and create a new user with sudo privileges.

  1. Create a new user: sudo adduser yourusername
  2. Add the user to the sudo group: sudo usermod -aG sudo yourusername
  3. Switch to the new user: su - yourusername
  4. Disable root login by editing the SSH configuration file: sudo nano /etc/ssh/sshd_config Find the line:
   PermitRootLogin yes

Change it to:

   PermitRootLogin no
  1. Restart SSH to apply changes:
    sudo systemctl restart ssh

3. Enable Firewall (UFW)

Ubuntu’s Uncomplicated Firewall (UFW) provides a straightforward way to manage firewall settings.

  1. Allow SSH access: sudo ufw allow OpenSSH
  2. Enable the firewall: sudo ufw enable
  3. Check the status:
    sudo ufw status

Optionally, if you’re hosting a web server, allow HTTP and HTTPS traffic:

sudo ufw allow http
sudo ufw allow https

4. Change the Default SSH Port

Changing the SSH port can add an additional layer of security against automated attacks.

  1. Open the SSH configuration file: sudo nano /etc/ssh/sshd_config
  2. Find the line: #Port 22 Uncomment and change 22 to your desired port, e.g., 2222: Port 2222
  3. Restart SSH to apply changes: sudo systemctl restart ssh
  4. Don’t forget to allow the new SSH port through the firewall:
    bash sudo ufw allow 2222/tcp

5. Disable Password Authentication and Enable SSH Key Authentication

Using SSH keys instead of passwords enhances security.

  1. Generate an SSH key pair on your local machine: ssh-keygen -t rsa -b 4096
  2. Copy your public key to your VPS: ssh-copy-id -p 2222 yourusername@your_server_ip
  3. Disable password authentication for SSH: sudo nano /etc/ssh/sshd_config Find the line: PasswordAuthentication yes Change it to: PasswordAuthentication no
  4. Restart SSH:
    sudo systemctl restart ssh

6. Install Fail2ban

Fail2ban monitors login attempts and blocks IPs with repeated failures, protecting against brute-force attacks.

  1. Install Fail2ban: sudo apt install fail2ban -y
  2. Start and enable Fail2ban: sudo systemctl start fail2ban sudo systemctl enable fail2ban
  3. Configure Fail2ban by creating a local jail file: sudo cp /etc/fail2ban/jail.conf /etc/fail2ban/jail.local
  4. Modify settings as needed: sudo nano /etc/fail2ban/jail.local You can adjust the ban time, retry limits, and monitored services.
  5. Restart Fail2ban:
    sudo systemctl restart fail2ban

7. Install and Configure Automatic Updates

Automatic updates reduce the risk of security vulnerabilities by ensuring software remains current.

  1. Install the unattended-upgrades package: sudo apt install unattended-upgrades -y
  2. Enable automatic updates:
    sudo dpkg-reconfigure --priority=low unattended-upgrades

8. Regular Backups

Always keep regular backups to quickly recover in case of an attack or data loss. Many hosting providers, like Hosteons, offer backup solutions, making it easy to automate and restore from snapshots or backups.


Summary

By following these steps, you enhance the security of your Ubuntu VPS against common threats. Regular updates, secure login configurations, a robust firewall, and monitoring tools like Fail2ban all contribute to a safer and more reliable server environment. With these basics covered, your VPS will be better protected against potential attacks.