Best VPS for African Startups: Affordable Global Hosting Options

Africa’s startup ecosystem is growing at an incredible pace. With increasing digital adoption and a thriving entrepreneurial community, having reliable and affordable hosting solutions is more important than ever. For African startups looking to scale, Virtual Private Servers (VPS) offer the perfect balance of cost, performance, and flexibility.

In this post, we’ll explore why VPS hosting is essential for African startups and how Hosteons provides affordable global options.


🌍 

Why VPS Hosting for Startups?

Unlike shared hosting, a VPS provides dedicated resources, better security, and scalability without the high costs of a dedicated server. For startups, this means:

  • Predictable performance: Guaranteed CPU, RAM, and storage.
  • Full control: Install and configure software as needed.
  • Scalability: Upgrade resources as your business grows.
  • Global reach: Serve customers worldwide with low-latency servers.

✅ 

Challenges African Startups Face with Hosting

  • High local hosting costs
  • Limited infrastructure in some regions
  • Connectivity and latency issues
  • Limited payment options

💡 

How Hosteons Helps Solve These Challenges

Hosteons offers budget-friendly VPS hosting in multiple global locations, including:

  • USA: Los Angeles, Dallas, Miami, Portland, New York, Salt Lake City
  • Europe: Frankfurt (Germany), Paris (France)

This allows African startups to choose a region that best serves their target audience.


🌟 

Key Features for Startups

  • Affordable VPS Plans starting from $2.99/month
  • 10Gbps Network Ports for ultra-fast connectivity
  • KVM Virtualization for full isolation and better security
  • Instant Deployment so you can start immediately
  • IPv6 Ready for future-proof networking
  • Multiple Payment Methods:Pay via credit/debit cards, PayPal, cryptocurrency (Bitcoin, USDT, Ethereum), and alternative local methods like Alipay, UnionPay, and more.

🔍 

Which Plan is Best for You?

For most African startups just getting started:

  • Budget KVM VPS is ideal for launching websites, apps, or MVPs.
  • Ryzen KVM VPS offers premium performance for SaaS platforms and heavier workloads.

👉 Explore Plans:

US & EU Budget VPS

Ryzen VPS Plans


🚀 

Pro Tips for African Startups

  • Choose a server closest to your audience (e.g., EU servers for North Africa, US East Coast for West Africa).
  • Enable CDN (like Cloudflare) for faster content delivery.
  • Secure your VPS immediately using our Security Checklist.

Final Thoughts

A VPS is the perfect solution for African startups looking to grow globally without breaking the bank. With Hosteons’ affordable plans, multiple payment options, and global locations, your business can scale confidently and securely.

🖥️ Start your journey today:

Order Your VPS Now

How to Secure a VPS Right After Deployment – Checklist for 2025

Deploying a VPS is the first step to building your online presence, hosting applications, or running business-critical services. But if you don’t secure it immediately after deployment, your server could become an easy target for hackers and automated bots.

Here’s a step-by-step security checklist for 2025 to harden your VPS from the start.


✅ 

1. Update Your System

Outdated packages and kernels are the biggest vulnerabilities.

Run these commands right after login:

sudo apt update && sudo apt upgrade -y   # For Ubuntu/Debian
sudo dnf update -y                      # For CentOS/AlmaLinux

✅ 

2. Create a New User and Disable Root Login

Never use the root account for day-to-day operations.

adduser youruser
usermod -aG sudo youruser

Edit the SSH configuration:

sudo nano /etc/ssh/sshd_config

Change:

PermitRootLogin no

Restart SSH:

systemctl restart ssh

✅ 

3. Set Up SSH Key Authentication

Passwords can be brute-forced. Use SSH keys instead.

Generate keys on your local machine:

ssh-keygen -t rsa -b 4096

Copy your public key to the VPS:

ssh-copy-id youruser@server_ip

Disable password login in /etc/ssh/sshd_config:

PasswordAuthentication no

Restart SSH again.


✅ 

4. Change the Default SSH Port

Bots scan port 22 for vulnerabilities. Change it to a non-standard port (e.g., 2222):

sudo nano /etc/ssh/sshd_config

Set:

Port 2222

Restart SSH:

systemctl restart ssh

✅ 

5. Enable a Firewall

Use UFW for Ubuntu/Debian:

sudo ufw allow 2222/tcp
sudo ufw allow 80/tcp
sudo ufw allow 443/tcp
sudo ufw enable

For CentOS/AlmaLinux (Firewalld):

sudo firewall-cmd --add-service=ssh --permanent
sudo firewall-cmd --add-service=http --permanent
sudo firewall-cmd --add-service=https --permanent
sudo firewall-cmd --reload

✅ 

6. Install Fail2Ban

Protect against brute-force attacks:

sudo apt install fail2ban -y    # Debian/Ubuntu
sudo dnf install fail2ban -y    # CentOS/AlmaLinux

Enable and start Fail2Ban:

sudo systemctl enable fail2ban
sudo systemctl start fail2ban

✅ 

7. Disable Unnecessary Services

Check running services:

systemctl list-unit-files --type=service --state=enabled

Disable what you don’t need:

sudo systemctl disable service_name

✅ 

8. Enable Automatic Security Updates

On Ubuntu/Debian:

sudo apt install unattended-upgrades -y

On CentOS/AlmaLinux:

sudo dnf install dnf-automatic -y
sudo systemctl enable --now dnf-automatic.timer

✅ 

9. Install a Malware Scanner

Use ClamAV for basic malware scanning:

sudo apt install clamav -y

✅ 

10. Backup Regularly

Security is not complete without backups. Use tools like:

  • rsync
  • rclone
  • Cloud backups from your Hosteons VPS panel

Pro Tip:

Hosteons offers an Initial VPS Setup Script that secures your server instantly with best practices:

👉 GitHub Script

👉 Full Guide


Final Thoughts

Securing your VPS should never be an afterthought. With these 10 steps, you can minimize vulnerabilities and keep your server safe from evolving cyber threats in 2025.

🛡️ Ready to get started?

Order a reliable VPS now: Hosteons VPS Plans

How to Install and Configure Nextcloud on a Hosteons VPS

Nextcloud is a powerful open-source self-hosted cloud storage solution that allows you to store, share, and access your files from anywhere — securely and privately. With a VPS from Hosteons, you can deploy your own Nextcloud instance in minutes.


✅ Prerequisites

Before starting, make sure:

  • You have a Hosteons KVM VPS with at least 1 GB RAM (2 GB recommended).
  • You’re using Ubuntu 22.04 (or a similar Linux distro).
  • You have a domain name pointed to your VPS IP (optional but recommended).
  • SSH access to the VPS (as root or sudo user).

🧰 Step 1: Update Your System

sudo apt update && sudo apt upgrade -y

⚙️ Step 2: Install Required Dependencies

sudo apt install apache2 mariadb-server libapache2-mod-php \
php php-gd php-mysql php-curl php-mbstring php-xml php-zip php-bz2 php-intl php-imagick php-gmp php-bcmath unzip wget -y

🗄️ Step 3: Configure MariaDB

sudo mysql_secure_installation

Then log into MariaDB:

sudo mysql -u root -p

Run the following queries to create a database and user:

CREATE DATABASE nextcloud;
CREATE USER 'nextclouduser'@'localhost' IDENTIFIED BY 'strongpassword';
GRANT ALL PRIVILEGES ON nextcloud.* TO 'nextclouduser'@'localhost';
FLUSH PRIVILEGES;
EXIT;

📦 Step 4: Download and Extract Nextcloud

cd /var/www/
sudo wget https://download.nextcloud.com/server/releases/latest.zip
sudo unzip latest.zip
sudo chown -R www-data:www-data nextcloud
sudo chmod -R 755 nextcloud

🌐 Step 5: Configure Apache for Nextcloud

Create a new config file:

sudo nano /etc/apache2/sites-available/nextcloud.conf

Paste this:

<VirtualHost *:80>
    ServerName yourdomain.com

    DocumentRoot /var/www/nextcloud

    <Directory /var/www/nextcloud/>
        Require all granted
        AllowOverride All
        Options FollowSymlinks MultiViews
    </Directory>

    ErrorLog ${APACHE_LOG_DIR}/nextcloud_error.log
    CustomLog ${APACHE_LOG_DIR}/nextcloud_access.log combined
</VirtualHost>

Enable the config and necessary modules:

sudo a2ensite nextcloud.conf
sudo a2enmod rewrite headers env dir mime
sudo systemctl restart apache2

🔐 (Optional) Step 6: Secure with HTTPS using Let’s Encrypt

sudo apt install certbot python3-certbot-apache -y
sudo certbot --apache

🧪 Step 7: Final Setup via Web UI

Open your browser and go to http://yourdomain.com or http://your_server_ip

You’ll see the Nextcloud installer. Enter:

  • Admin username and password
  • Database name: nextcloud
  • Database user: nextclouduser
  • Password: your DB password
  • DB host: localhost

Click Finish Setup.


🎉 Done!

Nextcloud is now ready on your Hosteons VPS. You can install the mobile or desktop apps and start syncing your files securely.


🚀 Need a VPS?

Hosteons offers powerful, affordable VPS solutions with full root access, 10Gbps ports, and global payment methods including Crypto, Alipay, UPI, and more.

👉 Explore VPS Plans

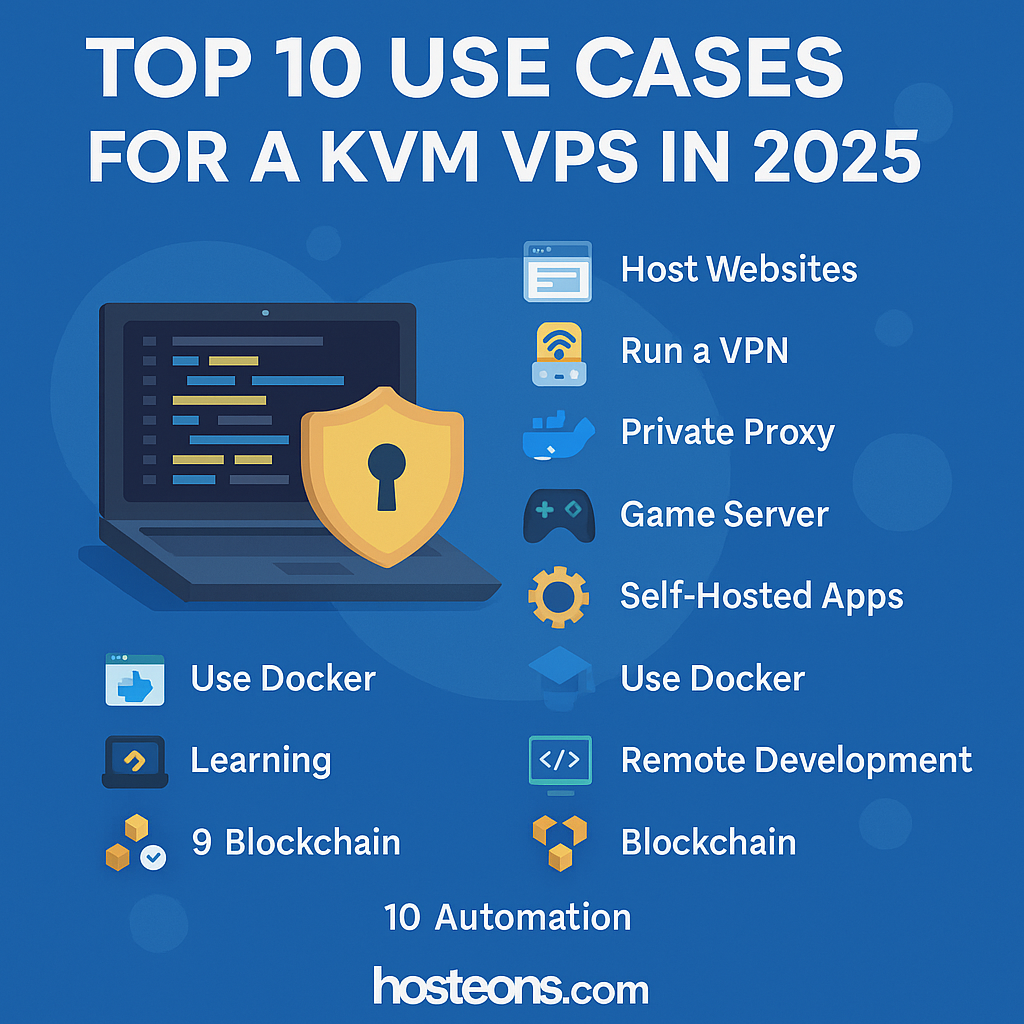
Top 10 Use Cases for a KVM VPS in 2025

As we move deeper into 2025, the demand for powerful, affordable, and flexible hosting solutions continues to grow. Whether you’re a developer, entrepreneur, or a tech-savvy individual, a KVM VPS (Kernel-based Virtual Machine Virtual Private Server) offers the ideal balance between performance and control. At Hosteons, we provide high-performance KVM VPS solutions with full root access, IPv6 support, and 10Gbps connectivity across global locations.

Here are the top 10 use cases for a KVM VPS in 2025:


1. Host Websites or Web Apps

Deploy WordPress, Laravel, Django, or custom applications. A KVM VPS gives you full control over your web stack, with the performance to handle heavy traffic.


2. Run Docker Containers

Use your VPS as a Docker host for deploying microservices, test environments, or production-grade container clusters.

➡️ Learn how to install Docker on a Hosteons VPS


3. Private VPN or Proxy Server

Set up a secure VPN (e.g., WireGuard, OpenVPN) or a private proxy (like Squid) to bypass geo-blocks, maintain privacy, or securely access internal services.


4. Game Server Hosting

Host Minecraft, Counter-Strike, or other game servers. With dedicated resources and high bandwidth, your gaming experience remains smooth and lag-free.


5. Self-Hosted Applications

Run your own Nextcloud, Git server (e.g., Gitea), analytics tools, email servers, or even VoIP platforms like Asterisk.


6. Remote Development Environment

Create a cloud-based dev machine you can SSH into from anywhere. Ideal for compiling code, running dev servers, or testing across environments.


7. Run Automation Bots or Scrapers

Use your VPS to host web crawlers, automation scripts, or Telegram bots — all within your own isolated environment. Make sure to not get IP blacklisted and follow TOS and AUP of provider.


8. Blockchain Nodes & Crypto Tools

Spin up full Bitcoin, Ethereum, or Lightning Network nodes. A VPS is also great for running price monitoring tools or decentralized applications.


9. Learning and Experimentation

Perfect for students, sysadmins, or developers to learn Linux, networking, container orchestration, and system security hands-on.


10. Disaster Recovery & Offsite Backups

Use your VPS as a secure location to sync critical files, host daily database backups, or mirror servers from your local infrastructure.


Why Choose Hosteons KVM VPS?

  • 🔒 Root Access & Full Control
  • 🚀 10Gbps Port Speed
  • 🌍 Data centers in the US, EU & more
  • 🛡️ No KYC Needed (for crypto or many local payment options)
  • 💵 Pay with Credit Cards, Alipay, UnionPay, PayPal, Crypto & More
  • ✅ Comes with native IPv6 & optional /64 subnet

Ready to Get Started?

Explore our KVM VPS plans:

🌐 US Budget KVM VPS

🌐 EU KVM VPS (France & Germany)

🌐 Premium Ryzen VPS

🌐 Ryzen 7950X VDS

How to Migrate Your Website to a New VPS Without Downtime

Moving your website to a new VPS can feel daunting, especially when you’re worried about downtime, broken links, or losing data. At Hosteons, we’ve helped thousands of users migrate smoothly—often without their visitors even noticing the switch.

In this post, we’ll walk you through how to migrate your website to a new VPS step-by-step while keeping everything live.


✅ Step 1: Prepare Your New VPS

Before anything else:

  • Deploy your new VPS from Hosteons or Premium Ryzen VDS
  • Install necessary software: web server (Apache/Nginx), database (MySQL/MariaDB), PHP, and other required dependencies
  • Ensure firewall and security settings are configured

✅ Step 2: Backup Your Website

On your current server:

  • Use tools like rsync, scp, or control panel backups (e.g. cPanel/DirectAdmin)
  • Export your database using mysqldump or phpMyAdmin
  • Compress your website files and download them safely

✅ Step 3: Transfer Files and Database to New VPS

  • Upload your files using rsync, scp, or FTP/SFTP
  • Import the database to your new VPS using mysql or phpMyAdmin
  • Recheck file permissions and ownership

✅ Step 4: Test the Website on the New Server

  • Modify your local hosts file to point the domain to the new server IP
  • Access the site via browser and ensure everything functions (no broken links, database errors, or missing files)

✅ Step 5: Sync Latest Changes (Optional)

If your site is dynamic (blog, e-commerce, etc.), you may need to:

  • Re-export the database just before the final switch
  • Re-transfer updated files (images, new posts, etc.)
  • Place the site in “maintenance mode” briefly if needed

✅ Step 6: Update DNS Records

  • Change your domain’s A record to the new VPS IP
  • TTL (Time to Live) should be set low (e.g. 300 seconds) a day before migration to allow faster DNS propagation

✅ Step 7: Monitor and Go Live

  • Monitor the site post-migration
  • Check logs (/var/log/nginx/error.log or Apache equivalents)
  • Use tools like uptimerobot.com or statuscake.com to verify uptime

🔒 Bonus Tip: Use a CDN to Smooth the Transition

A CDN like Cloudflare caches your content and helps reduce DNS propagation-related issues. It can even act as a reverse proxy to switch servers behind the scenes.


Why Choose Hosteons for Your Next VPS?

  • 🌍 Global server locations (US, EU)
  • 💸 Flexible payments: Credit cards, PayPal, CryptoAlipayUPI, and more!
  • 🚀 99.99% uptime
  • 🧑‍💻 Fast support, no KYC for crypto or local payments
  • 📦 Explore VPS Plans

Still unsure or need help with the migration?

📩 Open a support ticket at https://my.hosteons.com — our team is here to guide you!

Buy KVM VPS with IPv6 Support – Here’s Why It Matters

As the internet continues to expand, the demand for IP addresses has reached new heights. Traditional IPv4 addresses are running out, which is why IPv6 is becoming essential for modern hosting solutions. If you’re considering a KVM VPS, choosing one with IPv6 support isn’t just future-proofing—it’s a smart, performance-enhancing decision.

At Hosteons, we now offer a /64 IPv6 subnet by default with all VPS orders—no justification required. Here’s why it matters.


🌐 What Is IPv6?

IPv6 (Internet Protocol version 6) is the next-generation protocol designed to replace IPv4. While IPv4 allows for around 4.3 billion addresses, IPv6 can accommodate 340 undecillion addresses—plenty for every device on the planet.


🧠 Why IPv6 Support Matters for Your VPS

  1. Future-ProofingIPv6 adoption is growing fast, especially in regions like Asia and Europe. By choosing a VPS with IPv6, you ensure compatibility with modern networks and clients.
  2. Better Network PerformanceSome ISPs and regions already route traffic more efficiently over IPv6. If your visitors are on IPv6-enabled networks, your site may load faster.
  3. No NAT LimitationsWith your own /64 subnet, each VPS can assign numerous public IPv6 addresses without the need for NAT (Network Address Translation), simplifying many configurations.
  4. Ideal for Developers & Hosting ProjectsPlanning to host multiple services, containers, or projects? IPv6 gives you an enormous address space to assign clean, public IPs to each component.

🚀 Why Hosteons Makes It Easy

We’ve enabled routed IPv6 support by default across all our VPS offerings:

  • ✅ A full /64 IPv6 subnet for each VPS
  • ✅ No justification needed during checkout
  • ✅ Supported across all locations
  • ✅ Full IPv6 reverse DNS support
  • ✅ Dual-stack (IPv4 + IPv6) connectivity

This makes our KVM VPS plans ideal for developers, businesses, and anyone who wants to future-proof their infrastructure.


🔗 Ready to Order?

Choose a VPS plan that’s ready for the future:

All plans include native IPv6 support with routed /64 subnets.


💬 Final Thoughts

IPv6 isn’t just a trend—it’s the future of the internet. Whether you’re a developer, sysadmin, or hosting enthusiast, having IPv6 support on your VPS is crucial. With Hosteons, it’s built in, effortless, and powerful.

How to Install Docker and Run Containers on a Hosteons VPS

Docker is one of the most popular tools for deploying and managing applications in isolated environments called containers. With a Hosteons VPS, you have full root access and KVM virtualization — making it perfect for running Docker!

In this guide, we’ll show you how to install Docker on a VPS (Ubuntu/CentOS/AlmaLinux) and run your first container.


✅ Prerequisites

  • A Hosteons VPS with root access
  • OS: Ubuntu 20.04/22.04 or CentOS 7/8 / AlmaLinux 8/9
  • Updated system packages

🚀 Step 1: Update Your VPS

Ubuntu/Debian:

sudo apt update && sudo apt upgrade -y

CentOS/AlmaLinux:

sudo yum update -y
# OR
sudo dnf update -y

🚀 Step 2: Install Docker

For 

Ubuntu

:

sudo apt install apt-transport-https ca-certificates curl software-properties-common -y
curl -fsSL https://download.docker.com/linux/ubuntu/gpg | sudo apt-key add -
sudo add-apt-repository \
  "deb [arch=amd64] https://download.docker.com/linux/ubuntu $(lsb_release -cs) stable"
sudo apt update
sudo apt install docker-ce docker-ce-cli containerd.io -y

For 

CentOS/AlmaLinux

:

sudo yum install -y yum-utils
sudo yum-config-manager \
    --add-repo \
    https://download.docker.com/linux/centos/docker-ce.repo
sudo yum install docker-ce docker-ce-cli containerd.io -y

For AlmaLinux 8/9, replace yum with dnf where needed.


🚀 Step 3: Start and Enable Docker

sudo systemctl start docker
sudo systemctl enable docker

Check status:

sudo systemctl status docker

🚀 Step 4: Run a Test Container

Run a basic hello-world container:

sudo docker run hello-world

If everything is set up correctly, you’ll see a message from Docker saying your installation is working.


🚀 Step 5: Run Any Container (Example: NGINX)

sudo docker run -d -p 80:80 nginx

Visit your VPS IP in a browser to see the default NGINX welcome page.


⚡ Bonus Tips

  • Add your user to the docker group to avoid using sudo:
sudo usermod -aG docker $USER

Then log out and log back in.

  • You can manage Docker containers using tools like Portainer for a web UI:
sudo docker volume create portainer_data
sudo docker run -d -p 9000:9000 --name=portainer \
    --restart=always \
    -v /var/run/docker.sock:/var/run/docker.sock \
    -v portainer_data:/data \
    portainer/portainer-ce

Access it at: http://your-server-ip:9000


🌐 Ready to Deploy Containers with Power?

Hosteons VPS plans provide full KVM virtualization, root access, and 10Gbps ports — ideal for Docker workloads.

👉 Order Budget VPS

👉 Order Ryzen VPS

👉 Order Ryzen VDS

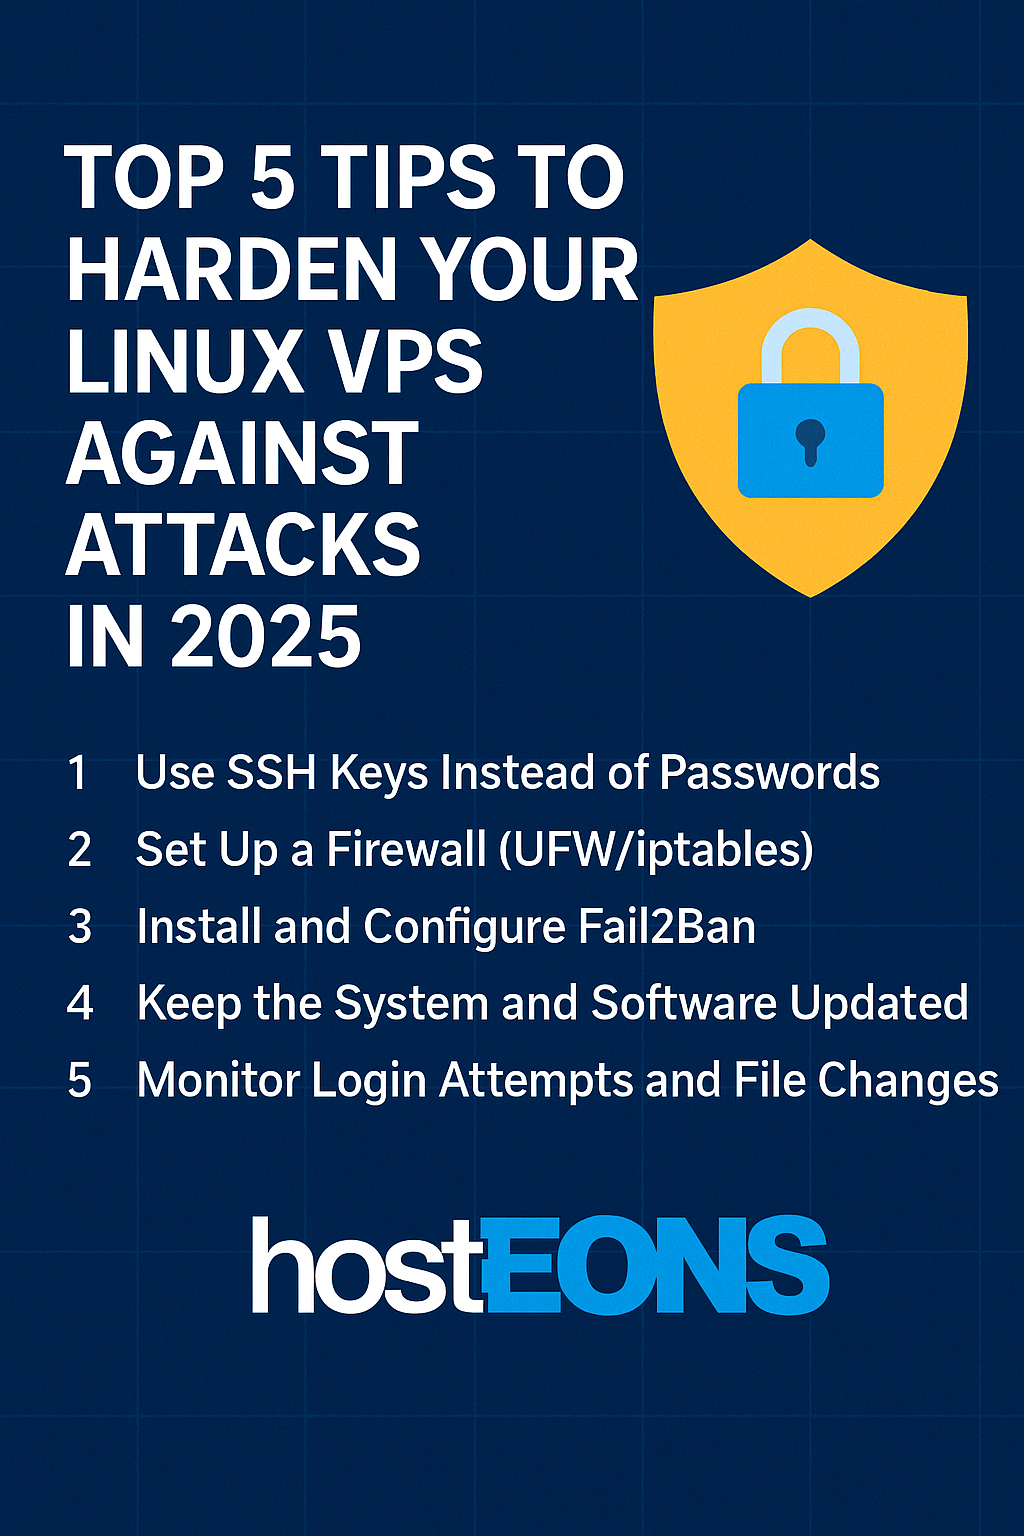
Top 5 Tips to Harden Your Linux VPS Against Attacks in 2025

In 2025, cyberattacks are more sophisticated than ever. Whether you’re hosting a personal project or critical business application, securing your Linux VPS is no longer optional—it’s essential. Thankfully, with just a few steps, you can drastically reduce your risk and keep your VPS locked down against the most common threats.

At Hosteons, we provide high-performance KVM VPS with root access, but security is a shared responsibility. Here’s how you can harden your VPS in minutes:


1. Use SSH Keys Instead of Passwords

Disable password login and use SSH key authentication for more secure, automated, and brute-force-resistant logins.

Steps:

  • Generate a key pair using ssh-keygen
  • Upload your public key to your VPS: ~/.ssh/authorized_keys
  • Disable password auth in /etc/ssh/sshd_config

👉 Read: Why You Should Use SSH Keys Instead of Passwords


2. Set Up a Firewall (UFW/iptables)

Block unnecessary ports to reduce your attack surface. Only open what’s required (e.g., 22 for SSH, 80/443 for web).

Example with UFW:

sudo ufw default deny incoming
sudo ufw allow 22
sudo ufw allow 80
sudo ufw allow 443
sudo ufw enable

3. Install and Configure Fail2Ban

Prevent brute-force attacks by banning IPs with too many failed login attempts.

Install Fail2Ban:

sudo apt install fail2ban

Create a jail for SSH and monitor logs like /var/log/auth.log or /var/log/secure.

👉 Full Fail2Ban Guide


4. Keep the System and Software Updated

Always run the latest security patches. Use tools like unattended-upgrades for automated updates.

Commands:

sudo apt update && sudo apt upgrade
sudo yum update

Outdated software is one of the most exploited vulnerabilities.


5. Monitor Login Attempts and File Changes

Install tools to track unauthorized access and suspicious activity.

  • Use auditd to track system events
  • Use logwatch or logcheck to scan logs for anomalies
  • Monitor /var/log/auth.log for failed logins

👉 Read: How to Monitor Login Attempts and File Changes on Your VPS


Bonus: Disable Root Login

Prevent direct root access by using a non-root sudo user instead.

In /etc/ssh/sshd_config:

PermitRootLogin no

Final Thoughts

Hardened servers are happy servers! With these 5 simple steps, you’ll block the majority of attacks targeting Linux VPS.

At Hosteons, we give you the control, performance, and reliability — now it’s your turn to secure it.

🔐 Ready to deploy a secure VPS?

👉 Explore Our KVM VPS

👉 Premium Ryzen VPS

如何监控您的 VPS 登录尝试和文件更改

当您管理自己的 VPS 时,安全不仅仅是设置强密码或使用 SSH 密钥,更重要的是实时监控登录行为和文件变更

如果有人尝试暴力破解登录,或修改了系统文件,您需要第一时间得知,并及时采取措施。本文将介绍几种常用的工具和方法,帮助您全天候守护 VPS 安全。


🔍 为什么需要监控?

网络攻击往往悄无声息。黑客通常会:

  • 多次尝试猜测密码(暴力破解)
  • 修改系统文件、配置或植入木马
  • 在网站目录中注入恶意代码
  • 利用 rootkit 隐藏入侵行为

通过监控登录尝试和文件变动,您可以及时发现异常并采取措施,避免更大损失。


🛡️ 使用 Fail2Ban 监控登录尝试

Fail2Ban 会监控登录日志(如 /var/log/auth.log),当检测到多次失败尝试后,会自动封禁对应 IP。

安装命令:

sudo apt update && sudo apt install fail2ban -y

基本配置文件:

/etc/fail2ban/jail.local

示例配置(SSH 登录防护):

[sshd]
enabled = true
port = ssh
filter = sshd
logpath = /var/log/auth.log
maxretry = 3

Fail2Ban 会结合防火墙规则自动封锁恶意 IP。


🗂️ 使用 AIDE 监控文件变更

AIDE (Advanced Intrusion Detection Environment) 是一款强大的文件完整性监控工具。

安装命令:

sudo apt install aide -y

初始化数据库:

sudo aideinit
sudo cp /var/lib/aide/aide.db.new /var/lib/aide/aide.db

检查文件状态:

sudo aide --check

可结合 cron 定时任务进行每日自动检查,并通过邮件发送报告。


🔁 使用 inotify-tools 实时监控目录

如果您想实时监控网站目录(如 /var/www/html),推荐使用 inotify-tools

安装命令:

sudo apt install inotify-tools -y

实时监控命令:

inotifywait -m -r /var/www/html

适用于开发者和网站管理员快速响应文件变更。


✉️ 邮件提醒(可选)

结合 mail 命令或自建监控平台(如 Zabbix、Prometheus)可实现自动邮件通知,一旦发现可疑行为立即提醒您。


🧠 安全建议

  • 使用 SSH 密钥登录 VPS
  • 禁用 root 用户远程登录
  • 修改默认 SSH 端口(如 22 改为 2222)
  • 每日查看登录日志
  • 定期备份和保留审计记录

💡 Hosteons VPS 全面支持上述工具

无论您使用的是:

Hosteons 提供完全 root 权限,支持 Ubuntu、Debian、CentOS、AlmaLinux 等系统,便于您部署个性化安全策略。


🔒 趁早防范,才能安心运维

不要等服务器出问题再处理。现在就部署登录与文件监控,让您第一时间掌握 VPS 安全状态!

如需帮助,请提交支持工单,我们将全力协助您配置。