Running a VPS gives you full control — but it also comes with responsibility. Whether you’re hosting with a budget VPS or a high-performance Ryzen VDS from Hosteons, security should always be a top priority.
Automated bots and malicious actors are constantly scanning servers looking for open doors. The good news? With just a few simple firewall rules, you can block 90% or more of common attacks — no advanced security knowledge needed.
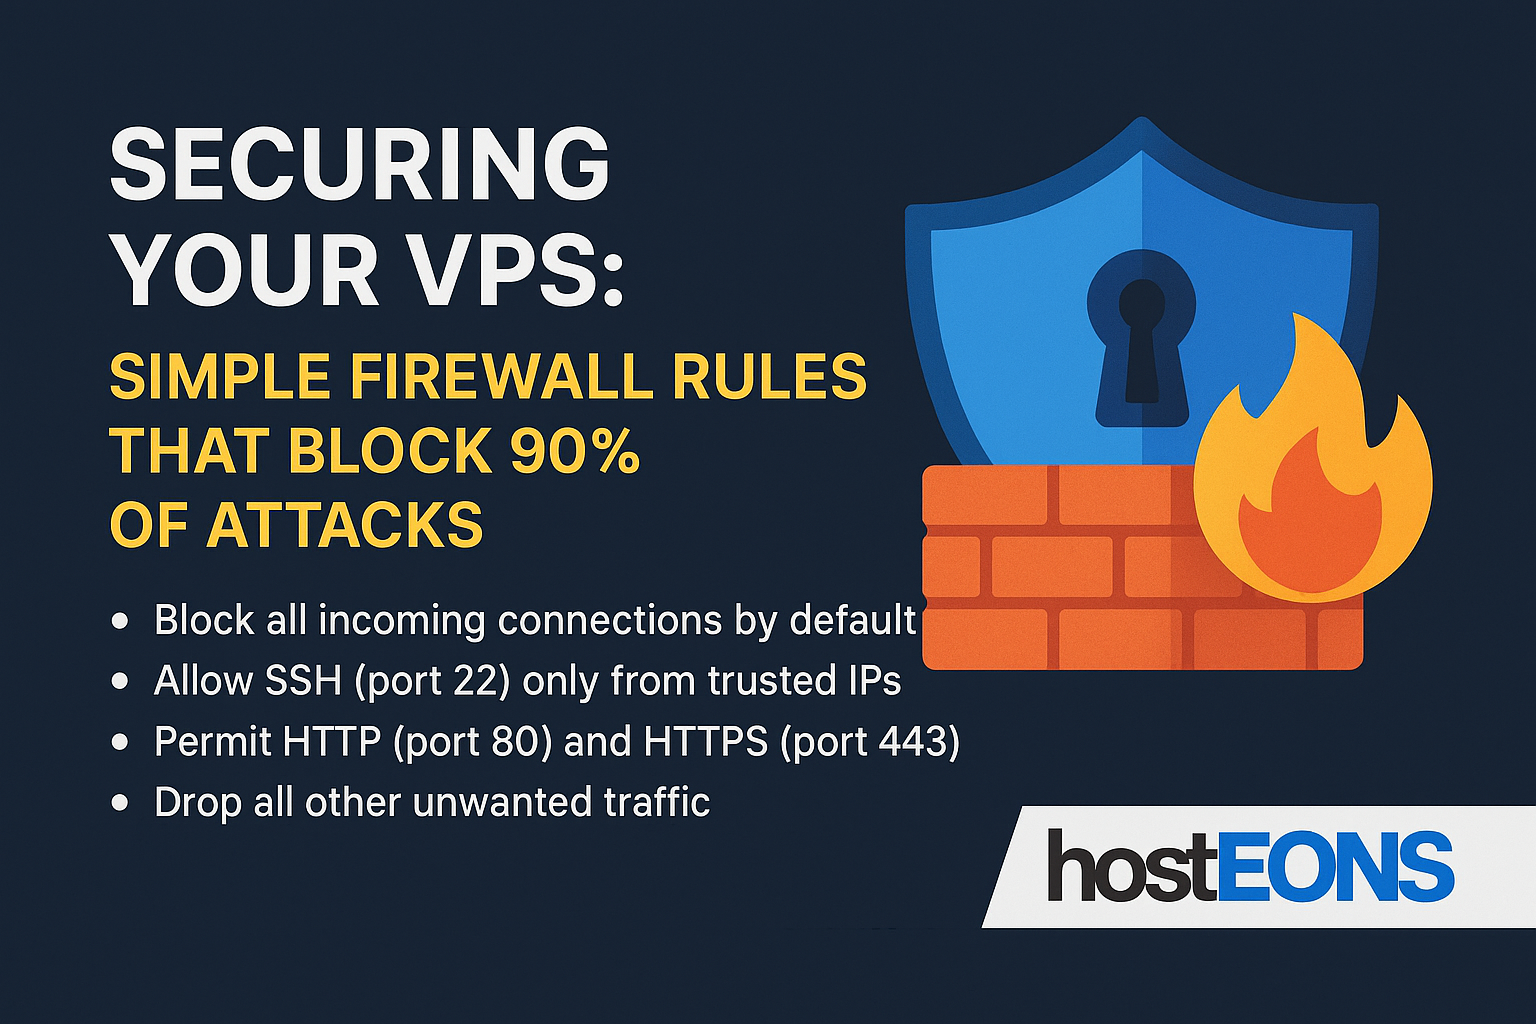
🚧 Step 1: Deny All by Default
Your firewall should start from a “zero trust” position. Block all incoming traffic unless explicitly allowed.
iptables -P INPUT DROP
iptables -P FORWARD DROP
iptables -P OUTPUT ACCEPT
This is the safest starting point for VPS security.
✅ Step 2: Open Only the Ports You Need
For most users, these are the essential services:
iptables -A INPUT -p tcp --dport 22 -j ACCEPT   # SSH
iptables -A INPUT -p tcp --dport 80 -j ACCEPT   # HTTP
iptables -A INPUT -p tcp --dport 443 -j ACCEPT  # HTTPS
If you’re using a custom SSH port, be sure to update that here.
🛡️ Step 3: Rate-Limit SSH to Stop Brute-Force Attacks
SSH is the most frequently targeted service. Add a rate-limiting rule to block repeated login attempts:
iptables -A INPUT -p tcp --dport 22 -m state --state NEW -m recent --set
iptables -A INPUT -p tcp --dport 22 -m state --state NEW -m recent --update --seconds 60 --hitcount 3 -j DROP
This prevents bots from guessing passwords through brute force.
🧼 Step 4: Drop Invalid or Malicious Packets
Invalid packets are often used in scanning or attack attempts. Drop them:
iptables -A INPUT -m state --state INVALID -j DROPThis helps prevent certain types of kernel-level exploits and misbehavior.
🔁 Step 5: Allow Loopback and Established Connections
Let your server communicate with itself and continue existing sessions:
iptables -A INPUT -i lo -j ACCEPT
iptables -A INPUT -m state --state ESTABLISHED,RELATED -j ACCEPT
Without these, things like internal services and return traffic might break.
👀 Step 6: (Optional) Block Ping (ICMP)
Ping isn’t harmful by itself, but attackers use it to detect live servers. You can hide yours:
iptables -A INPUT -p icmp --icmp-type echo-request -j DROPNote: avoid this if you use ping-based monitoring tools.
💡 Bonus: Use CSF for Easier Firewall Management
Not comfortable with command-line tools? Hosteons VPS plans fully support CSF (ConfigServer Security & Firewall)— a beginner-friendly, feature-rich firewall system with:
- Easy interface via DirectAdmin
- Built-in brute-force detection
- Country-level blocking
- Port scan detection
- Daily logs and alerts
Perfect for users who want simplicity without sacrificing power.
🔄 Don’t Forget to Save Your Rules
After setting your rules, make sure they persist after a reboot.
On Ubuntu/Debian:
iptables-save > /etc/iptables/rules.v4On CentOS/RHEL:
Use iptables-save along with persistent packages, or configure firewalld.
🔐 VPS Security Starts with You
Whether you’re running a personal blog, game server, or production site on a VPS from Hosteons, implementing basic firewall rules should be your first line of defense.
These 6 rules are easy to set up and highly effective. For extra protection, consider:
- Enabling fail2ban
- Using SSH keys instead of passwords
- Running regular security updates
At Hosteons, we offer high-performance, SSD-powered KVM VPS and Ryzen VDS backed by robust network security and full root access — so you’re always in control.
🔒 Ready to launch your secure VPS?