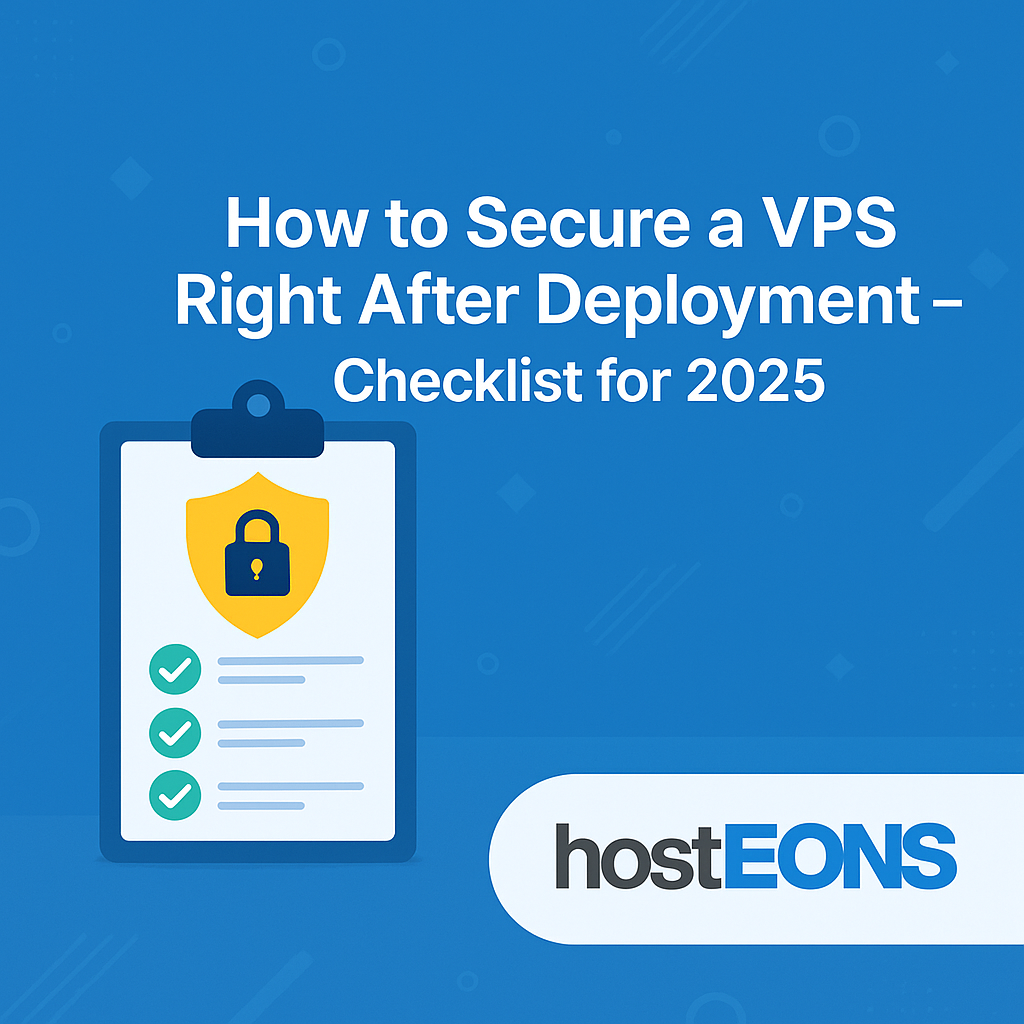
Ransomware attacks have become one of the most dangerous cybersecurity threats in recent years. These attacks encrypt your data and demand a ransom for its release, causing downtime, financial losses, and sometimes permanent data loss.
If you’re running a VPS, you are a target—but with the right security practices, you can significantly reduce the risk. In this guide, we’ll show you how to protect your VPS from ransomware attacks.
✅
What is Ransomware and Why Target VPS?
Ransomware is malicious software that encrypts your files or system, rendering them unusable until a ransom is paid. VPS servers are attractive targets because:
- They often host business-critical applications
- Many users fail to apply security updates
- Weak configurations leave them exposed to attacks
Top Ways to Secure Your VPS from Ransomware
✅
1. Keep Your System Updated
Unpatched systems are the most common entry point for attackers.
Update your VPS regularly:
sudo apt update && sudo apt upgrade -y   # For Debian/Ubuntu
sudo dnf update -y                      # For CentOS/AlmaLinux
✅
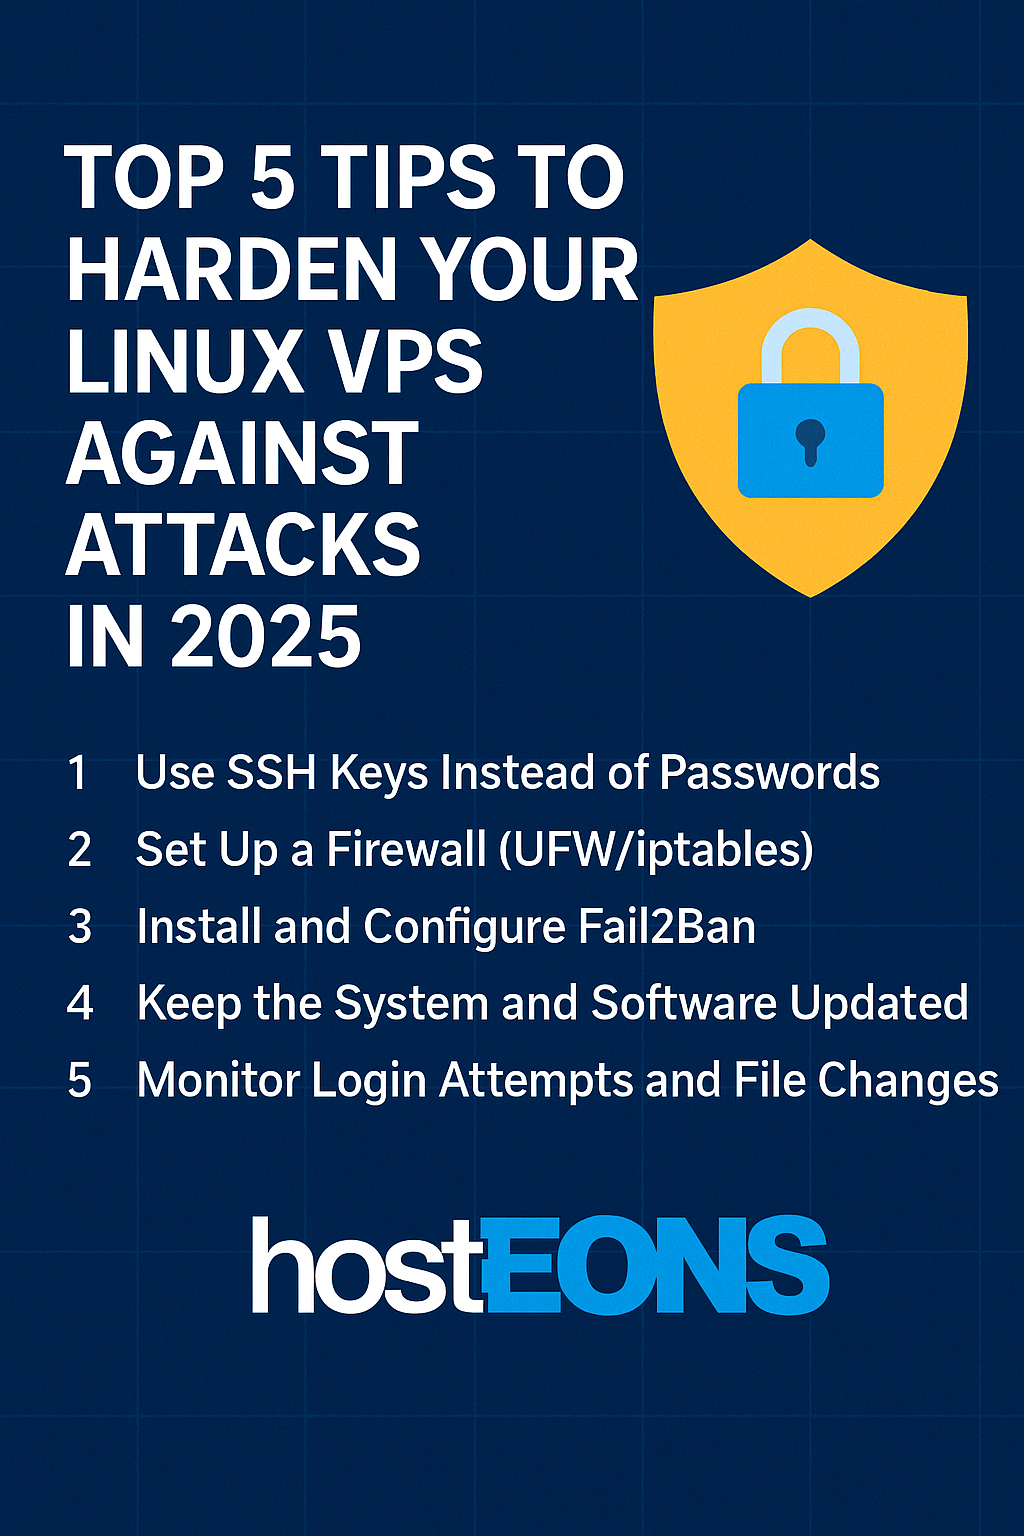
2. Use Strong SSH Security
- Disable root login
- Use SSH keys instead of passwords
- Change the default SSH port
Example:
PermitRootLogin no
PasswordAuthentication no
Port 2222
Restart SSH:
systemctl restart ssh✅
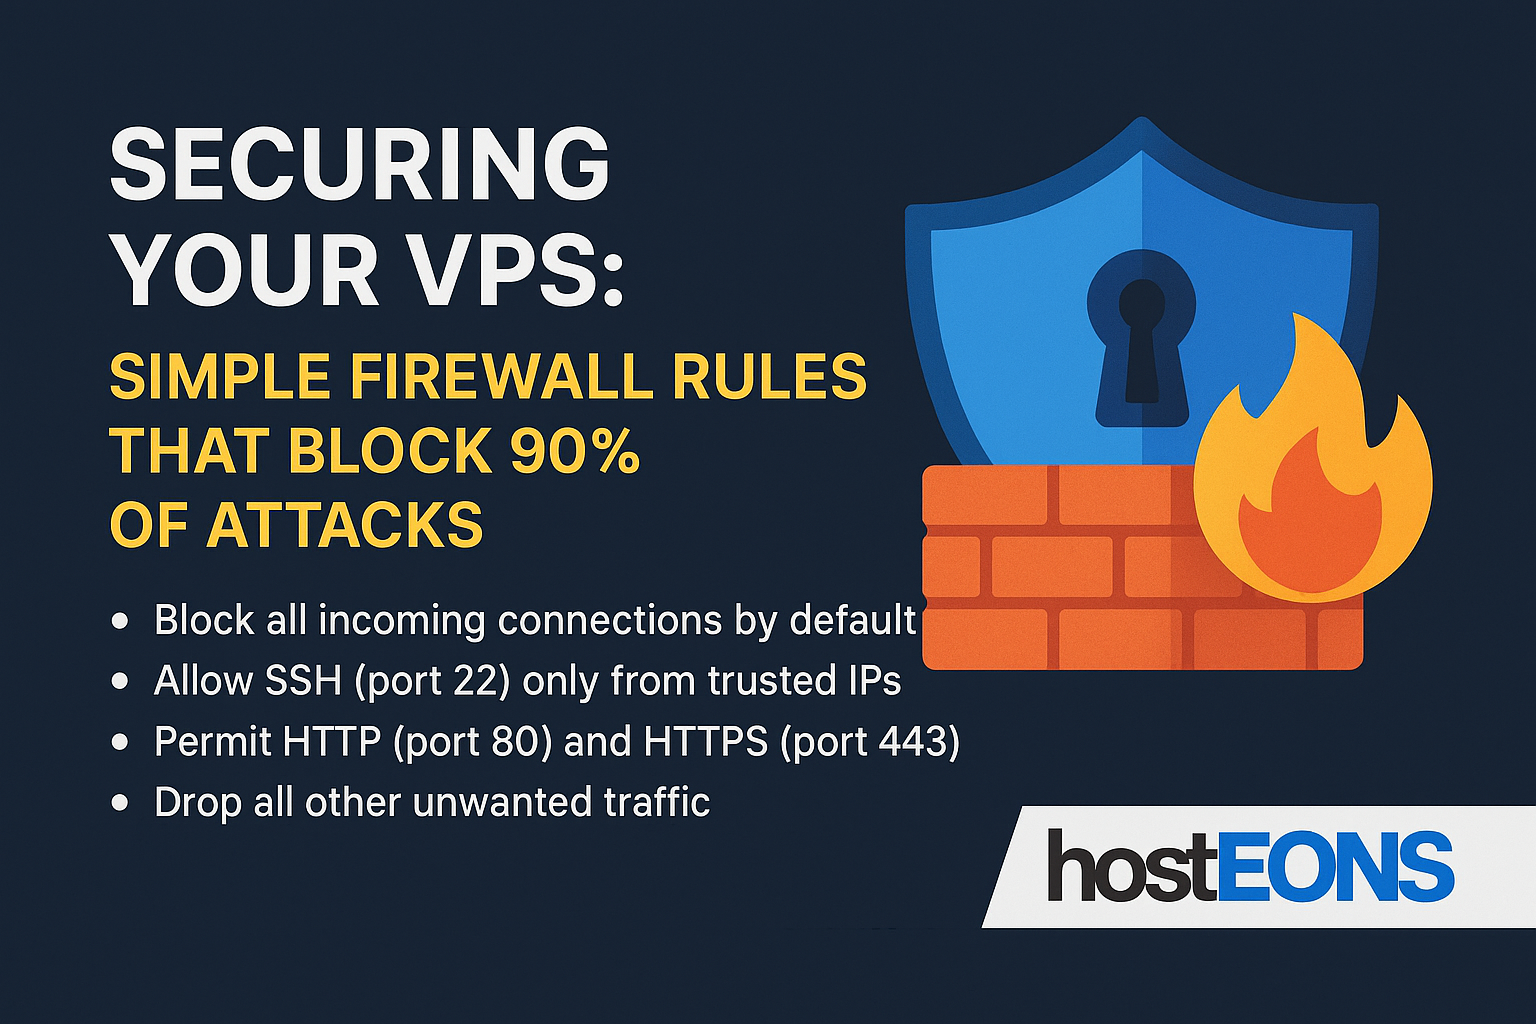
3. Enable a Firewall
Limit access to essential ports only.
For Ubuntu/Debian:
sudo ufw allow 2222/tcp
sudo ufw allow 80/tcp
sudo ufw allow 443/tcp
sudo ufw enable
✅
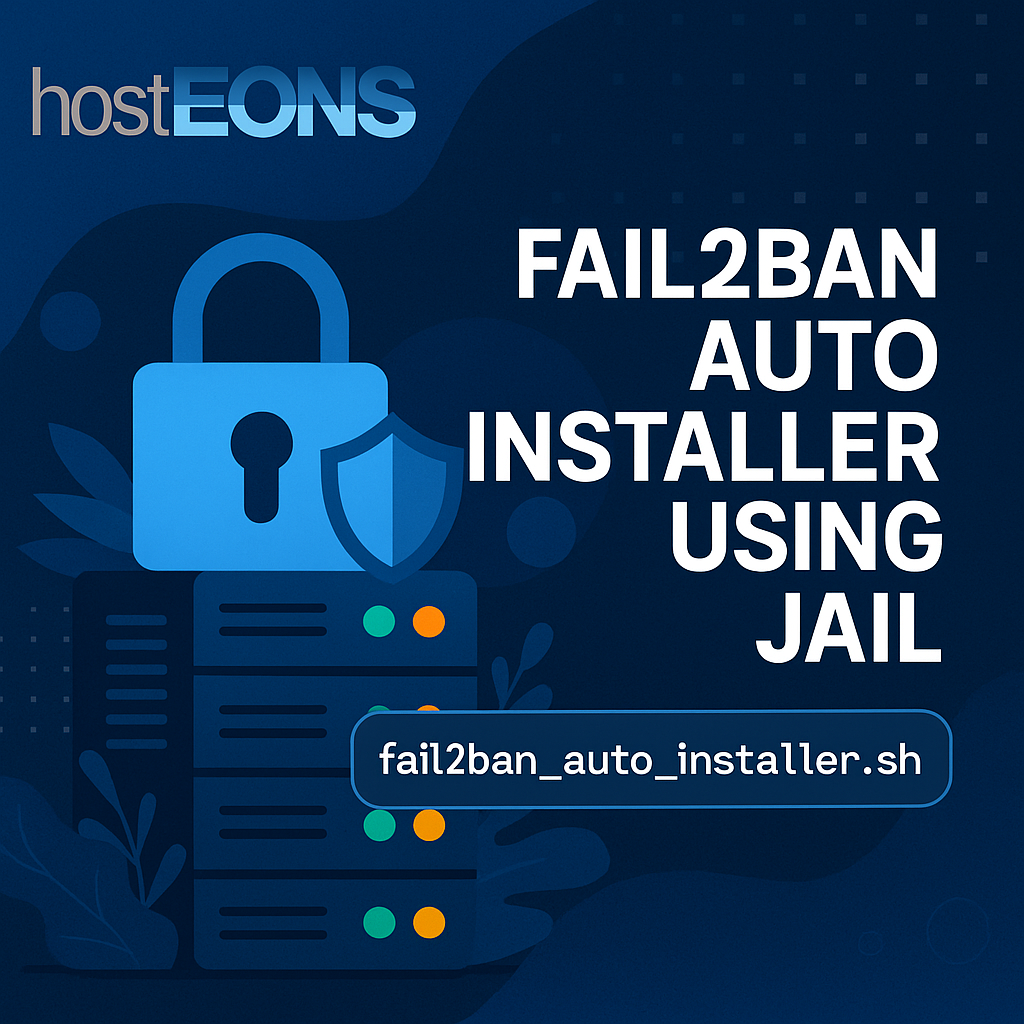
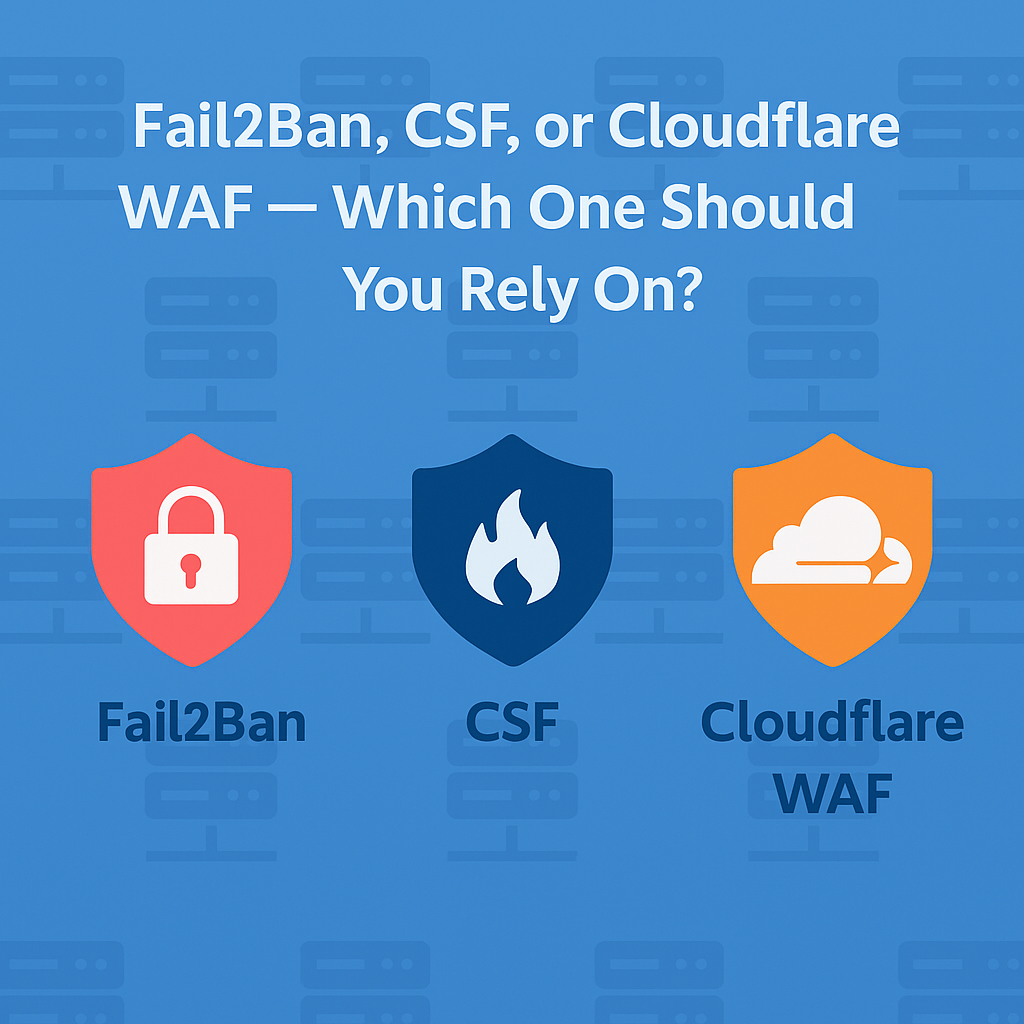
4. Install Fail2Ban
Block brute-force attempts:
sudo apt install fail2ban -y    # Debian/Ubuntu
sudo dnf install fail2ban -y    # CentOS/AlmaLinux
✅
5. Use Real-Time Malware Protection
Install tools like ClamAV or Maldet to detect malicious files:
sudo apt install clamav -y✅
6. Secure Web Applications
- Keep CMS platforms like WordPress up to date
- Use strong admin passwords
- Install security plugins and WAF (Web Application Firewall)
✅
7. Enable Regular Backups
Backups are your best defense against ransomware. Even if your server is compromised, you can restore your data without paying a ransom.
Options:
- Use Hosteons’ VPS backup service
- Use remote backup tools like rclone or rsync
✅
8. Implement Principle of Least Privilege
Only give necessary access to users and apps. Avoid running unnecessary services.
✅
9. Monitor Your VPS
Set up monitoring tools like:
- fail2ban logs
- UFW logs
- Host-based Intrusion Detection Systems (HIDS) like OSSEC
Hosteons VPS Security Features
All Hosteons VPS plans are built for security and performance:
- KVM Virtualization for complete isolation
- 10Gbps Ports for high-speed secure connections
- Full Root Access to configure your own security stack
- IPv6 Ready
- Affordable Plans starting at $2.99/month
👉 Order a VPS today:
Final Thoughts
Ransomware is a growing threat, but with regular updates, strong security practices, and backups, your VPS can stay protected. Don’t wait until it’s too late—secure your VPS now.