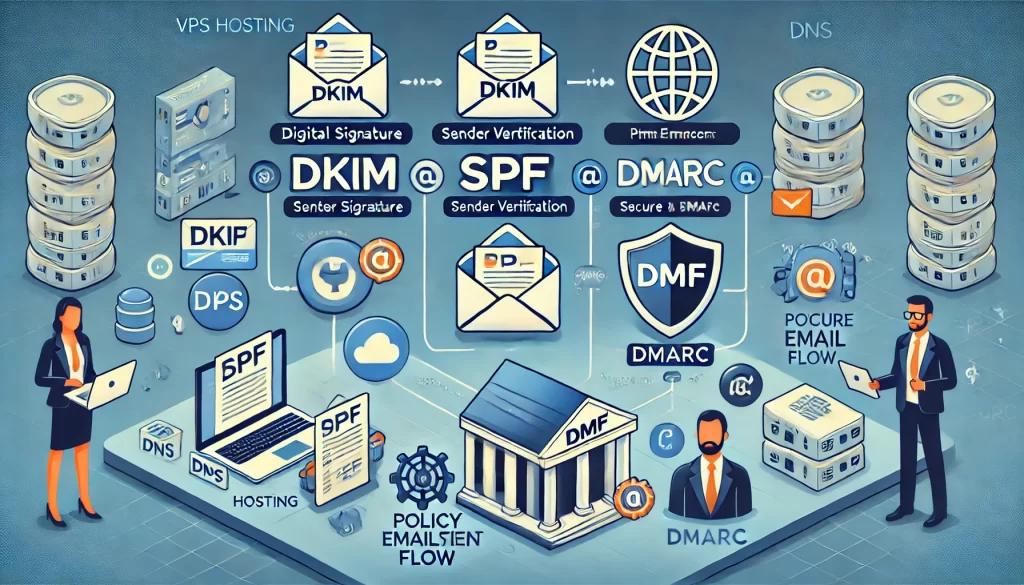
Email authentication is a critical part of protecting your domain from email spoofing, phishing attacks, and spam. Three important email authentication protocols that can significantly improve your email security are DKIM, SPF, and DMARC. In this article, we’ll explain how to set up each of these protocols and the benefits of using them.
What Are DKIM, SPF, and DMARC?
- DKIM (DomainKeys Identified Mail): DKIM adds a digital signature to your emails, proving that the email genuinely originated from your domain. It ensures that the message is not altered in transit and adds a layer of integrity to your emails.
- SPF (Sender Policy Framework): SPF is a DNS record that specifies which servers are authorized to send emails on behalf of your domain. This prevents unauthorized sources from using your domain to send spam or phishing emails.
- DMARC (Domain-based Message Authentication, Reporting, and Conformance): DMARC ties together SPF and DKIM to provide further protection. It defines how receiving email servers should handle emails that fail SPF or DKIM checks, reducing the risk of fraudulent emails being delivered.
Benefits of Using DKIM, SPF, and DMARC
- Prevent Email Spoofing: By implementing DKIM, SPF, and DMARC, you reduce the risk of email spoofing, ensuring that only authorized servers can send emails on behalf of your domain.
- Improve Email Deliverability: Emails from authenticated domains are more likely to reach recipients’ inboxes instead of ending up in the spam folder.
- Protect Brand Reputation: By reducing phishing attacks and spoofing attempts, you protect your brand’s reputation and build trust with your customers.
- Visibility and Monitoring: DMARC allows you to receive reports about your domain’s email activity, providing valuable insights into potential abuse.
Step-by-Step Guide to Setting Up DKIM, SPF, and DMARC
1. Setting Up SPF
Step 1: Access Your DNS Management Panel
To set up SPF, you need to access your domain’s DNS management panel. This is usually done through your domain registrar or DNS hosting provider.
Step 2: Add an SPF Record
Add a new TXT record to your DNS settings. The SPF record will look something like this:
v=spf1 a mx ip4:YOUR_SERVER_IP include:mail.example.com ~allv=spf1: Specifies the version of SPF.a mx ip4: Authorizes specific IP addresses to send emails.include: Includes other domains that are authorized to send emails for you.~all: Defines how strict the policy is.~allis a “soft fail” that allows some flexibility, while-allis a “hard fail” and more secure.
Step 3: Save Changes
Save the record, and give it some time to propagate.
2. Setting Up DKIM
Step 1: Generate a DKIM Key
Most email service providers and control panels offer the ability to generate a DKIM key pair (public and private keys). If you use a platform like cPanel, Plesk, or a managed email provider, there is often an option to generate the key automatically.
Step 2: Publish the DKIM Record
Add the public key to your DNS as a TXT record. The record will look something like this:
example._domainkey.example.com IN TXT "v=DKIM1; k=rsa; p=YOUR_PUBLIC_KEY"example._domainkey: This is a unique selector for your DKIM.p=YOUR_PUBLIC_KEY: This is the public key used to verify the signature.
Step 3: Enable DKIM Signing
Enable DKIM signing through your mail server configuration or email provider settings. Your outgoing emails will now be signed with the DKIM signature, proving their authenticity.
3. Setting Up DMARC
Step 1: Create a DMARC Record
To set up DMARC, add a TXT record in your DNS with a name like _dmarc.example.com. The record should look like this:
v=DMARC1; p=none; rua=mailto:[email protected]; ruf=mailto:[email protected]; pct=100;v=DMARC1: Specifies the version of DMARC.p=none: The policy to apply.nonemeans “monitor only” (usequarantineorrejectto enforce stricter policies).rua: Specifies the address to send aggregate reports to.ruf: Specifies the address to send forensic reports to.pct: Percentage of emails subject to the policy.
Step 2: Choose Your DMARC Policy
Once you have analyzed the reports and are confident your domain is properly authenticated, you can change the p value to quarantine (mark as spam) or reject (prevent delivery of emails that fail).
Step 3: Save and Monitor
Save the DMARC record and monitor the reports sent to the specified email addresses. This will help you identify any unauthorized use of your domain.
Conclusion
Setting up DKIM, SPF, and DMARC for your email server is essential for protecting your domain from email spoofing and phishing attacks. By implementing these protocols, you not only improve email deliverability but also safeguard your brand’s reputation. It may take some initial effort to configure these settings, but the long-term benefits in terms of security and trust are invaluable.
For reliable VPS hosting that supports email authentication protocols like DKIM, SPF, and DMARC, Hosteons.com provides scalable and secure solutions to help you achieve the highest level of email security. If you need further assistance in setting up these features, our team is here to help!