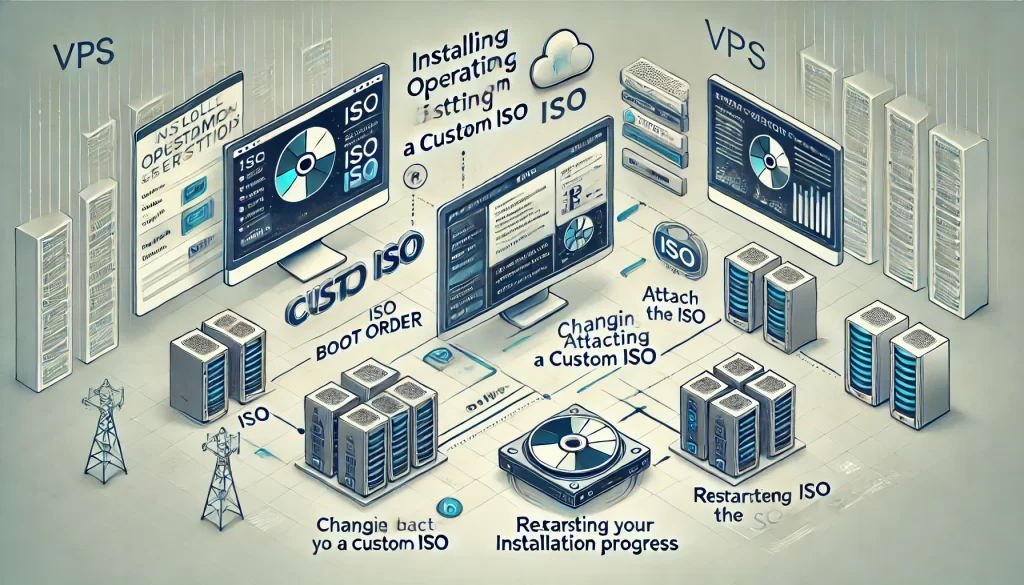
At Hosteons.com, we offer our clients the flexibility to fully customize their Virtual Private Server (VPS) environments. This guide will walk you through installing a custom Operating System (OS) using your own ISO through the Hosteons VPS Control Panel, giving you complete control over your server configuration.
Prerequisites
- An active VPS hosted with Hosteons.
- Access to the Hosteons VPS Control Panel.
- A custom ISO file uploaded to the panel (or you can provide an external ISO URL).
Step-by-Step Guide
1. Log in to the Hosteons VPS Control Panel
- Open your web browser and navigate to the Hosteons VPS Control Panel URL provided to you.
- Enter your login credentials (username and password).
- Click Login to access the control panel.
2. Navigate to the VPS Management Section
- Once logged in, go to the VPS List section in the Hosteons control panel.
- Select the VPS you wish to install the custom OS on.
3. Access the CD-ROM Settings
- In the VPS management interface, locate and click on Settings or CD/DVD-ROM (depending on how it is labeled in the panel).
- Choose the option to Attach ISO.
4. Select Your Custom ISO
- If your custom ISO is already uploaded, select it from the available ISO list.
- If your custom ISO is not listed:
- Click Add ISO or Upload ISO.
- Provide the URL for your custom ISO if hosted online or upload it directly from your device, based on the panel’s options.
- Once uploaded, select the custom ISO for use with your VPS.
5. Configure Boot Order
- After attaching the custom ISO, you need to configure the boot order to prioritize booting from the CD-ROM (ISO).
- Go to the VPS Management section and find the Boot Order or Settings option.
- Set CD-ROM (ISO) as the primary boot device, ensuring it takes precedence over the virtual hard disk.
6. Restart Your VPS
- Go back to the VPS management page and click Restart or Reboot to power cycle your VPS.
- The VPS will boot from the attached custom ISO, initiating the installation process.
7. Install the Custom OS
- As your VPS restarts, you will see the installation interface for your custom OS.
- Follow the on-screen prompts to complete the OS installation, including partitioning and network configurations if necessary. The exact steps depend on the OS you are installing (e.g., Linux distributions, custom Windows versions).
- Configure all necessary settings during installation as per your requirements.
8. Remove the ISO After Installation
- Once installation is complete, return to the CD/DVD-ROM settings in the Hosteons VPS Control Panel.
- Unmount or detach the custom ISO to ensure that your VPS boots from the virtual hard disk.
- Adjust the boot order back, if necessary, to prioritize the virtual hard disk.
9. Restart the VPS to Boot into the Newly Installed OS
- Click Restart or Reboot one final time to power cycle your VPS.
- Your VPS should now boot into your newly installed custom OS.
Additional Tips
- If you encounter any issues during installation, use the VNC Console provided in the Hosteons control panel to troubleshoot and interact directly with your VPS.
- Verify that your custom ISO is compatible with the underlying virtualization technology (e.g., KVM) used for your VPS.
- Before making major changes, consider backing up important data to avoid accidental loss.
Conclusion
By following these steps, you can install a custom OS on your Hosteons VPS using your own ISO. This flexibility allows you to tailor your server environment to meet your specific needs. If you encounter any issues or need further assistance, our dedicated support team at Hosteons is available to help!
Enjoy your fully customized server environment! Let us know if there are any other guides or topics you’d like covered.