When you run a website or application on a VPS, ensuring fast performance for visitors worldwide can be a challenge. Latency — the time it takes for data to travel from your server to your users — can vary greatly depending on their geographic location.
At HostEONS, we offer fast and reliable VPS hosting across multiple global locations. But you can supercharge your performance even more by integrating a Content Delivery Network (CDN) with your VPS. Here’s how and why it works.
🚀 What Is Latency?
Latency is the delay before a transfer of data begins following an instruction. High latency results in slow page loads and poor user experience, especially for users far from your VPS’s data center.
🌐 How a CDN Helps Reduce Latency
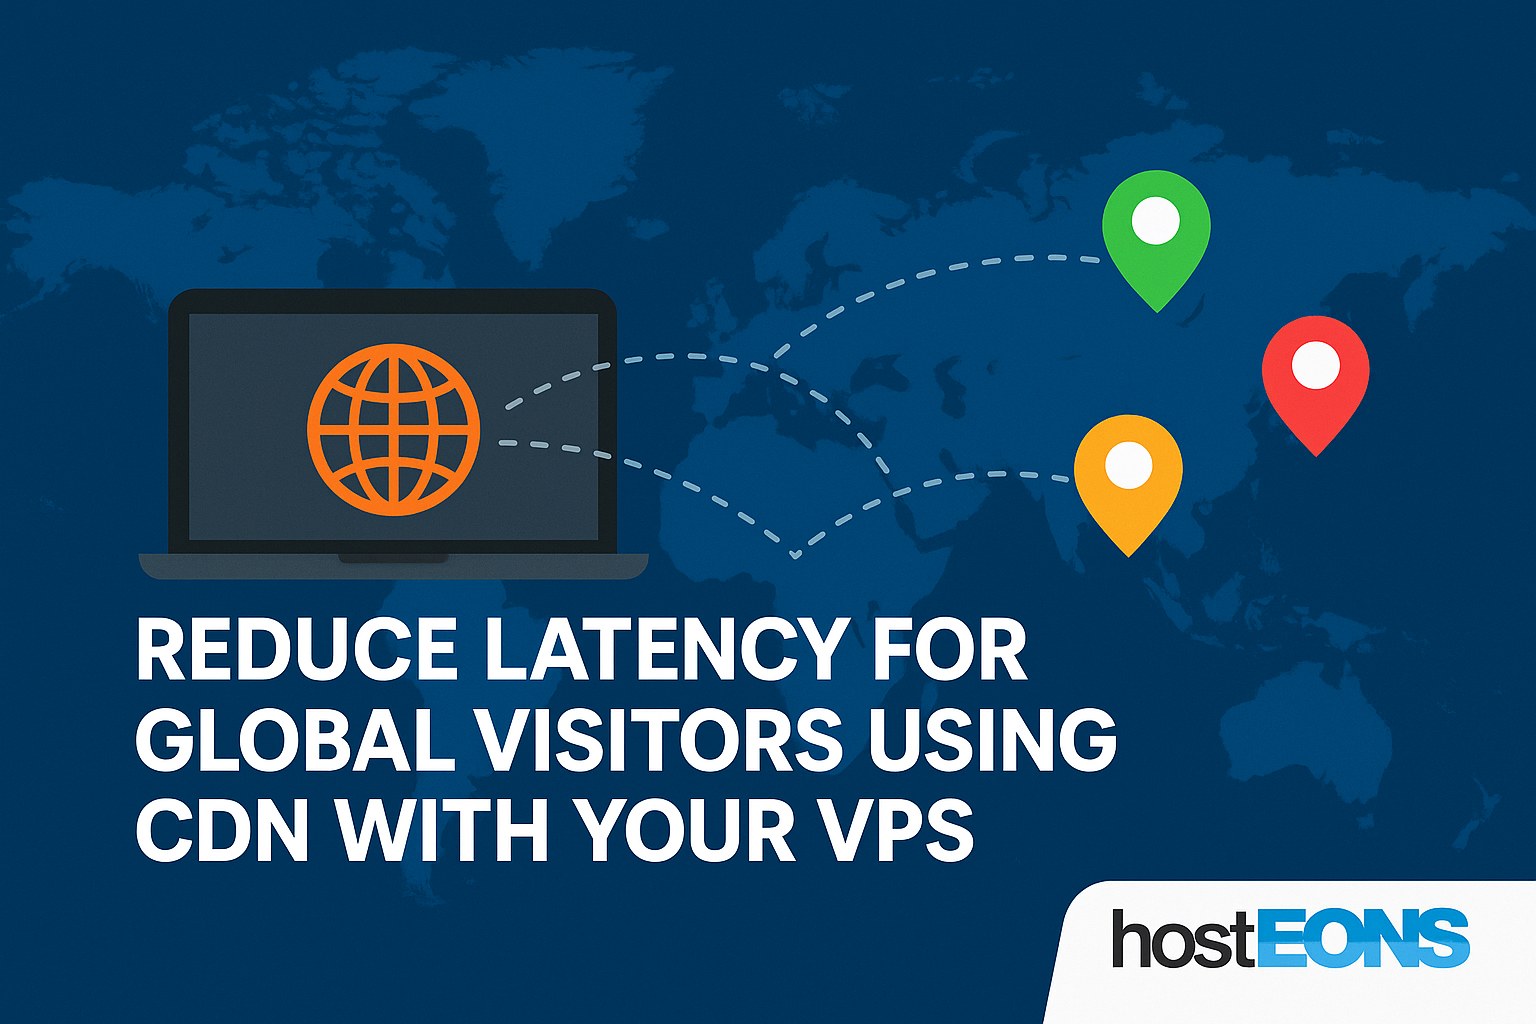
A CDN (Content Delivery Network) is a globally distributed network of proxy servers and data centers. Instead of every user reaching your VPS directly, a CDN caches and delivers content from the nearest node to your visitors. This leads to:
🔹 Faster page load times
🔹 Lower bandwidth consumption on your VPS
🔹 Better performance during traffic spikes
🔹 Enhanced user experience for global users
🛠️ How to Set Up a CDN with Your VPS
Choose a CDN Provider
Popular options include:
Bunny.net
Fastly
Amazon CloudFront
Point Your Domain to the CDN
Update your DNS settings to route traffic through your CDN provider.
Many providers offer automatic SSL and DNS protection as well.
Configure Caching Rules
Set rules to cache static content like images, CSS, and JavaScript.
Bypass or limit caching for dynamic content as needed.
Test Your Setup
📍 Bonus: Use VPS Hosting in Multiple Regions
At HostEONS, we offer VPS hosting from the following locations:
🇺🇸 Los Angeles | Dallas | Salt Lake City | Portland | New York | Miami
🇫🇷 Paris
🇩🇪 Frankfurt
If you serve users in specific regions, choose the VPS closest to them. Combine that with a CDN, and you’re guaranteed to deliver blazing-fast performance.
👉 Order Budget KVM VPS (US & EU)
💳 Wide Range of Payment Options
We accept:
Credit/Debit Cards
PayPal
Cryptocurrency (BTC, USDT, ETH, LTC, and more)
Local methods like Alipay, UnionPay, OXXO (Mexico), Boleto (Brazil), Dragonpay (Philippines), UPI (India), and many others via international checkout.
✅ Conclusion
Adding a CDN to your VPS setup is one of the most effective ways to reduce latency and improve user experience for your global audience. Whether you run a blog, eCommerce site, or SaaS app — CDN integration is a smart move.
At HostEONS, we make it easy to build a fast and reliable hosting environment. Pair our high-performance VPS with a CDN and get the best of both worlds.