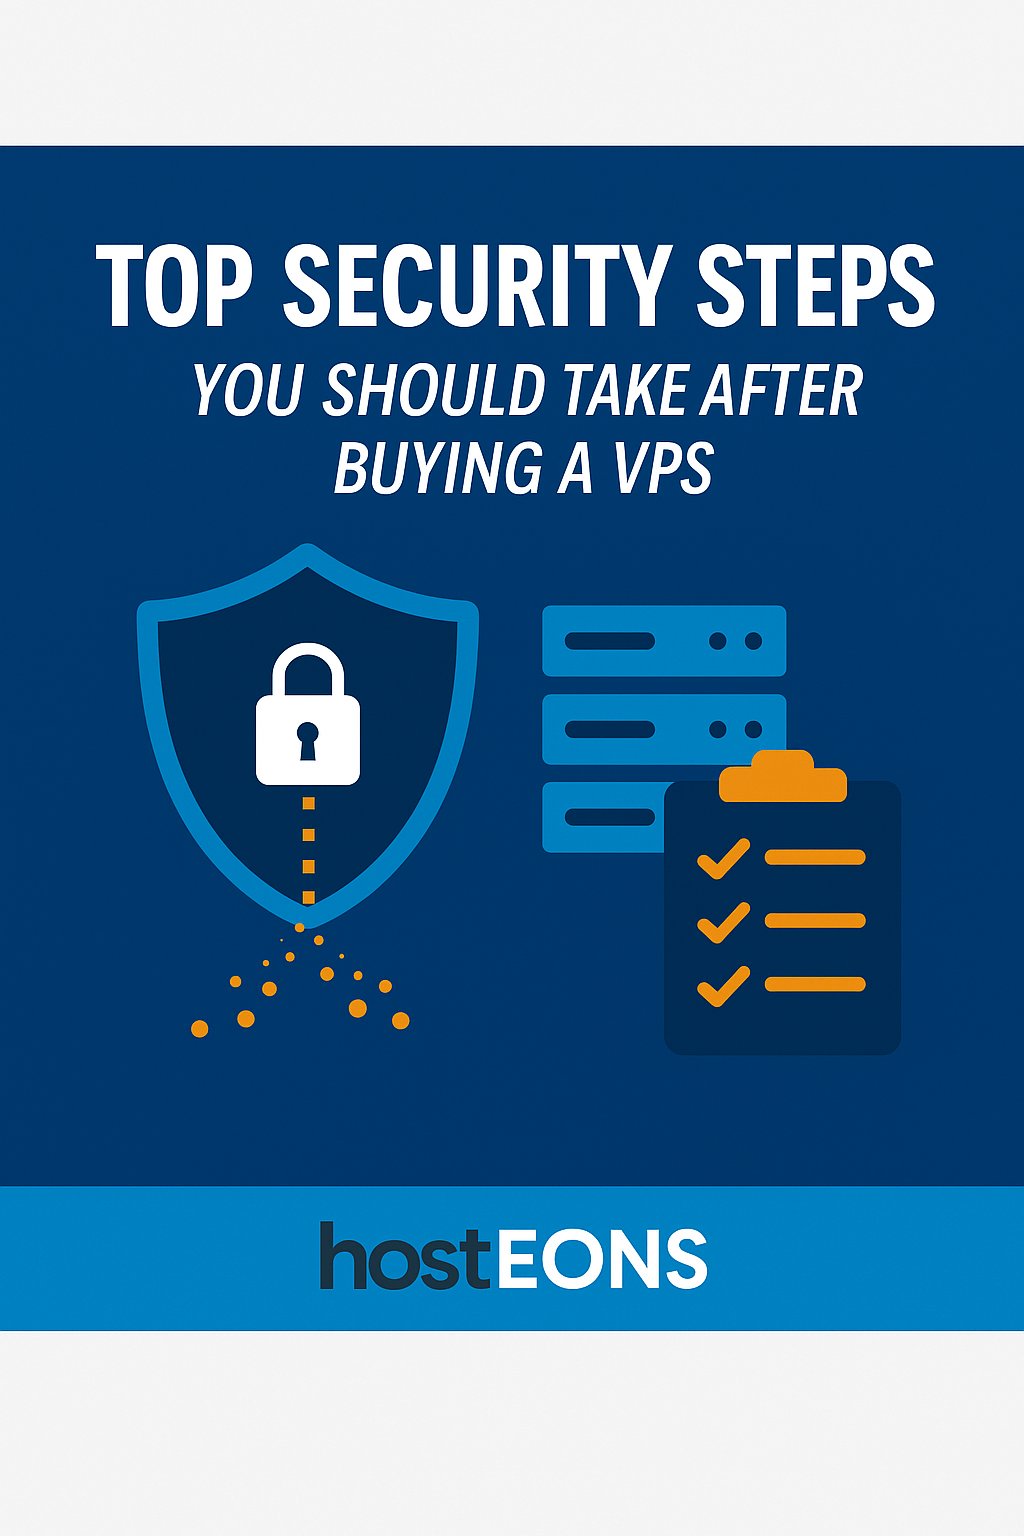
Behind the Scenes: How We Deploy Your VPS in Under 2 Minutes

At Hosteons, speed and reliability are core to our hosting philosophy. One of the most common reactions from new customers is:

“I just placed the order… and my VPS is already online?”

Yes, most VPS orders are deployed within 2 minutes—ready to use with SSH or console access. So how do we do it?

Let’s take you behind the curtain.


⚙️ 1. Optimized Infrastructure with RAW Disk Format

All our KVM VPS nodes are preconfigured for high-speed provisioning using RAW disk format—not LVM or ZFS. This ensures:

  • Faster disk I/O during deployment
  • Minimal overhead from volume management
  • Compatibility across all major Linux distributions

This streamlined storage setup is a major contributor to ultra-fast provisioning.


⚡ 2. Instant Provisioning with Virtualizor

We use Virtualizor as our VPS control panel, tightly integrated with our billing platform. Here’s what happens the moment your payment clears:

  • VPS is deployed from a cached OS template
  • IPs (IPv4 and /64 IPv6) are instantly assigned
  • Hostname, root password, and optional SSH key are set
  • VPS is booted and available for SSH or web console access

All this happens automatically—no human intervention required in most cases.


🔁 3. Real-Time Billing & Order Processing

Through our client portal, powered by WHMCS:

  • You select your plan
  • Submit payment
  • VPS is provisioned automatically within ~2 minutes

We support a wide range of global payment options, so no matter where you are, you can deploy instantly.


⚠️ Important Exceptions

While most orders are provisioned instantly, there are a few scenarios where manual review may be required:

🪟 1. Windows VPS Orders

These are usually provisioned instantly too, unless the password you provide contains special characters not accepted by Windows setup.

✅ To ensure fast deployment, use a password with:

  • Uppercase & lowercase letters
  • Numbers
  • No special symbols like @, #, !, etc.You can change the password after initial setup via the control panel.

🕵️‍♂️ 2. Payment Fraud Screening

  • Orders paid via PayPal or Credit/Debit Cards are automatically screened for fraud.
  • If the fraud score is high, we manually review before provisioning.
  • Orders via crypto, Alipay, QRIS, Dragonpay, etc. are usually processed instantly without delay.

🌍 Global Locations

We offer VPS from 8 world-class data centers:

🇺🇸 USA: Los Angeles, New York, Dallas, Portland, Miami, Salt Lake City

🇩🇪 Germany: Frankfurt

🇫🇷 France: Paris

All plans come with native IPv6 /64 routed subnets, included free of charge.


🧰 Pre-Secured Setup

Use our initial VPS setup script to:

  • Harden SSH
  • Add sudo user
  • Setup UFW/CSF firewall
  • Install Fail2Ban
  • Enable automatic security updates

You can be fully secured within 5 minutes of deployment.


🛒 Try It Now

🖥️ Browse Plans:


✅ Conclusion

At Hosteons, we’ve built an automated, optimized, and global VPS platform that gets you online in under 2 minutes. While edge cases may need manual review, 95%+ of VPS orders are deployed instantly—so you can focus on what matters.

Have questions? Need custom setup? Submit a ticket, and we’ll take care of the rest.

How Hosteons Handles Global Payment Options for Seamless Checkout

At Hosteons, we believe that a great hosting experience starts with convenience and accessibility — and that includes how you pay. Whether you’re a startup founder in the U.S., a developer in India, or a freelancer in the Philippines, we’ve made it simple for you to check out securely and effortlessly.

With a growing global customer base, we’ve built a robust and flexible payment system designed to support a wide range of currencies, countries, and customer preferences.


🌍 Serving Customers Worldwide

From our data centers in the U.S., Germany, and France, to our business operations based in Singapore, Hosteons serves a diverse global audience. Our payment infrastructure is built to meet the needs of customers in over 100 countries, including those in regions where traditional international payments can be restrictive.


💳 Supported Payment Methods

We support an extensive range of payment methods to ensure a smooth checkout experience, including:

✅ Credit & Debit Cards

We accept Visa, MasterCard, American Express, Discover, and other major card networks worldwide.

✅ PayPal

Pay easily and securely using your PayPal balance or linked accounts.

✅ Cryptocurrency

Perfect for privacy-conscious users or those in crypto-friendly economies:

  • Bitcoin (BTC)
  • Ethereum (ETH)
  • USDT (Tether)
  • Litecoin (LTC)
  • Dogecoin (DOGE)
  • And more via our crypto gateway

✅ Digital Wallets

We also support fast, secure payments through:

  • Apple Pay
  • Google Pay
  • Amazon Pay

✅ Alternative & Local Payment Methods

To make checkout even more accessible, we offer country-specific payment options:

  • Alipay (China)
  • UnionPay (China)
  • QRIS (Indonesia)
  • Dragonpay (Philippines)
  • OXXO & Bancomer (Mexico)
  • Boleto Bancário (Brazil)
  • PSE, Baloto, Efecty (Colombia)
  • iDEAL (Netherlands)
  • Pix (Brazil)
  • Bank Transfer and Regional UPI-style systems

🔐 Secure and Hassle-Free Checkout

All payments are processed through secure, PCI-compliant gateways, ensuring your data is encrypted and protected. Whether you’re paying with a traditional credit card or using USDT from your wallet, your transaction is processed with speed and security.


💡 Why This Matters

  • 🌐 No payment roadblocks regardless of location
  • 🔄 Recurring billing support across most methods
  • 🧾 Automated invoicing and GST support for Indian users
  • 🛒 Smooth, optimized checkout flow in WHMCS

We’re not just selling VPS and hosting — we’re building a global platform where getting started is easy, staying secure is automatic, and paying is never a hassle.


🛒 Start Hosting Today — Your Way

Explore our plans and pay using the method that works best for you:


Need help with payment setup or have a specific local method in mind? Contact our support team — we’re happy to assist.

Thank you for choosing Hosteons — where global access meets seamless infrastructure.

🚀 Instantly Secure and Set Up Your VPS with Hosteon’s Initial VPS Setup Script

Managing a new VPS can be overwhelming, especially when starting with a fresh Linux installation. That’s why we at Hosteons created a smart, interactive script to help new VPS users quickly set up their server with best practices in place—regardless of whether you’re using Ubuntu, Debian, AlmaLinux, CentOS, or Rocky Linux.


🎯 What This Script Does

Our open-source script, initial_vps_setup.sh, automates essential initial tasks, including:

  • 🔐 Creating a new sudo user
  • 📛 Checking if the user already exists and giving the option to update sudo access
  • 🧰 Installing basic tools (curl, wget, git, htop, unzip, etc.)
  • 🧱 Enabling firewall with UFW or firewalld based on your distro
  • 🔐 Optionally generating a secure SSH key pair (displays private + public key for user)
  • 🚫 Option to disable root SSH login
  • ✅ Sets correct permissions and groups

🛠️ Compatible with All Major Linux Distributions

Tested and supported on:

  • Ubuntu
  • Debian
  • AlmaLinux
  • CentOS
  • Rocky Linux

The script auto-detects your OS and executes distro-specific commands where needed.


📜 Easy to Use

Just log in as root on your new VPS and run:

curl -sL https://raw.githubusercontent.com/hosteons/Initial-VPS-Setup-Script-for-Linux/main/initial_vps_setup.sh | bash

You’ll be guided through a few interactive prompts—no manual file editing required.


💻 Example Output and Access Instructions

After setup, you’ll get:

  • Username and SSH access instructions
  • SSH key (if generated)
  • Sample sudo usage instructions like:
sudo apt update
sudo systemctl restart nginx

🔐 Why It Matters

  • Security First: Disabling root login and using SSH keys makes brute-force attacks significantly harder.
  • Consistency: Every VPS is provisioned the same way—ideal for sysadmins managing multiple servers.
  • Time-Saving: No need to copy-paste multiple commands or look up tutorials.

❤️ Built and Maintained by Hosteons

This script is built and maintained by the team at Hosteons as part of our effort to make VPS hosting smoother and safer for everyone.

💾 GitHub Repo:

👉 https://github.com/hosteons/Initial-VPS-Setup-Script-for-Linux

🔐 Automatically Install Fail2Ban with Smart Jail Detection on Your VPS (Script by Hosteons)

Here’s a complete WordPress blog post draft to promote your Fail2Ban Auto-Installer script from GitHub:


🔐 Automatically Install Fail2Ban with Smart Jail Detection on Your VPS (Script by Hosteons)

At Hosteons, we’re committed to making server security easier for everyone. Whether you’re running a small VPS or managing a fleet of Linux servers, protecting against brute-force attacks is critical.

That’s why we’ve created a Fail2Ban Auto-Installer Script that not only installs Fail2Ban but also auto-detects and enables jails for common services like SSHApache, and Nginx — all in one click.

👉 GitHub Repository:

https://github.com/hosteons/Fail2Ban-Auto-Installer-With-Jail


✅ Key Features

  • Installs Fail2Ban on UbuntuDebianAlmaLinux, and CentOS
  • Detects installed services (e.g., sshd, nginx, apache) and enables jails accordingly
  • Skips jails for services not found on the system
  • Handles log file paths intelligently based on distro
  • Verifies and restarts Fail2Ban only if configuration is valid
  • Smart checks if Fail2Ban is already installed
  • Minimal and safe — logs errors clearly

🧠 How It Works

When you run the script:

  1. It detects your Linux OS flavor.
  2. Installs Fail2Ban (if not already installed).
  3. Checks if apache, nginx, or sshd is active.
  4. Adds only the appropriate jails with correct log paths.
  5. Restarts Fail2Ban and confirms its status.
  6. Provides clear output so you know it’s working.

This ensures Fail2Ban doesn’t fail due to missing log files or services — a common issue in manual configurations.


📥 How to Use

  1. Download the script:
wget https://raw.githubusercontent.com/hosteons/Fail2Ban-Auto-Installer-With-Jail/main/fail2ban_auto_installer.sh
chmod +x fail2ban_auto_installer.sh
./fail2ban_auto_installer.sh
  1. That’s it. The script handles the rest!

🚀 Need a Secure VPS?

This script runs perfectly on our KVM VPS and Ryzen VPS plans. Visit hosteons.com to explore secure hosting powered by NVMe SSD and DDoS protection — with native support for IPv6, WireGuard VPN, and more.


🔗 Related Resources

One-Click Linux Malware & Rootkit Scanner Using ClamAV and RKHunter

Secure Your Linux VPS in One Click with Our Rootkit & Malware Scanner

Running a VPS or dedicated server? One of the most overlooked but critical steps is making sure your system is free of rootkits and malware.

To simplify this task, we at Hosteons have released a free and open-source script that automatically installs, updates, and runs malware and rootkit scans using two of the most trusted tools in the Linux ecosystem:

  • ClamAV – an open-source antivirus engine
  • RKHunter – a rootkit scanner that checks for backdoors, local exploits, and suspicious files

🔧 What the Script Does

  • Detects your Linux distribution (Ubuntu, Debian, CentOS, AlmaLinux)
  • Installs ClamAV and RKHunter
  • Automatically updates malware and rootkit signature databases
  • Fixes common errors like WEB_CMD=”/bin/false” in RKHunter config
  • Runs full ClamAV scan
  • Executes a complete RKHunter rootkit check
  • Compatible with minimal or fresh VPS installations

📥 Download and Run

Run the following commands to download and execute:

curl -O https://raw.githubusercontent.com/hosteons/linux-malware-scanner/main/scan.sh
chmod +x scan.sh
sudo ./scan.sh

Or get the full packaged ZIP with README and LICENSE:

👉 Download from GitHub


📋 Output and Logs

  • ClamAV scan will output infected files (if any)
  • RKHunter will show warnings and potential issues
  • All actions run with user confirmation and are fully transparent

⚠️ Note

This script is non-destructive – it only scans and reports. It does not automatically delete or quarantine any files. Always review flagged files before taking any action.


🎯 Why Use This?

  • Ideal for hosting providers and system admins
  • Perfect for VPS users looking for a quick, effective scan
  • Good first step after initial OS setup

🙌 Contribute or Report Issues

You can fork, improve, or report bugs directly on GitHub:

🔗 https://github.com/hosteons/linux-malware-scanner

🔐 Easily Change Your Windows RDP Port with a One-Click Script

One-Click Windows RDP Port Changer Script 🖥️

Managing a Windows VPS often requires securing RDP (Remote Desktop Protocol) access. One of the most effective and simplest ways to harden your Windows Server is to change the default RDP port (3389). But doing it manually via the registry and firewall can be tedious and risky.

That’s why we at Hosteons created an open-source, one-click PowerShell script that simplifies the process.

👉 GitHub RepoWindows RDP Port Changer Script


✅ Features

  • Changes RDP Port via Windows Registry
  • Updates Windows Firewall to allow the new port
  • Enables RDP if it’s currently disabled
  • Fully open-source and free under the MIT License
  • Supports Windows Server 2012/2016/2019/2022

📦 How to Use

  1. Login to your Windows VPS as Administrator.
  2. Open PowerShell.
  3. Run the script directly:
iwr -useb https://raw.githubusercontent.com/hosteons/Windows-RDP-Port-Changer-Script/main/rdp_port_changer.ps1 | iex
  1. Enter your desired RDP port when prompted.

⚠️ Important: Make sure your port is not blocked by external firewalls (such as cloud provider rules). Also, ensure you have console/VNC access in case the new port is misconfigured.


🤖 Automation Friendly

This script can be integrated into automation flows for server provisioning or batch management. Perfect for sysadmins managing multiple Windows VPS instances.


🔐 Why Change Your RDP Port?

  • Reduces brute-force attacks from bots scanning port 3389
  • Hides your RDP service from default port scanners
  • Adds an extra layer of obscurity in your defense

👨‍💻 Contribute or Report Issues

This is an open-source script. Feel free to fork, improve, or report issues on GitHub:

👉 https://github.com/hosteons/Windows-RDP-Port-Changer-Script


📣 About Hosteons

Hosteons is a VPS and dedicated server provider offering services in multiple global locations. We’re committed to open-source and providing useful automation tools for system administrators and developers.

⭐ Hosteons is Now Google-Verified with Star Ratings in Search!

We’re thrilled to announce a new milestone in our journey of transparency and trust — Hosteons is now showing verified customer star ratings directly in Google Search results!

Whether you’re looking for high-performance VPS, blazing-fast Ryzen VDS, or secure web hosting, you can now see our Google-backed ratings as part of your search experience.


What This Means

When someone searches for our hosting plans like:

  • KVM VPS Hosting
  • Ryzen VPS
  • Dedicated Servers

They’ll now see something like this in Google:

✅ Star rating (4.6/5 based on 80+ reviews)

✅ Hosting highlights

✅ Price starting at just $1.75/month


Why This Matters

In a crowded market of hosting providers, trust matters. Our verified ratings reflect honest customer feedback across platforms like:

  • ✅ Google Reviews
  • ✅ Trustpilot
  • ✅ HostAdvice
  • ✅ Website Planet

What Makes Us 4.6★ Rated?

  • 💡 Instant provisioning on NVMe SSD nodes
  • 🌍 Global datacenters: US, EU (Paris, Frankfurt), and more
  • 🔒 Free DDoS protection
  • 🧰 Control panel, RDNS, snapshots, VNC access
  • 🏷 Starting at just $1.75/month

Try Our Rated VPS Plans Today

Looking for speed, reliability, and full control?

Explore our top-rated VPS hosting plans now:

🔗 KVM VPS Plans

🔗 Ryzen Premium VPS


Final Words

This recognition from Google is a testament to our commitment to performancetransparency, and support. Thank you to our loyal customers for making this possible!

Have questions or want to migrate?

Contact Us — we’re here 24/7.

How to Change Your SSH Port Safely on Any Linux Server (Ubuntu, Debian, CentOS, AlmaLinux)

Changing your SSH port is a simple yet powerful way to reduce brute-force login attempts and improve server security. To make this process easier, Hosteons offers a free Bash script that automatically handles the switch across all major Linux distributions — including firewalls and SELinux!


✅ Supported Operating Systems

  • Ubuntu 20.04 / 22.04
  • Debian 11 and above
  • CentOS 7 / 8
  • AlmaLinux 8 / 9

⚠️ Important Disclaimer

Changing your SSH port can lock you out if anything goes wrong.

Make sure you have console access such as VNC, IPMI, or KVM before using this script.


🔧 What the Script Does

  • Prompts until a valid SSH port is provided
  • Edits /etc/ssh/sshd_config to set the new port
  • Adds firewall rules for:
    • UFW (Ubuntu/Debian)
    • firewalld or iptables (CentOS/AlmaLinux)
  • Handles SELinux with semanage if needed
  • Restarts SSH service safely without reboot

🧰 How to Use the Script

  1. SSH into your VPS or server as root
  2. Run the following commands:
wget https://raw.githubusercontent.com/hosteons/SSH-Port-Changer-Script/main/ssh_port_changer.sh
chmod +x ssh_port_changer.sh
./ssh_port_changer.sh
  1. Enter your desired new SSH port when prompted

📦 Download from GitHub

Access the script and full documentation here:

👉 https://github.com/hosteons/SSH-Port-Changer-Script