When managing your VPS or Virtual Dedicated Server (VDS), security should always come first. While many users rely on traditional passwords for remote access, SSH keys offer a far more secure and convenient alternative.
At Hosteons, we strongly recommend using SSH key authentication to secure your VPS access — and here’s why.
🔐 What Are SSH Keys?
SSH (Secure Shell) keys are a pair of cryptographic keys used to authenticate with a remote server:
- Public Key: Stored on your VPS (e.g., in ~/.ssh/authorized_keys)
- Private Key: Stored securely on your local device (e.g., ~/.ssh/id_rsa)
When you try to connect, your device proves ownership of the private key — no need to transmit a password.
🚫 The Problem with Passwords
- Easily guessed or brute-forced
- Often reused across multiple accounts
- Susceptible to phishing or keylogging
- Require manual entry each time
If your password is weak or exposed, your server is vulnerable.
✅ Benefits of Using SSH Keys
1.
Stronger Security
SSH keys are typically 2048-bit or 4096-bit, which are practically uncrackable by brute force.
2.
No Password Transmission
No password is sent over the network, making it immune to interception.
3.
Convenience
You can set up password-less login using your key, often combined with an SSH agent or passphrase.
4.
Script-Friendly
Automated deployments and Git-based workflows rely on SSH keys for secure, non-interactive authentication.
5.
Block Brute-Force Attacks
Once password authentication is disabled, bots and attackers can no longer guess credentials.
🛠️ How to Set Up SSH Key Authentication
- Generate a Key Pair (on your local machine):
ssh-keygen -t rsa -b 4096- Upload the Public Key to Your VPS:
ssh-copy-id user@your-vps-ip- Or manually place the public key into ~/.ssh/authorized_keys
- Disable Password Authentication:Edit /etc/ssh/sshd_config on your VPS:
PasswordAuthentication no- Then restart the SSH service:
systemctl restart sshd🔒 Combine with Fail2Ban and Firewall
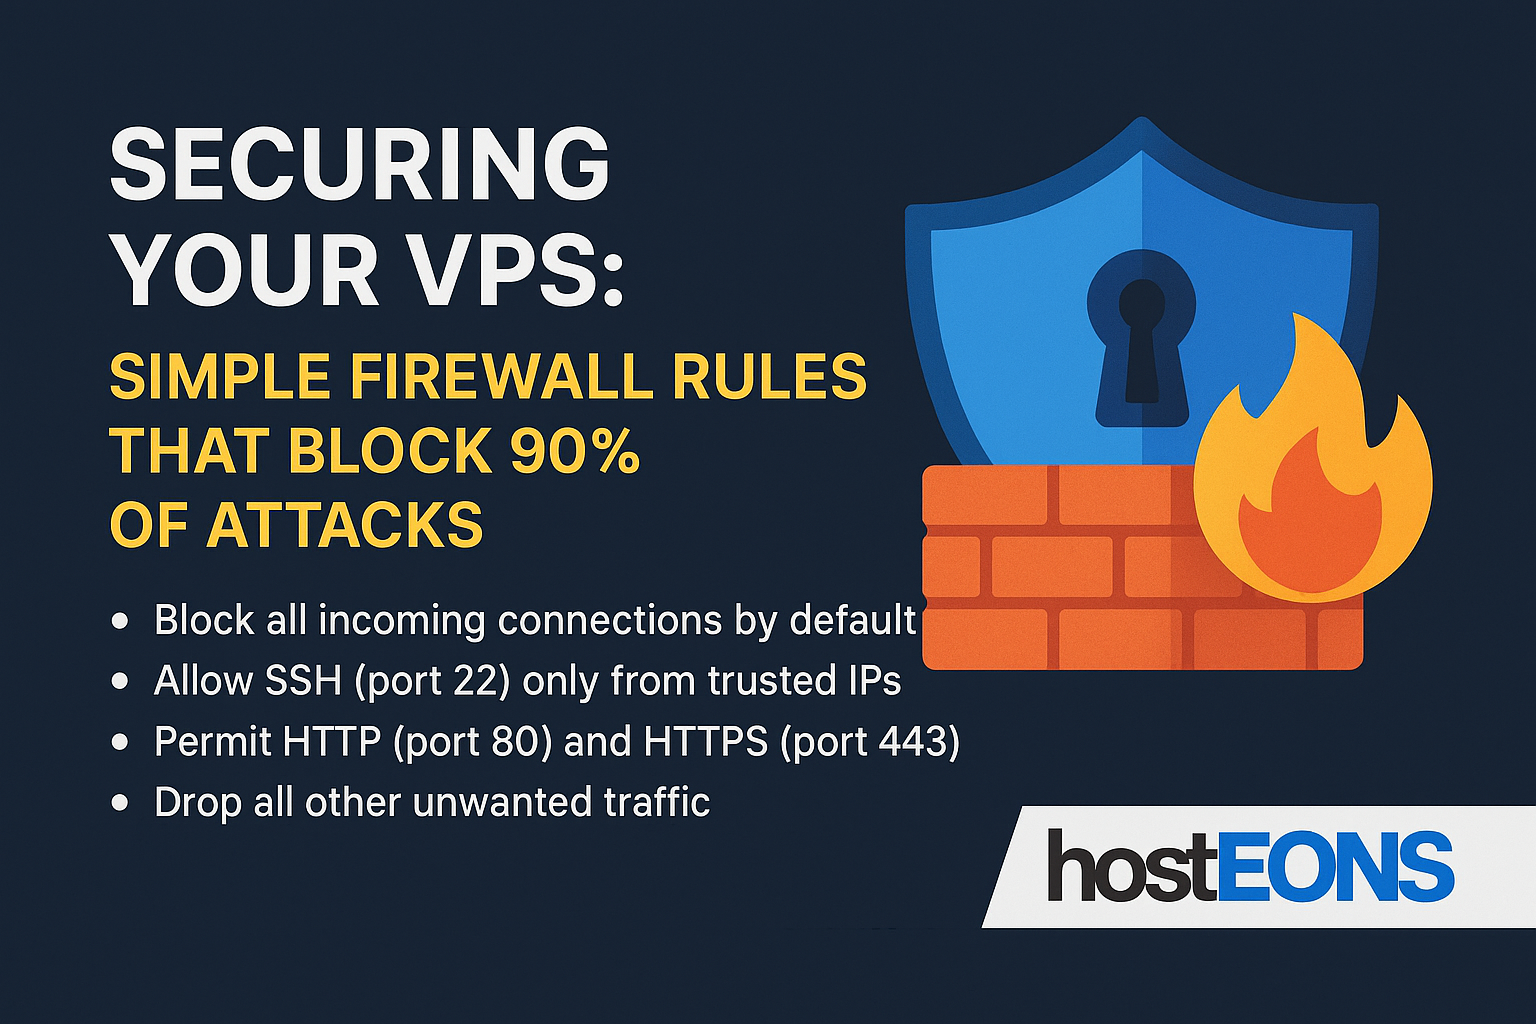
For maximum protection:
- Use Fail2Ban to block repeated failed login attempts
- Limit access to port 22 using UFW or CSF firewall
- Change the default SSH port (optional)
🧠 Summary
Using SSH keys instead of passwords is one of the simplest yet most powerful steps you can take to secure your VPS or VDS.
At Hosteons, all our KVM VPS, Ryzen VPS, and Ryzen 7950X VDS plans support full SSH key authentication out of the box.
Take 2 minutes to set it up — and save yourself from countless security headaches.