🔐 Why We Switched to Plausible Analytics and hCaptcha

A Faster, More Private Web Experience — Without Compromise

At HostEONS, we’re constantly working to make our website and services faster, more secure, and more privacy-respecting — for both our clients and visitors. That’s why we’ve recently made two major changes:

  • ✅ Switched from Google Analytics to Self-Hosted Plausible Analytics
  • ✅ Replaced Google reCAPTCHA with hCaptcha

Here’s why we made the switch — and what it means for you.


📊 From Google Analytics to Self-Hosted Plausible

❌ Why We Left Google Analytics Behind:

  • Heavy scripts that slow down page load times
  • Tracking cookies and IP logging
  • Not privacy-friendly for users (or compliant with global privacy trends)
  • Blocked by ad blockers and privacy tools
  • Sends data to Google — something many privacy-conscious users dislike

✅ Why We Chose Self-Hosted Plausible:

  • Lightweight & fast — the tracking script is ~1 KB
  • No cookies or personal data collected
  • We host it ourselves — full control, no external data transfer
  • Fully open-source and transparent
  • Minimal, useful stats (no bloated dashboards or invasive insights)

💡 By self-hosting Plausible, we maintain complete control over analytics data, while ensuring you’re not tracked or fingerprinted when visiting our site.


🤖 From reCAPTCHA to hCaptcha

❌ Why We Moved Away from Google reCAPTCHA:

  • Slower to load
  • Annoying CAPTCHA challenges (find the traffic light, anyone?)
  • Tracks users via cookies and behavior analysis
  • Relies on Google’s infrastructure and ecosystem
  • Sometimes blocked in certain regions (e.g., China)

✅ Why hCaptcha Is Better:

  • Privacy-focused bot protection
  • Does not track users or store data unnecessarily
  • More region-friendly — works in places where Google is restricted
  • Drop-in compatible with reCAPTCHA — so the transition was seamless
  • Earns micro-rewards for solving CAPTCHAs (helpful for open web projects)

🚀 hCaptcha allows us to stop bots and abuse without tracking our visitors or relying on big-tech gatekeepers.


🧭 Reflecting Our Core Values

These changes aren’t just technical decisions. They align with what we stand for:

  • Speed and efficiency
  • Privacy by default
  • Self-reliance and open standards
  • Respect for user trust

Whether you’re visiting our homepage, reading the blog, or logging into the client area, you’ll now enjoy a cleaner, faster, more ethical experience.


✅ Summary

Tool ReplacedNew ToolWhy It’s Better
Google AnalyticsSelf-hosted PlausibleLightweight, privacy-first, self-owned
Google reCAPTCHAhCaptchaFaster, cookie-free, works globally

We believe hosting providers should care about more than just servers. Every element of our infrastructure — even the frontend — should reflect the same values of transparency, reliability, and respect for our users.

Thank you for choosing HostEONS.

🔗 Explore Hosting Plans

📩 Contact Support

Why You Should Use a Private VPN on Your Own VPS While Traveling

When you’re traveling — whether for work, study, or leisure — using public Wi-Fi networks is often unavoidable. Airports, hotels, cafes, and coworking spaces all offer connectivity, but often at the cost of privacy and security.

While many people turn to commercial VPNs to protect their connection, the best and most secure option is to run your own private VPN on a VPS.

In this post, we’ll explain why that matters and how you can get started using a VPS from Hosteons.


🔐 Why Privacy Matters More When You Travel

When you use public networks, your data is at risk from:

  • 🕵️‍♂️ Network sniffing and man-in-the-middle attacks
  • ❗ Fake Wi-Fi hotspots
  • 👁️ ISP or network logging and censorship
  • 🚫 Location-based content restrictions

VPNs solve this by encrypting your traffic and routing it through a trusted server — but who controls that server matters a lot.


🤔 The Problem with Public/Commercial VPNs

While commercial VPNs are better than nothing, they come with some caveats:

  • ❌ Shared IPs — may be flagged, banned, or blacklisted
  • ❌ Limited trust — you’re trusting a third-party company with your traffic
  • ❌ Logs and data retention — not all “no-log” policies are actually enforced
  • ❌ Performance throttling — many commercial VPNs limit speeds or locations
  • ❌ Overcrowded servers — inconsistent speeds and high latency

In short, you’re still handing over your traffic to someone else.


✅ Why a Private VPN on Your VPS is Better

Setting up a VPN on your own VPS solves most of these issues — and gives you full control.

✨ Benefits of Running a VPN on Your Own VPS:

  1. Full Control
    • You own and configure the server — no third-party snooping.
  2. Dedicated IP Address
    • No one else shares your IP, reducing chances of blacklisting or captchas.
  3. Custom Configuration
    • Choose your encryption, protocol (WireGuard, OpenVPN, etc.), DNS, and firewall rules.
  4. Faster Speeds
    • Avoid the bandwidth bottlenecks common with commercial VPNs.
  5. Consistent Access While Abroad
    • Appear to be at “home” and access region-specific services like banking or Netflix.
  6. Bypass Local Censorship or Firewalls
    • Secure access even in restrictive countries.
  7. Affordable
    • VPS plans from Hosteons start at just $1.75/month — often cheaper than VPN subscriptions.

🌐 Recommended VPN Protocols

You can install and run any of the following on your Hosteons VPS:

  • WireGuard – Lightweight, fast, and secure. Great for mobile.
  • OpenVPN – Highly configurable and widely supported.
  • Shadowsocks / V2Ray – Ideal for bypassing censorship in restricted regions.
  • IPSec / L2TP – Good compatibility with built-in OS VPN support.

Need help? Check out our tutorials for in our knowledge based articles for various types of VPN and Proxy on Hosteons.


🧭 VPS Locations for Best Travel VPN Experience

Choose your VPS location based on:

  • Your home country (to access region-locked services)
  • neutral/nearby country for lower latency
  • High-bandwidth regions (like Germany, or Los Angeles)

Hosteons offers VPS in multiple locations globally, with inbound unmetered bandwidth and IPv6 support.


🔐 Bonus Tip: Add Your Own DNS & Firewall Rules

Once you’ve set up your private VPN:

  • Use custom DNS servers like NextDNS or AdGuard
  • Set firewall rules to block tracking domains or limit open ports
  • Enable kill switches on mobile and desktop to avoid leaks

🧰 What You’ll Need to Get Started

  • Hosteons VPS (1 CPU, 512MB+ RAM is enough for VPN)
  • A domain (optional, for easier connection)
  • Basic Linux knowledge or follow one of our setup scripts
  • Your laptop or mobile devices

🚀 Ready to Travel Securely?

Don’t rely on sketchy free VPNs or overcrowded commercial services. Take control of your online privacy and performance with a self-hosted VPN on your own VPS.

🔗 Explore Hosteons VPS plans starting at just $1.75/month:

👉 https://hosteons.com

Need help setting it up? We’re always here → https://my.hosteons.com

What Is Freegate and How to Set It Up

In regions with internet censorship and restrictions, accessing free and open content on the web can be challenging. That’s where tools like Freegate come in.

If you’re new to Freegate or want to help others get started, this guide will explain what it is, how it works, and how to install and use it safely.


🔍 What Is Freegate?

Freegate is a free anti-censorship software developed by Dynamic Internet Technology (DIT), primarily used in China, Iran, and other countries with restricted internet access. It allows users to bypass the Great Firewall (GFW) and access blocked websites, including Google, YouTube, and many news platforms.

Freegate uses DynaWeb proxy servers (a system of encrypted tunnels) to provide users with secure and private access to the open internet.


🛡️ Key Features of Freegate

  • 💻 No installation required (portable EXE file)
  • 🔐 Encrypted tunneling through DynaWeb
  • 🌐 Supports both IE and Chrome/Firefox via proxy
  • ✅ No configuration needed — just run and connect
  • 💸 Completely free to use

📥 How to Download Freegate

  1. Visit a reliable mirror (Freegate’s website is often blocked in restricted regions):
  2. Download the latest version (usually a .zip file containing fg742p.exe or similar).
  3. Extract the file to a folder (no need to install).

🖥️ How to Use Freegate

  1. Run fgXXXp.exe (replace XXX with version number).
    • No installation needed; it runs as a standalone app.
  2. When prompted, choose your preferred mode:
    • Classic Mode (default) opens Internet Explorer with proxy enabled
    • Proxy Mode lets you configure external browsers like Chrome or Firefox
  3. Once connected, Freegate will display the DynaWeb homepage, confirming that your connection is active.

🌐 How to Use Freegate with Chrome or Firefox

If you prefer using Chrome or Firefox:

  1. Launch Freegate
  2. Go to your browser settings
  3. Set the HTTP proxy to:
    • 127.0.0.1
    • Port: 8580 (default used by Freegate)
  4. Save the settings and browse as usual — Freegate will tunnel traffic through DynaWeb.

📱 Can You Use Freegate on Mobile?

Unfortunately, Freegate is only available for Windows desktop environments. For mobile use, consider using:

  • VPN apps (WireGuard/OpenVPN + Hosteons VPS)
  • V2Ray or Shadowsocks with Android/iOS clients
  • Tor Browser (mobile)

⚠️ Important Notes

  • Freegate may not work reliably if deep packet inspection (DPI) is active on your network.
  • Because it uses a central set of proxy servers, Freegate performance may fluctuate depending on demand and censorship levels.
  • If you’re seeking a more stable and private option, consider running your own proxy server or VPN on a VPS (like one from Hosteons).

🚀 Want More Control? Use a VPS Instead

Freegate is great for beginners, but if you want more flexibility and privacy, consider deploying:

  • Shadowsocks or V2Ray on a Hosteons VPS
  • WireGuard VPN for all devices
  • Self-hosted proxies with IPv6 vHosts and custom rDNS

Hosteons offers:

  • ✅ Full root access
  • ✅ Global server locations
  • ✅ Inbound unmetered bandwidth
  • ✅ Up to 20 IPv6 IPs per VPS
  • ✅ Crypto & local payment options

🔗 Final Thoughts

Freegate is a powerful tool for quickly bypassing censorship and accessing open internet content. It’s ideal for casual users in restrictive environments — but power users will benefit from setting up their own VPS-based proxy for maximum control.

🧠 Want to go further? Check out our guides on:


Need a VPS to run your own private proxy?

👉 https://hosteons.com – starting at just $1.75/month

🛡️ How to Check If Your VPS Is Compromised or Infected

If your VPS is behaving strangely, running slow, or using more resources than expected, it could be compromised. Here’s a simple step-by-step guide for Hosteons clients to help detect common signs of infection or unauthorized access.


✅ Step 1: Check for Unusual CPU or Memory Usage

Start by checking if any process is consuming excessive resources:

top

or use:

htop

Look for unfamiliar processes, especially those using a high percentage of CPU or memory.


🧠 Step 2: Check for Unknown Network Connections

You can inspect open ports and active connections with:

ss -tulnp

Also try:

netstat -antup

Check for unknown IP addresses or ports your VPS shouldn’t be using (e.g., cryptomining pools, spam servers, etc.).


🔍 Step 3: Scan Running Processes

List all processes with their command line details:

ps auxf

Watch for suspicious scripts, base64-encoded strings, or unfamiliar binaries.


🔐 Step 4: Check for New or Unauthorized Users

List all users:

cat /etc/passwd

Check recent logins:

last

Or failed login attempts:

grep "Failed password" /var/log/auth.log

Watch for users or login attempts you don’t recognize.


🕵️ Step 5: Inspect Cron Jobs & Scheduled Tasks

Malware often installs cron jobs to maintain persistence:

crontab -l
ls -la /etc/cron*

Look for unusual scripts or scheduled commands.


🐚 Step 6: Scan for Malware

Install and run a malware scanner like Chkrootkit or ClamAV:

Chkrootkit:

apt install chkrootkit   # Debian/Ubuntu
chkrootkit

ClamAV:

apt install clamav
freshclam
clamscan -r /

These tools help detect rootkits, backdoors, and trojans.


📁 Step 7: Check for Suspicious Files

Search for recently modified or hidden files:

find / -type f -mtime -2
find / -name ".*" -type f

Look especially in /tmp, /var/tmp, or /dev/shm — common hiding places for malicious scripts.


📜 Step 8: Check System Logs

Scan through /var/log/syslog, /var/log/auth.log, and /var/log/messages for any strange activity.

Example:

less /var/log/auth.log

Use grep to search for specific keywords like root, sudo, fail, etc.


🚨 What to Do If You Suspect a Compromise

If you suspect your VPS has been compromised:

1. Disconnect from the internet (disable the network interface).

2. Back up important data (be cautious with infected files).

3. Open a support ticket with Hosteons: https://my.hosteons.com

4. Consider wiping and reinstalling the OS for full peace of mind.

5. Change all relevant passwords and SSH keys.


🧯 Prevention Tips

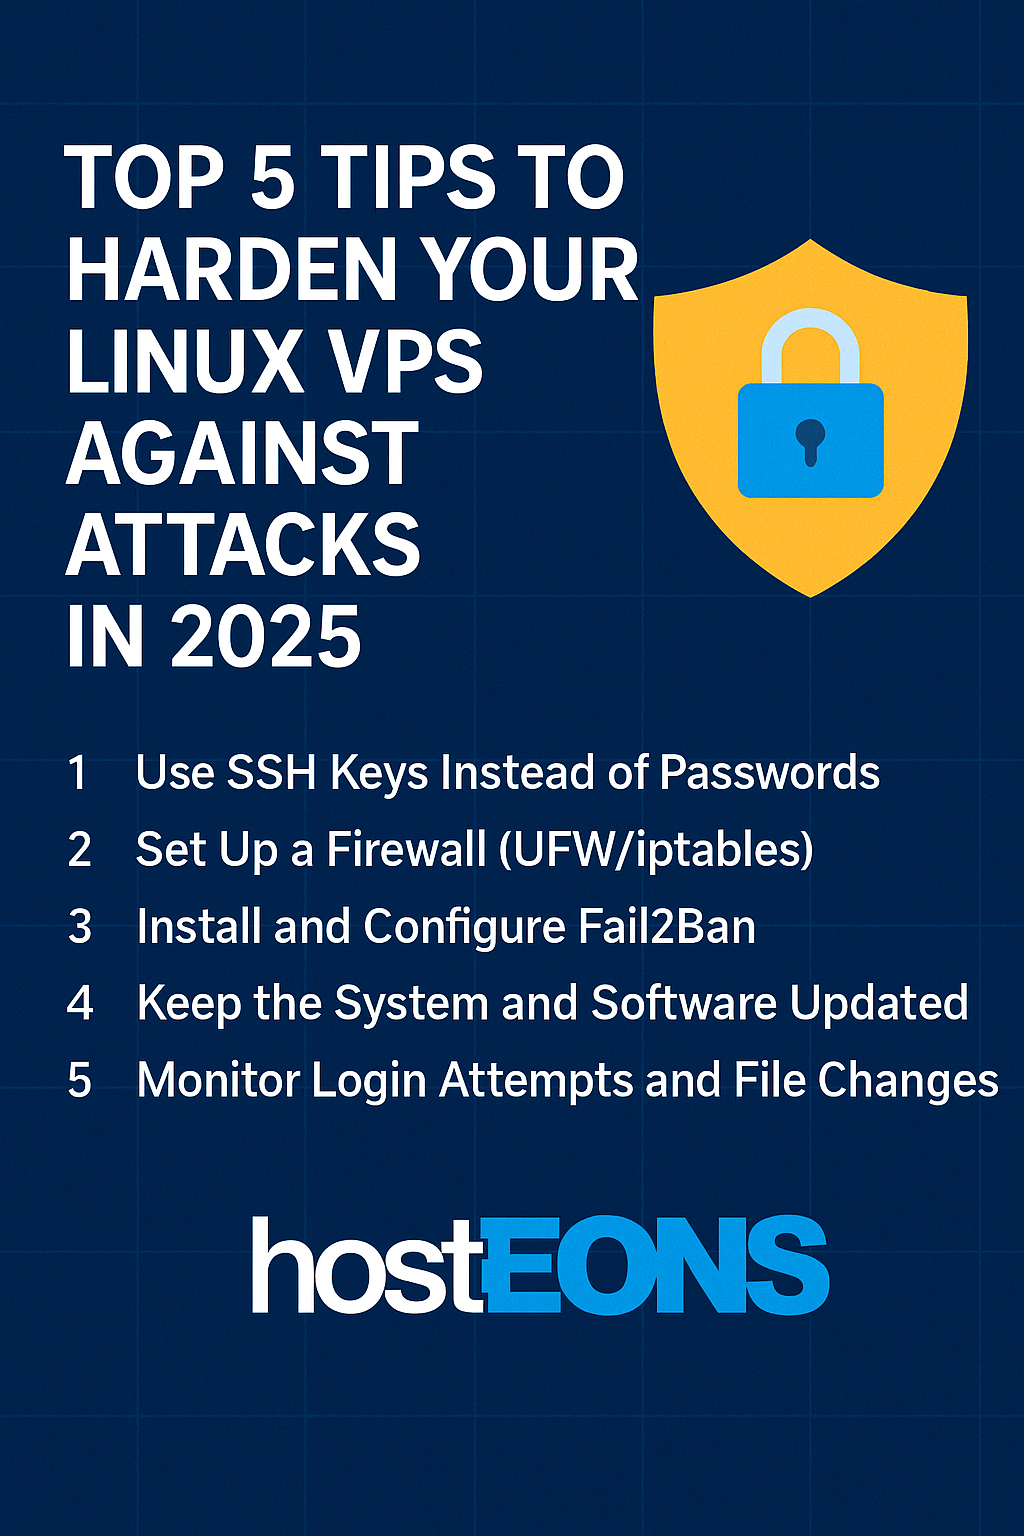
• Use strong passwords and SSH keys

• Keep your software and OS updated

• Disable root login and use a non-root user with sudo

• Set up a firewall like ufw

• Regularly monitor your server


Stay secure,

The Hosteons Team

Why You Should Use a VPN While Traveling or Using Public Networks

In today’s interconnected world, the convenience of accessing the internet from virtually anywhere is a double-edged sword. Public networks—whether in airports, cafes, hotels, or malls—offer easy internet access but come with significant security risks. One of the most effective ways to protect your data and privacy in such situations is by using a Virtual Private Network (VPN). This article explores why you should use a VPN while traveling or on public networks and why setting up your own private VPN on a small VPS is a better choice than relying on commercial VPN services.

The Risks of Public Networks

When you connect to public Wi-Fi networks, you expose your data to several threats, including:

  1. Man-in-the-Middle (MITM) Attacks: Cybercriminals can intercept data transmitted between your device and the network, gaining access to sensitive information such as passwords, emails, and financial details.
  2. Data Snooping: Without encryption, your browsing activities, login credentials, and other data are visible to anyone with the right tools on the same network.
  3. Fake Wi-Fi Hotspots: Hackers can set up rogue hotspots designed to steal data from unsuspecting users who connect to them.
  4. Malware Distribution: Public networks can be used to inject malware into devices, compromising your security further.

Why Use a VPN?

A VPN creates a secure, encrypted tunnel between your device and the internet, protecting your data from prying eyes. Here’s how a VPN can safeguard your online activities:

  1. Encryption: VPNs encrypt your internet traffic, ensuring that even if it’s intercepted, the data is unreadable.
  2. Anonymity: By masking your IP address, VPNs make it harder for third parties to track your online activities.
  3. Access to Restricted Content: VPNs can bypass geo-restrictions, allowing you to access websites or services that may be unavailable in certain regions.
  4. Protection on Public Networks: VPNs shield your data from the inherent vulnerabilities of public Wi-Fi.

The Problem with Commercial VPNs

While commercial VPNs offer convenience, they come with their own set of issues:

  1. Trust Issues: You’re placing your trust in a third-party company to handle your data. Many commercial VPN providers have been caught logging user data despite claims of “no-logs” policies.
  2. Performance: Shared infrastructure can result in slower speeds and inconsistent performance, especially during peak usage hours.
  3. Cost: Subscription fees for commercial VPNs can add up over time.
  4. Security Concerns: Some providers may use weak encryption protocols or lack transparency about their practices.

Why Set Up Your Own Private VPN on a VPS

A better alternative to using commercial VPNs is to set up your own private VPN on a small VPS. Here’s why this approach stands out:

  1. Complete Control: By setting up your own VPN, you control how your data is handled and stored.
  2. Enhanced Privacy: No third-party provider can log your data, as you manage the entire setup.
  3. Cost-Effective: Many VPS providers, like Hosteons, offer affordable plans that make it economical to run your private VPN.
  4. Customizability: You can configure your VPN to meet your specific needs, including advanced encryption settings and protocols.
  5. Performance: Since the VPN is exclusively yours, you avoid the performance issues common with shared commercial VPNs.

Setting Up a Private VPN on a VPS

Setting up a private VPN on a VPS might sound technical, but it’s more straightforward than you think. Popular software like OpenVPN or WireGuard can be installed and configured on your VPS with the help of readily available tutorials. Once set up, your private VPN provides the same level of security as commercial options—without the downsides.

Conclusion

Using a VPN while traveling or connecting to public networks is essential for safeguarding your data and privacy. However, instead of relying on commercial VPN services, setting up your own private VPN on a small VPS offers better privacy, control, and performance at a lower cost. With providers like Hosteons offering affordable VPS solutions, there’s never been a better time to take charge of your online security.

Automating SMTP Port Management Across VPS Nodes: A Step-by-Step Guide for Virtualizor based KVM VPS Nodes

If you manage multiple VPS nodes and offer SMTP services selectively to clients, automating the management of IP sets can save significant effort. In this guide, we’ll walk through how we automated the synchronization of SMTP-enabled IPs across over 100 VPS nodes.

This tutorial has been tested and is fully operational on Virtualizor-based KVM VPS nodes. The script is configured to run at 1-hour intervals by default, but you can adjust the interval depending on your requirements and available resources. It can be set up on a separate server, on the same server as WHMCS, or another VPS. If using the WHMCS server, ensure it is properly secured, as this script has access to all your servers.


Prerequisites

  1. Python 3.x installed on your system.
  2. Required Python libraries:
   pip install paramiko pandas
  1. WHMCS with VPS product configurations.
  2. SSH access to all VPS nodes and the WHMCS server.
  3. ipset installed and configured on each VPS node.
  4. Proper iptables rules set up on all VPS nodes (detailed below).

Required iptables and ipset Configuration on VPS Nodes

To manage SMTP access effectively, you need the following iptables and ipset rules configured on all VPS nodes. These rules must also persist across reboots:

modprobe br_netfilter
ipset create allowed_ips hash:ip
iptables -F
iptables -P FORWARD DROP
iptables -I FORWARD -m set --match-set allowed_ips src -o viifbr0 -p tcp --dport 25 -j ACCEPT
iptables -I FORWARD -m set --match-set allowed_ips dst -o viifbr0 -p tcp --dport 25 -j ACCEPT

iptables -A FORWARD -o viifbr0 -p tcp --dport 25 -j REJECT
iptables -A FORWARD -o viifbr0 -j ACCEPT
service iptables save 

These rules ensure that SMTP traffic is blocked by default unless explicitly allowed via ipset. Ensure the rules are applied on every reboot of the VPS nodes.


Overview of the Solution

  1. Fetch VPS Configuration from WHMCS: Retrieve a JSON file listing VPS configurations, including SMTP-enabled status and associated IPs.
  2. Process Data: Parse the JSON file to extract primary and additional IPs for SMTP-enabled VPSs.
  3. Sync IP Sets Across Nodes: Use ipset to update allowed IPs for SMTP on each node. This includes adding or removing IPs as needed.
  4. Parallel Execution: Speed up the process by handling multiple nodes concurrently with Python threading.

Implementation

1. Create the Excel File for Node Information

The Python script uses an Excel file to identify the SSH IPs and ports of all VPS nodes. Create an Excel file in the following format:

IP AddressSSH Port
192.168.1.10022
192.168.1.1012222

Save this file as securecrt_servers.xlsx and ensure it is accessible to the script.

2. Fetch VPS Data from WHMCS

Add a hook in WHMCS to export VPS data:

File: /path/to/whmcs/includes/hooks/export_vps_data.php

<?php

use Illuminate\Database\Capsule\Manager as Capsule;

add_hook('AfterCronJob', 100, function($vars) {
    $logFile = __DIR__ . '/export_hook_debug.log';
    $filePath = __DIR__ . '/vps_data.json';

    try {
        $vpsData = Capsule::table('tblhosting')
            ->join('tblproducts', 'tblhosting.packageid', '=', 'tblproducts.id')
            ->join('tblclients', 'tblhosting.userid', '=', 'tblclients.id')
            ->leftJoin('tblhostingconfigoptions', 'tblhosting.id', '=', 'tblhostingconfigoptions.relid')
            ->leftJoin('tblproductconfigoptions', 'tblhostingconfigoptions.configid', '=', 'tblproductconfigoptions.id')
            ->select(
                'tblclients.firstname',
                'tblclients.lastname',
                'tblhosting.dedicatedip',
                'tblhosting.assignedips',
                'tblhosting.domain',
                'tblproducts.name as productname',
                'tblproductconfigoptions.optionname',
                'tblhostingconfigoptions.optionid'
            )
            ->where('tblproducts.type', 'server')
            ->where('tblhosting.domainstatus', 'Active')
            ->get();

        $formattedData = [];
        foreach ($vpsData as $vps) {
            $smtp_enabled = false;
            if (stripos($vps->optionname ?? '', 'SMTP Access') !== false && $vps->optionid > 0) {
                $smtp_enabled = true;
            }

            $formattedData[] = [
                'client_name' => $vps->firstname . ' ' . $vps->lastname,
                'primary_ip' => $vps->dedicatedip,
                'additional_ips' => $vps->assignedips,
                'domain' => $vps->domain,
                'product_name' => $vps->productname,
                'smtp_enabled' => $smtp_enabled,
            ];
        }

        file_put_contents($filePath, json_encode($formattedData, JSON_PRETTY_PRINT));
    } catch (Exception $e) {
        file_put_contents($logFile, "Error: " . $e->getMessage() . PHP_EOL, FILE_APPEND);
    }
});

3. Configure SMTP Access Using WHMCS Configurable Options

To enable or disable SMTP for a VPS:

  1. Set Up a Configurable Option:
  • Go to WHMCS Admin > Products/Services > Configurable Options.
  • Create an option named SMTP Access with values such as Enabled and Disabled.
  1. Client Self-Management (Optional):
  • If you want clients to manage this option while ordering or upgrading, associate the configurable option with the product.
  1. Manual Control:
  • To keep SMTP access manual, hide the configurable option from clients and enable or disable it directly in the admin panel.

Note: Changes to SMTP access will take effect within the interval configured for the sync script (default: 1 hour).

4. Automate Syncing with Python

File: /path/to/script/smtp_sync.py

import requests
import subprocess
import paramiko
import ipaddress
import os
import pandas as pd
import re
import json
from concurrent.futures import ThreadPoolExecutor

DEBUG = True

NODES_FILE_PATH = '/path/to/securecrt_servers.xlsx'
nodes_df = pd.read_excel(NODES_FILE_PATH)
NODES = [
    {"host": row["IP Address"], "port": row["SSH Port"]}
    for _, row in nodes_df.iterrows()
]

IPSET_NAME = "allowed_ips"
ERROR_LOG_FILE = "node_errors.log"
WHMCS_SERVER = {
    "host": "whmcs-server-ip",
    "user": "your-whmcs-user",
    "port": 22,
    "key_path": os.path.expanduser("~/.ssh/id_rsa")
}
REMOTE_VPS_FILE = "/path/to/whmcs/hooks/vps_data.json"
LOCAL_VPS_FILE = "/tmp/vps_data.json"

# Define functions for fetching, processing, and syncing IPs
# See the complete script in the provided implementation.

Cron Job Setup

Run the Python script every hour by adding it to your crontab:

crontab -e

Add the following line:

0 * * * * /usr/bin/python3 /path/to/script/smtp_sync.py >> /var/log/smtp_sync.log 2>&1

Benefits of the Solution

  1. Automated Management: No manual updates to IP sets are required.
  2. Scalability: Handles hundreds of nodes efficiently using multithreading.
  3. Reliability: Synchronization ensures consistent SMTP access control across all nodes.

How to Secure Your WhatsApp Account: A Comprehensive Guide

whatsapp security

In an era where digital communication is a lifeline, securing your WhatsApp account is more important than ever. With over 2 billion users globally, WhatsApp is a popular target for hackers and cybercriminals. Protecting your account ensures your personal chats, media, and private information remain safe from prying eyes. At Hosteons, we understand the importance of security in the digital age. Here’s a guide to help you secure your WhatsApp account effectively.


1. Enable Two-Step Verification

Two-step verification adds an extra layer of security to your WhatsApp account by requiring a PIN in addition to your phone number.

  • How to enable:
    1. Open WhatsApp and go to Settings.
    2. Navigate to Account > Two-Step Verification.
    3. Tap Enable, set a six-digit PIN, and add a recovery email address.

This ensures that even if someone gets access to your SIM card, they cannot access your WhatsApp account without the PIN.


2. Protect Your SIM Card

Your WhatsApp account is tied to your phone number, so securing your SIM card is crucial.

  • Use a SIM lock to prevent unauthorized access.
  • Avoid sharing your mobile number publicly or on untrusted platforms.

Consider enabling a SIM PIN from your phone’s settings to add another layer of protection.


3. Avoid Clicking on Suspicious Links

Phishing scams are a common tactic used by hackers to steal WhatsApp accounts.

  • Never click on links from unknown sources, especially if they promise rewards, gifts, or lottery winnings.
  • Verify the sender’s identity before engaging with any link.

4. Regularly Check Active Sessions

WhatsApp Web is a convenient feature, but it can also be a security risk if left open on shared devices.

  • How to check:
    1. Go to Settings > Linked Devices.
    2. Review all active sessions and log out of any device you don’t recognize.

This ensures no one is secretly accessing your account from another device.


5. Be Cautious with Verification Codes

Verification codes are key to accessing your WhatsApp account.

  • Never share your verification code with anyone, even if they claim to be from WhatsApp support.
  • WhatsApp will never ask for your verification code via messages or calls.

6. Keep Your App Updated

Regular updates ensure your app is protected from the latest vulnerabilities and threats.

  • Enable automatic updates on your device to ensure you’re always running the latest version of WhatsApp.

7. Use End-to-End Encryption

WhatsApp provides end-to-end encryption by default, ensuring that your messages and calls remain private.

  • To verify encryption for specific chats, open the chat, tap the contact’s name, and check the Encryption section.

Avoid third-party apps that claim to enhance WhatsApp functionality, as they can compromise your data.


8. Educate Yourself About Common Scams

Be aware of common WhatsApp scams, such as:

  • Impersonation scams where hackers pretend to be someone you know.
  • “Friend in distress” scams, where hackers claim your friend is in trouble and ask for money.
  • Fake technical support calls claiming to be from WhatsApp.

Always verify any unusual request or message before responding.


9. Backup Wisely

While backups are essential, they can also be a vulnerability if not secured.

  • Use encrypted backups when storing your chats on Google Drive or iCloud.
  • Avoid storing backups on shared or untrusted devices.

10. Monitor for Suspicious Activity

If you notice any unusual activity on your WhatsApp account, such as missing chats or unfamiliar messages, act immediately:

  • Log out of all devices from Linked Devices.
  • Re-enable two-step verification and update your PIN.
  • Contact WhatsApp support if you suspect your account has been compromised.

Conclusion

Securing your WhatsApp account is not just about protecting your conversations; it’s about safeguarding your privacy and digital identity. By implementing these measures, you can enjoy the convenience of WhatsApp without compromising your security.

At Hosteons, we prioritize your digital safety, whether you’re managing your hosting account or your personal apps. For more tips on staying secure in the digital world, stay tuned to our blog.


Stay Secure, Stay Safe!
For more cybersecurity tips or hosting solutions, visit Hosteons.