In the world of online services, trust is everything. Customers want to feel confident not only in the product they buy but also in how they pay for it. That’s why offering local payment methods has become a powerful way for hosting providers to build stronger relationships with their global customers.
At Hosteons, we support a wide range of payment methods — from crypto to local gateways — because we know that trust starts with convenience and familiarity.
🌍 1. Familiarity Builds Confidence
Customers are more likely to complete a purchase when they see payment options they already know and use daily. Whether it’s UPI in India, Alipay in China, or Pix in Brazil, local payment methods reduce hesitation and increase trust.
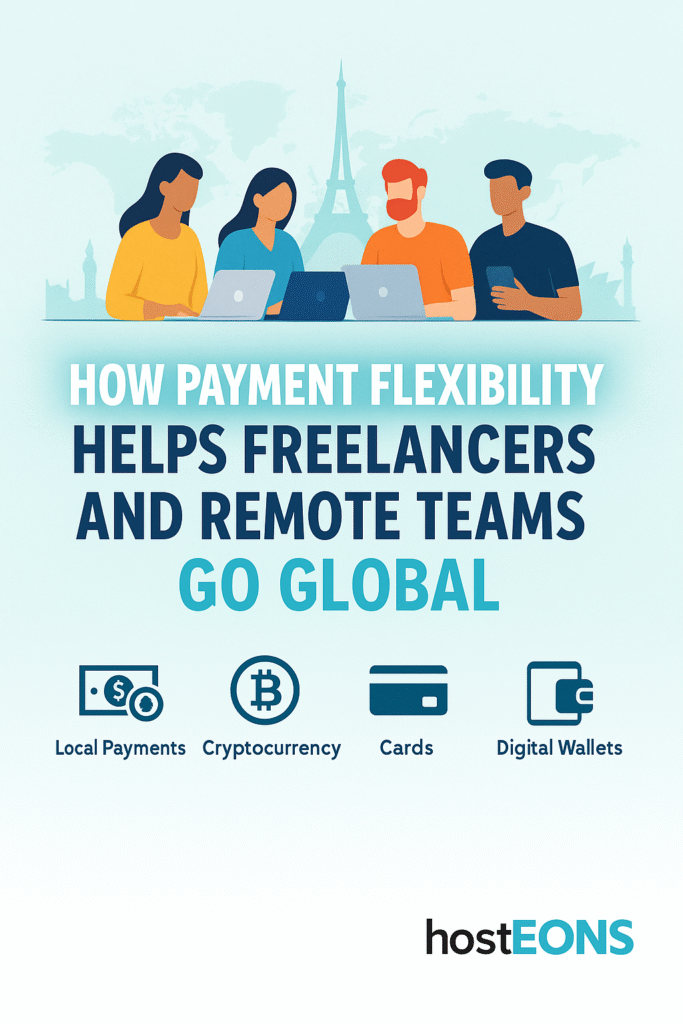
💳 2. Accessibility for Everyone
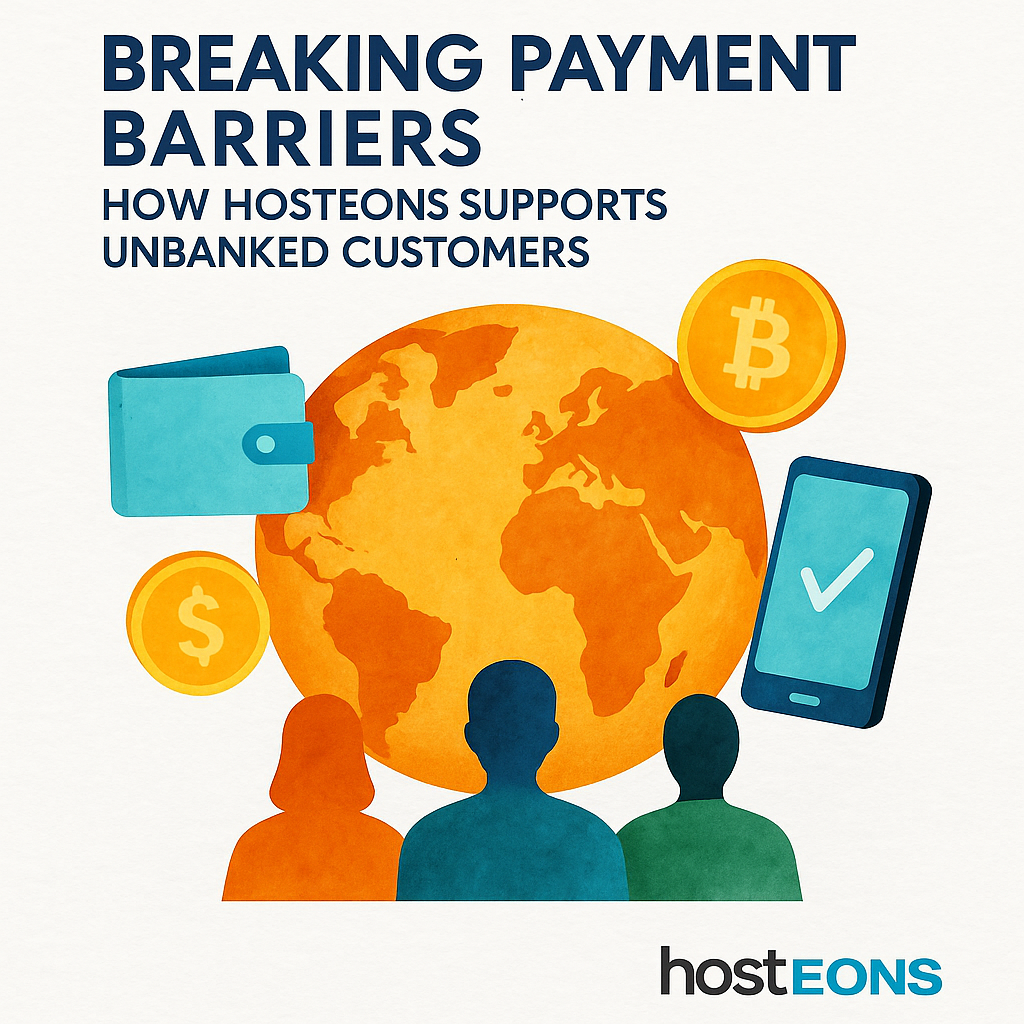
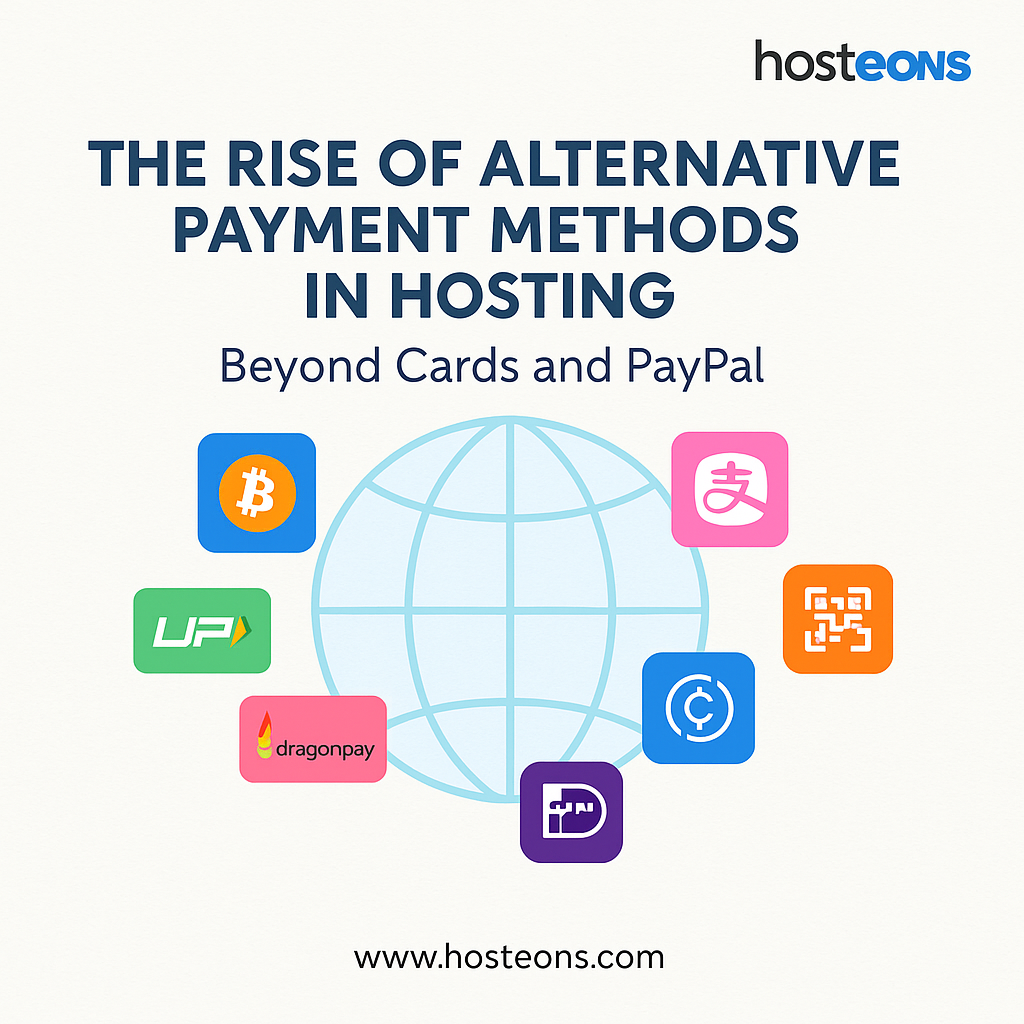
Not every customer has access to international credit cards or PayPal. By accepting local payments like UnionPay, Dragonpay, QRIS, OXXO, and Boleto, providers ensure that no one is left out, especially in emerging markets.
🔒 3. Enhanced Sense of Security
When customers can pay through trusted local gateways, they feel safer. Local payment providers often have strong security measures familiar to users, which builds confidence in the entire transaction.
⚡ 4. Faster Transactions
Local payments are often quicker than international transfers, reducing waiting times. Services like UPI or Pix process payments instantly, giving customers immediate confirmation and peace of mind.
🤝 5. Stronger Brand Reputation
By showing a willingness to adapt to customers’ needs, businesses build long-term trust. Supporting local payments signals that a hosting provider truly understands its customers, no matter where they are.
🚀 Hosteons: Making Hosting Accessible Globally
At Hosteons, we embrace local and alternative payments to help customers worldwide:
- UPI (India)
- Alipay & UnionPay (China)
- QRIS (Indonesia)
- Dragonpay (Philippines)
- OXXO & Bancomer (Mexico)
- Boleto & Pix (Brazil)
- PSE, Baloto, Efecty (Colombia)
- And many more, plus cryptocurrency options like Bitcoin, Ethereum, USDT, and Litecoin.
Because when customers trust how they pay, they trust the service even more.
✅ Conclusion
Local payment methods do more than simplify transactions — they build trust, loyalty, and long-term relationships. By offering global and local payment flexibility, Hosteons ensures that customers everywhere can pay with confidence.
👉 Explore our hosting solutions today: https://hosteons.com